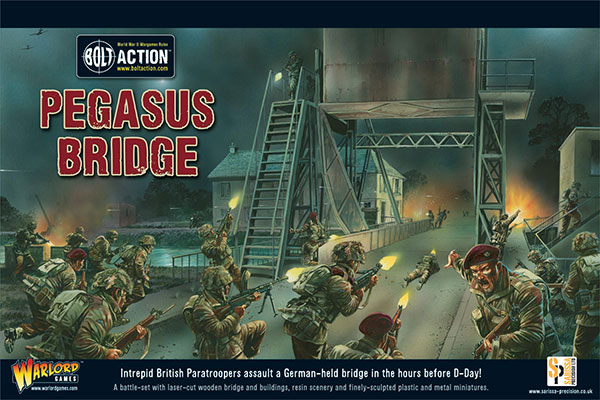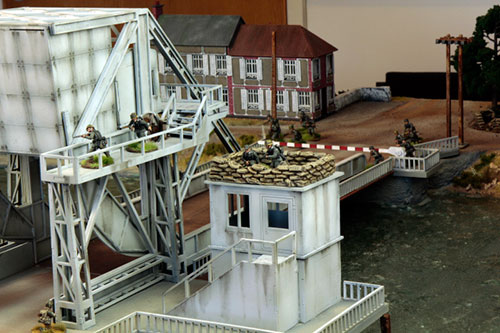
This is the guide for the remaining terrain pieces from the Pegasus Bridge set. As with Previous guides all paints used were generally Vallejo – either from the Model Colour or Game Colour ranges. Any alternatives are highlighted in the guide.
Café Gondree
The Café was undercoated with Army Painter Black Spray.
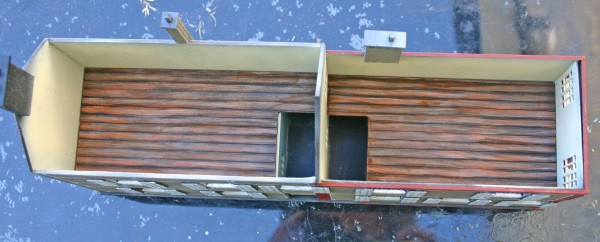
As the café was already built when I received it, I decided to paint the inside first. I base coated all the walls with Vallejo heavy brown. This was then highlighted with Buff and then a final highlight of 50/50 Buff and White. The ground floor was painted with Dark Grey and highlighted with a 50/50 mix of Dark grey and Stone Grey. A final highlight of Stone grey was applied to the floor. The first storey floors were base coated with Burnt Umber, this was then highlighted with Parasite Brown to resemble a wood grain effect. A final highlight of Buff was then painted on to define the individual floor boards. The entire floor was then given a wash with Sepia to tie the colours together and provide an aged effect for the wood.
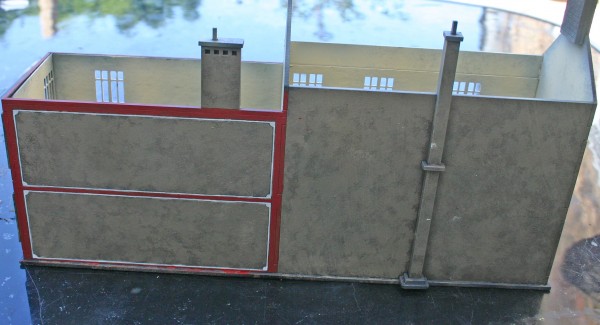
The panels on the walls on the outside of the Café were base coated with Vallejo heavy brown. A 50/50 mix of Heavy Brown and Buff was then heavily stippled onto the panels to provide the textured effect. A final highlight of 70/30 Buff to Heavy Brown was the lightly stippled onto the panels.
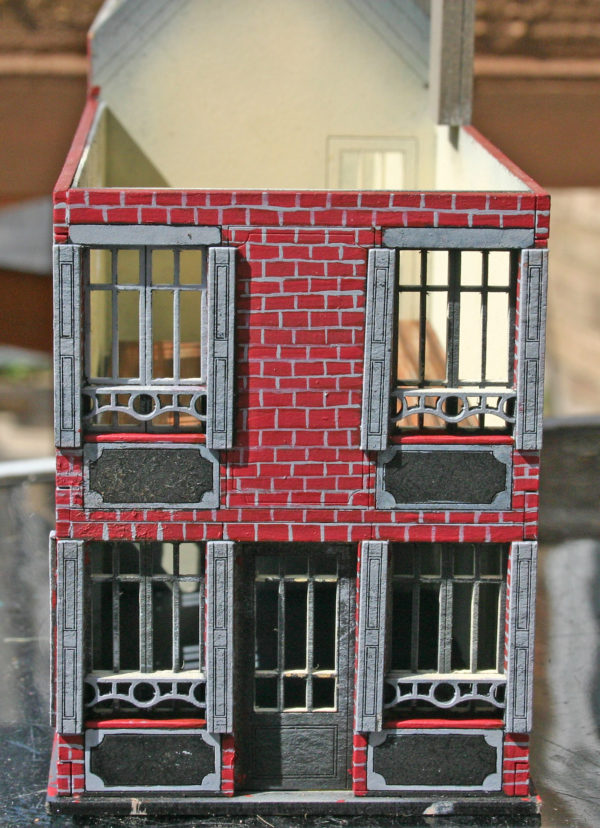
The brick work was base coated with Burnt Cadmium. The Mortar for the brickwork was then painted over this in London Gray. The bricks were then given an initial coat of 50/50 Burnt Cadmium and Terracotta. The individual bricks were then painted in one of three ways to provide the effect of different coloured bricks. These were:
Terracotta followed by a 50/50 mix of Terracotta and Buff.
50/50 mix of Terracotta and Flat Red, followed by a 30/70 mix of Terracotta and Flat Red.
Flat Red, followed by a 50/50 mix of Flat Red and Buff.
The black wood effect was based with Black, this was then highlighted with a 70/30 mix of Black and Buff. A little white was then added to the mix for the final highlight.
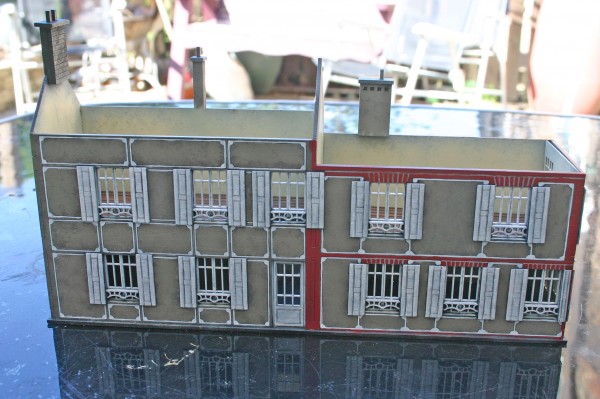
The White wood effect and window frames was base coated in Light Grey. This was then highlighted first with a 70/30 mix of White and light grey and then just white.
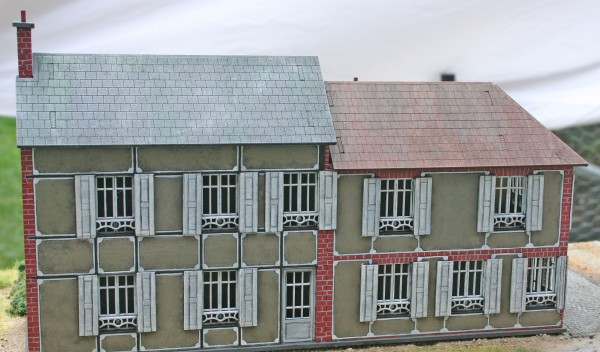
The 1st roof tiles were base coated with Burnt Cadmium, this was heavily dry brushed with a 50/50 mix of Terracotta and Flat Red. Beige Red was then progressively added for each lighter dry brushed highlight.
The 2nd roof was base coated in Dark Grey; this was drybrushed heavily with a 50/50 mix of London Grey and Dark Grey. Further highlights were lightly drybrushed on by adding more London Grey to the mix. A final very light Drybrush of Light Grey was the given to the roof.
Both roofs were then weathered by applying much thinned ink washes of green and brown inks. Don’t give the entire roof the wash – it just needs to be in places to provide the effect of water that has run down the roof.
Bunker
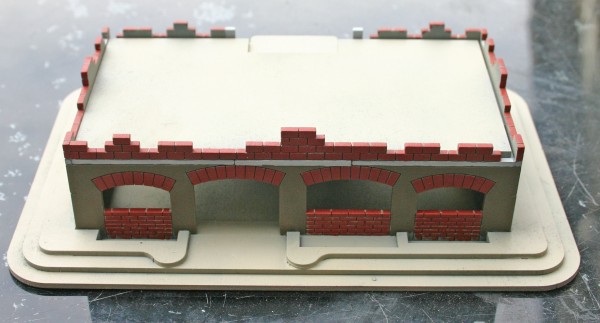
The bunker was undercoated with Army Painter Black Spray. All of the concrete areas were then base coated in Vallejo Dark Grey. This was then highlighted with light grey followed by a 50/50 mix of Light Grey and Stone Grey. A final highlight was then applied made from a 70/30 mix of Stone Grey and Light Grey.
The mortar on the brick work was painted with London Grey. The bricks were then picked out with Burnt Cadmium. The first highlight was applied using a 50/50 mix of Burnt Cadmium and Terracotta.
The bricks were then further highlighted in one of three ways to provide the effect of different coloured bricks. These were:
Terracotta followed by a 50/50 mix of Terracotta and Buff.
50/50 mix of Terracotta and Flat Red, followed by a 30/70 mix of Terracotta and Flat Red.
Flat Red, followed by a 50/50 mix of Flat Red and Buff.
The stairs and roof of the bunker were then weathered with European dust weathering powder. This was lightly brushed on in places that would see heavy foot usage.
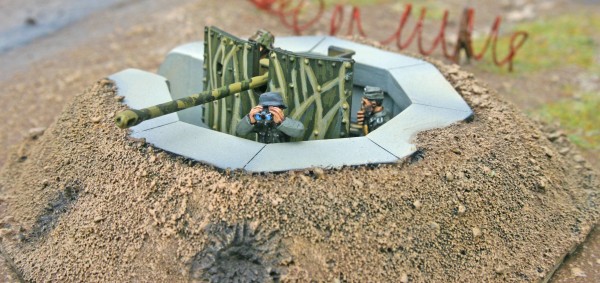
Gun Emplacement
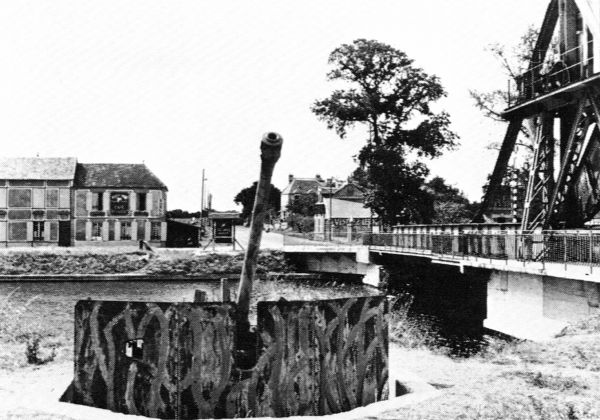
The resin emplacement was washed in warm soapy water to remove any mould residue. It was then undercoated with Army Painter black spray.
The concrete areas of the emplacement were base coated with Dark Grey. This was initially highlighted with Light Grey followed by a 50/50 mix of Light Grey and Stone Grey. A final highlight of 70/30 Stone Grey to Light Grey was then added in random places to the flat concrete to provide a textured look.
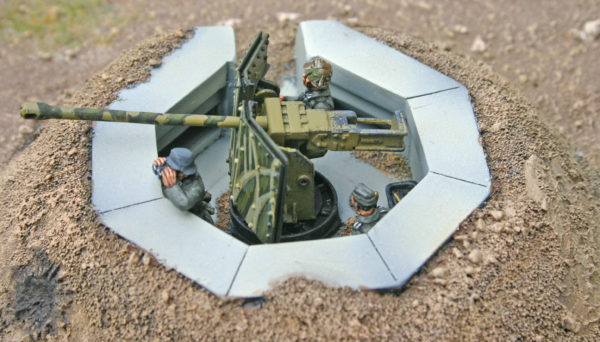
The Earth surrounding the emplacement was based coated with Chocolate Brown, this was then given a heavy dry brush of Flat Earth and then a final lighter dry brush of US Tan Earth.
The 5cm Gun was base coated with Dark Yellow. This was given a thinned ink wash of 50/50 Black and Brown inks. Once dry, the gun shield was highlighted with Dark yellow and then a 50/50 mix of Dark Yellow and Buff. The camouflage pattern was painted on with Reflective Green and was then highlighted with a 50/50 mix of Reflective Green and Buff. A further final highlight of 60/40 mix of Buff to Dark yellow was then painted to emphasise the pattern and provide a strong contrast. The gun workings were then sponged with German Grey – around the areas that would see most use and the moving parts of the gun. A lighter coat of Gunmetal was then sponged onto these areas.
Sandbags
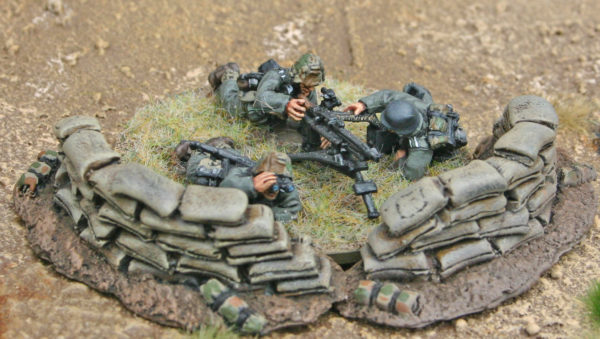
The sandbag sections (MMG bunkers and bunker for the top of the bridge control room) were first checked and cleaned of any mould lines/flash and were washed in warm soapy water to remove any residue from the casting process. They were then undercoated with Army painter Black spray.
The sandbags were then given a base coat of 941 Burnt Umber. They were then dry brushed with 821 German Camo Biege. This was done several times, with each stage getting progressively lighter to build up the colour of the sandbags. A thinned wash of Yellow and Brown ink was then applied over the sandbags, and once dry a final highlight of Iraqi Sand was then dry brushed onto the bags.
Telegraph poles
Once assembled the telegraph poles were undercoated with Army Painter Black Spray. They were then base coated in 941 Burnt Umber. A wood grain effect was then painted on using Parasite Brown from the Vallejo model colour range. This was then highlighted with Buff to really bring out the grain effect on the poles. The entire pole was then washed with Sepia wash to tie the colours together and darken it down to provide a weathered effect.
The junction boxes on the top of the telegraph poles were painted with a 50/50 mix of Black and Gunmetal. This was then lightly drybrushed with Gunmetal.
I hope this guide has been of some assistance, should you have any further questions, please don’t hesitate to contact me at info@mandertory-miniatures.co.uk.

