Brian Hubbard shows off his excellently painted & based Sarissa Precision scenery and provides some top tips!
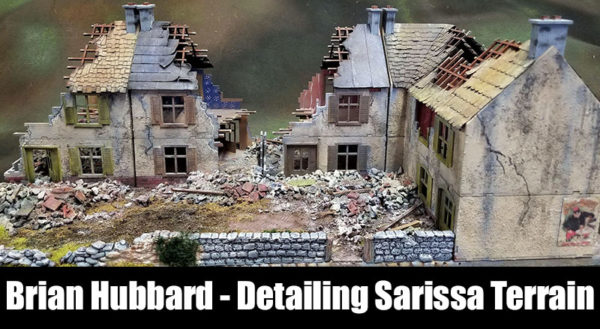
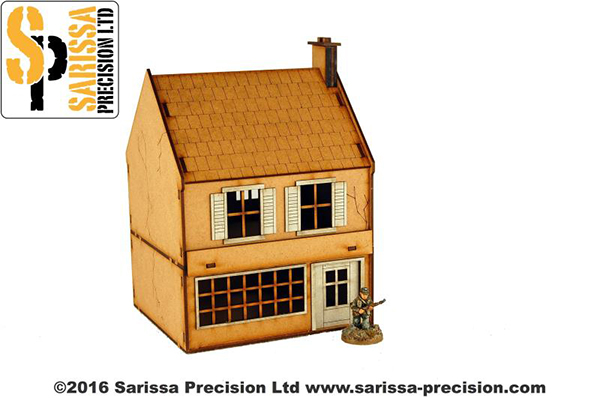
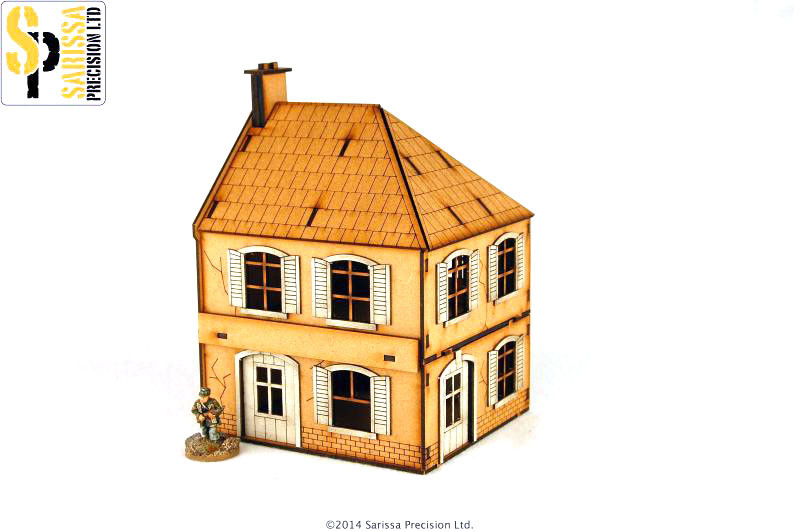
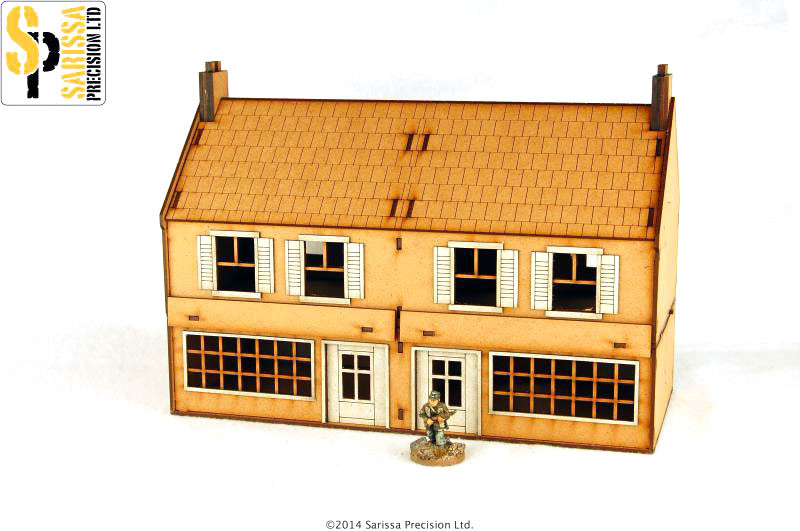
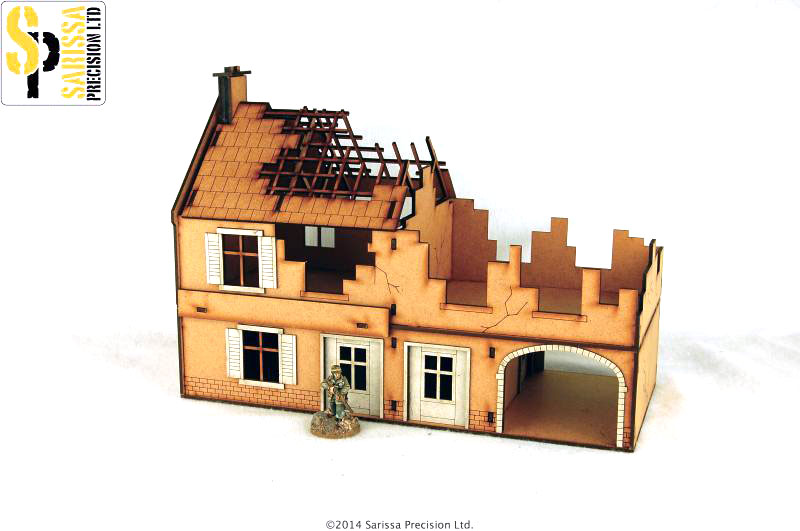
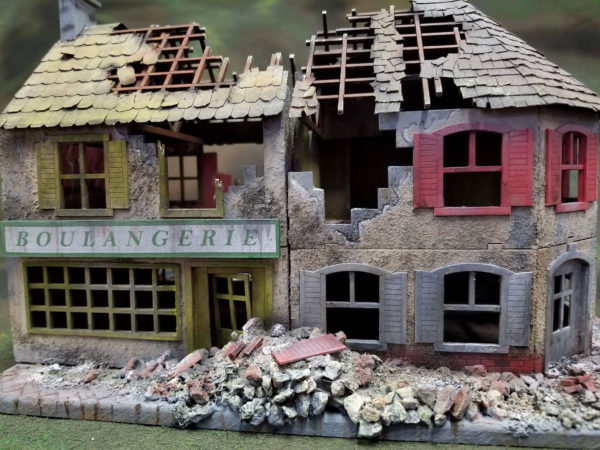
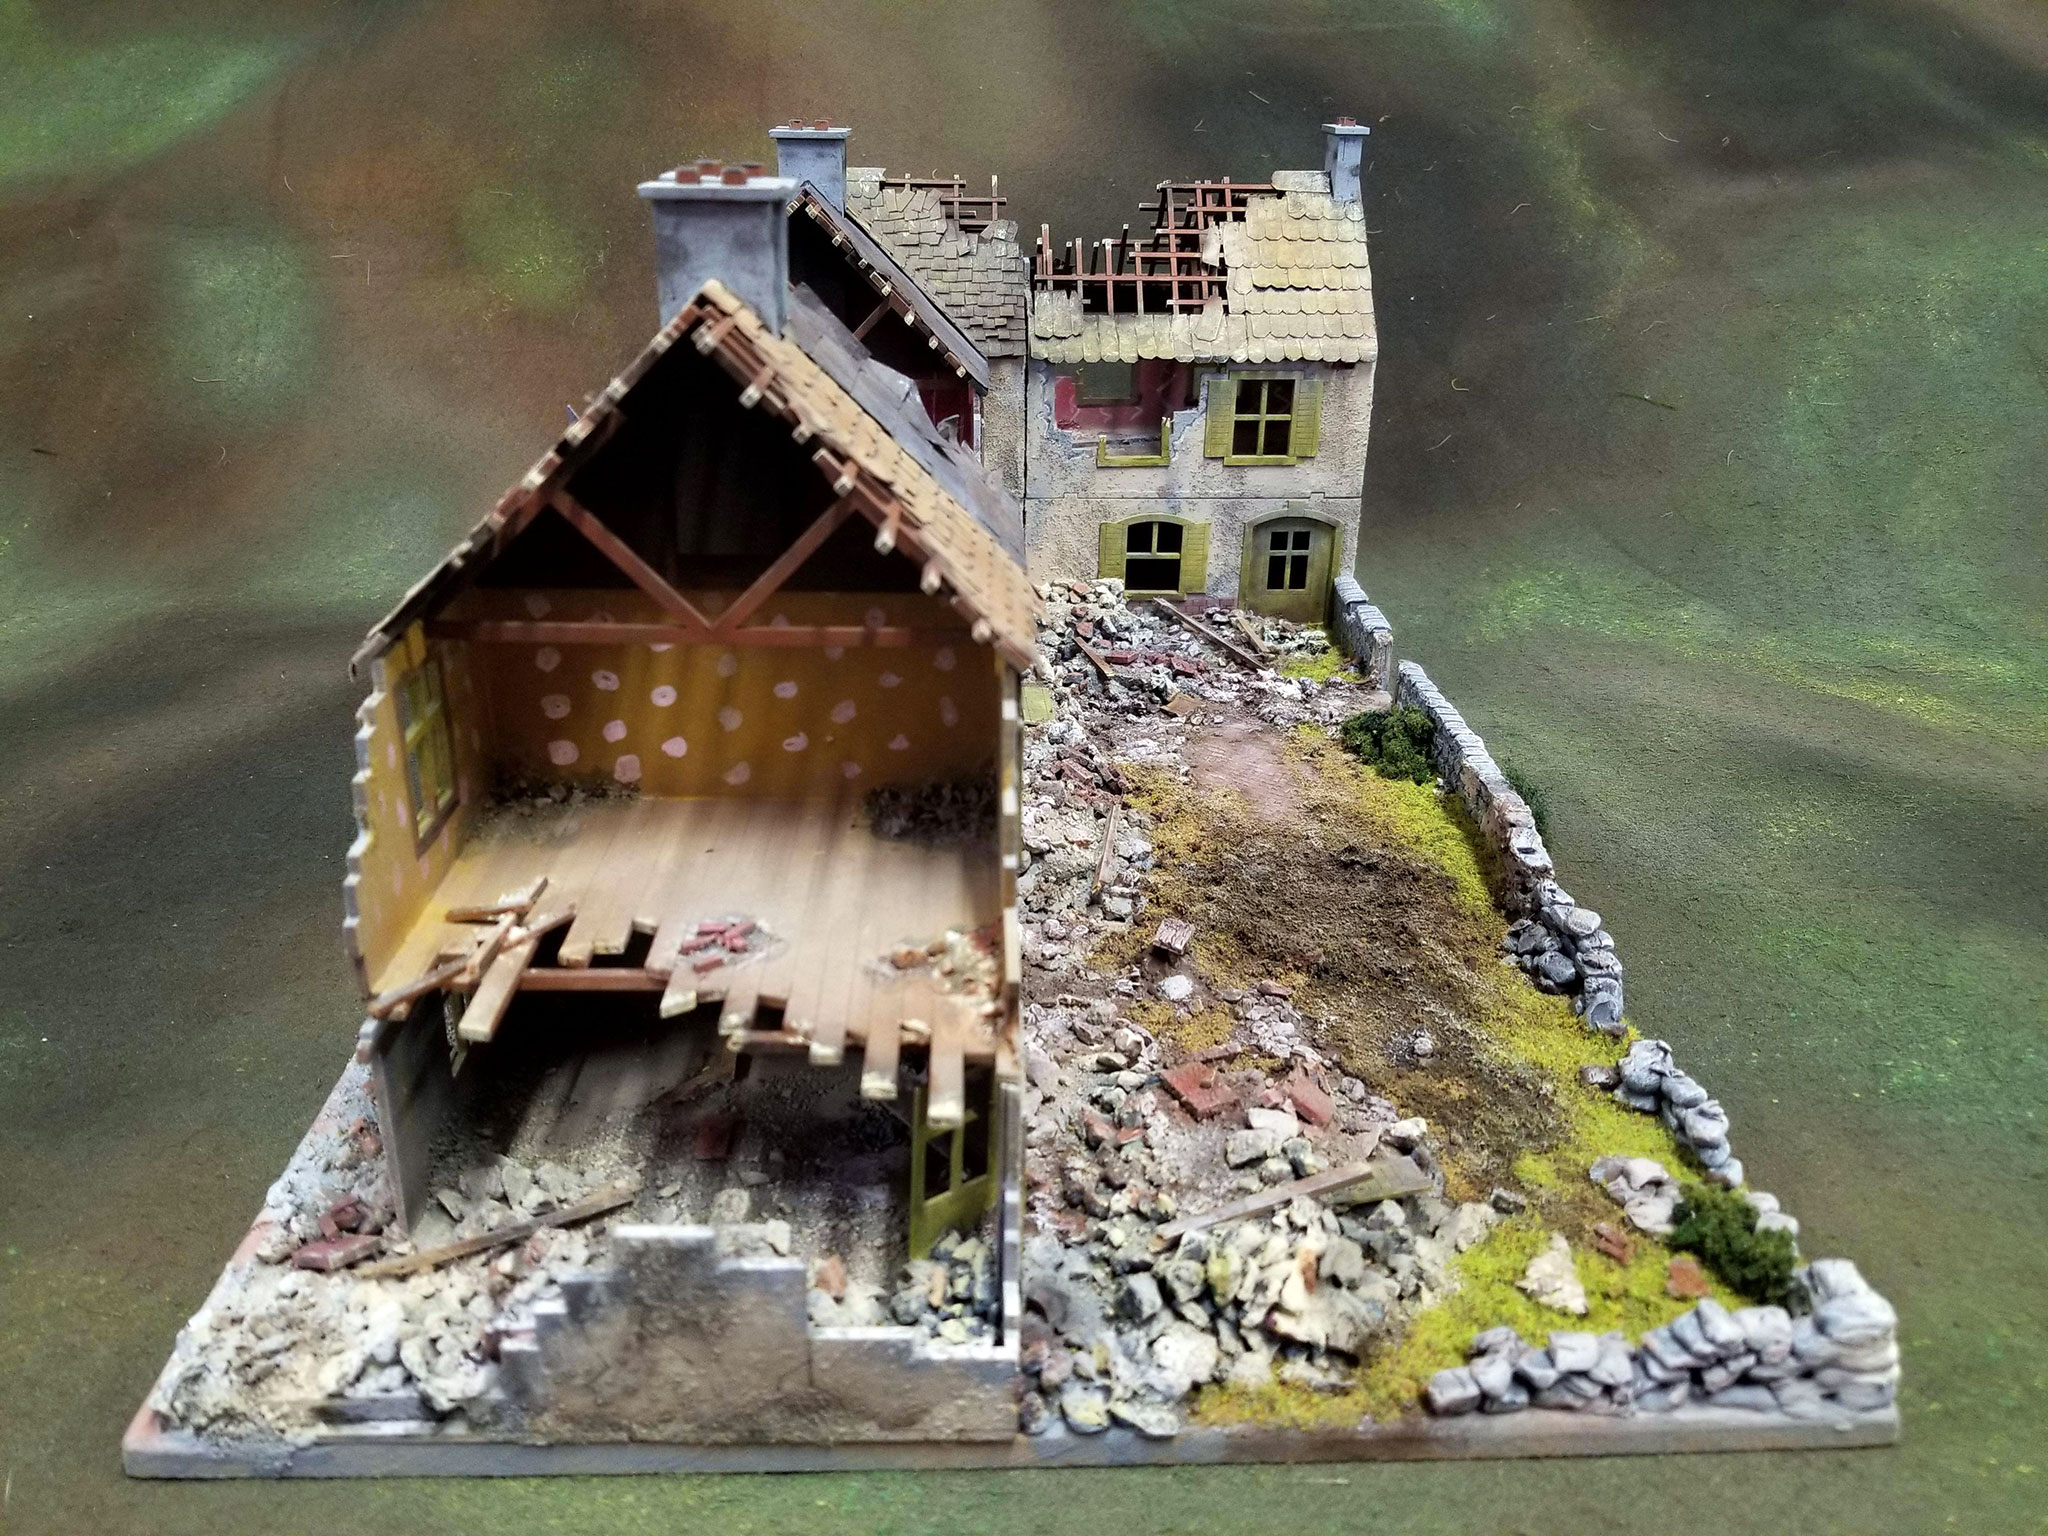
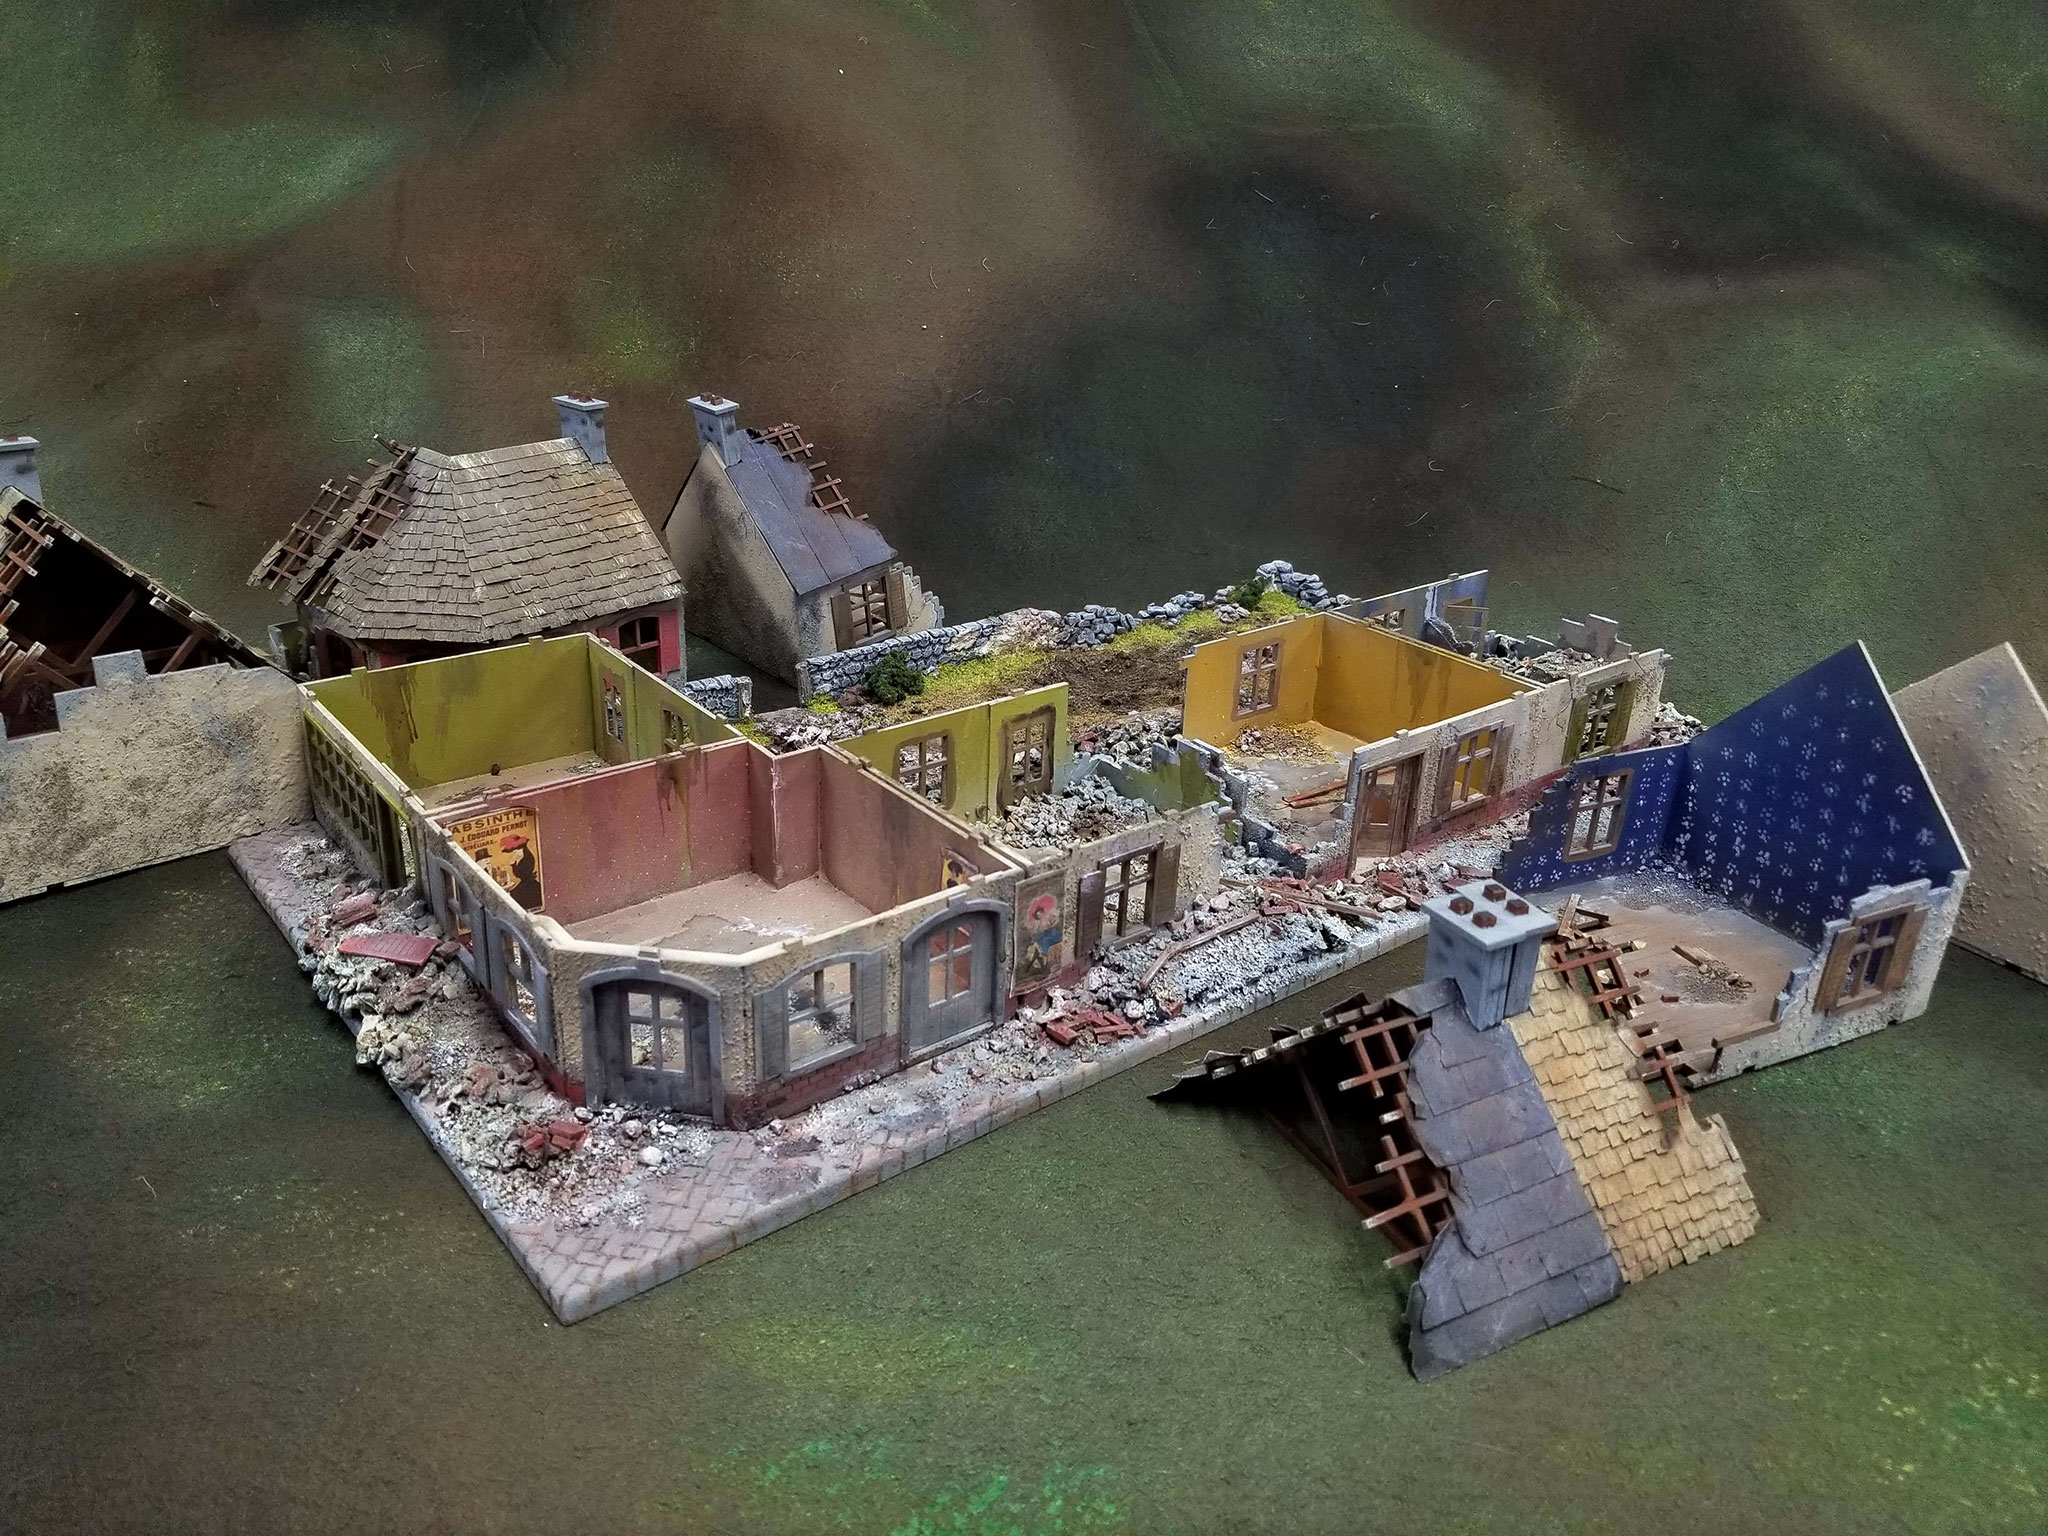
This terrain centrepiece is made from Sarissa Precision’s Destroyed Town Bundle. It consists of five buildings in all, with removable rooftops and upper floors. The set is made from MDF and requires assembly and, in my opinion, detailing. I treat the Sarissa products like a blank canvas and use textures and paint to add lots of character.
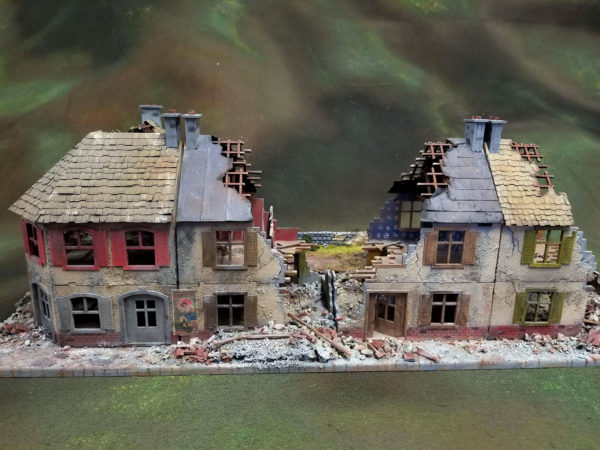
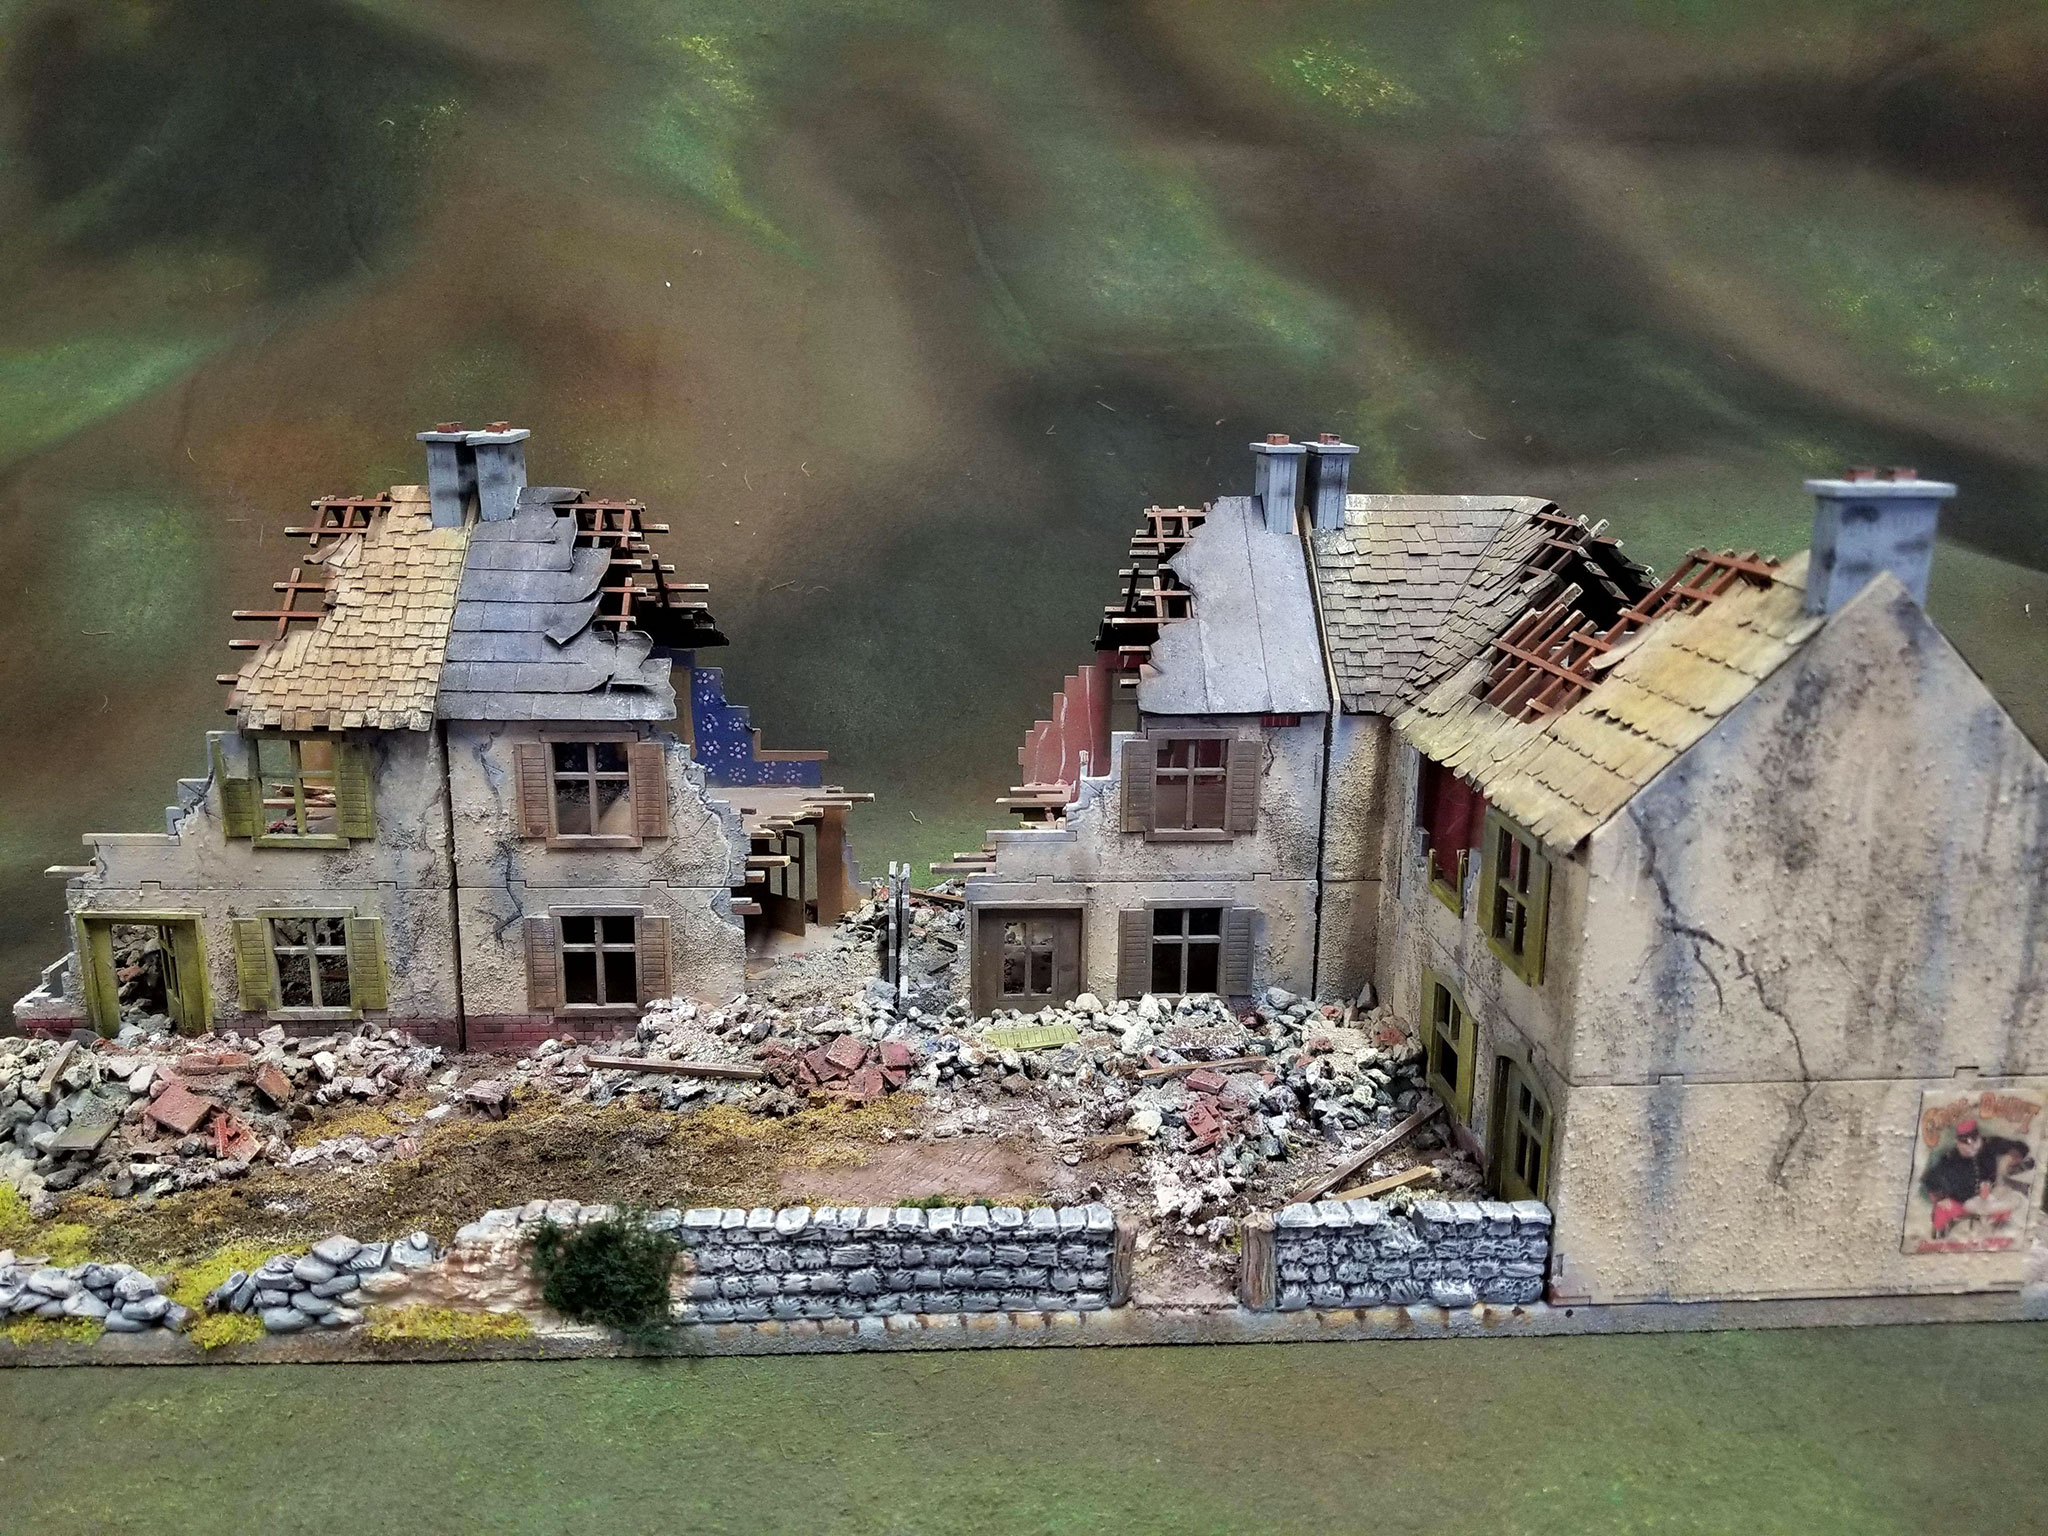
I mount the completed kits together on a single sheet of 1/4″ MDF. This base provides a way to surround the buildings with a courtyard in the rear, debris-cluttered walkways, and it allows me to position the buildings on my game table as a single unit.
The assembled kits are spray primed inside and out. With MDF, you’ve got to seal the kit before you apply water-based glues and paints. Unsealed MDF absorbs moisture and can swell and warp easily.
The paints that I used for this piece are good quality acrylic craft paint and the adhesive used for the debris and flocking is regular PVA glue.
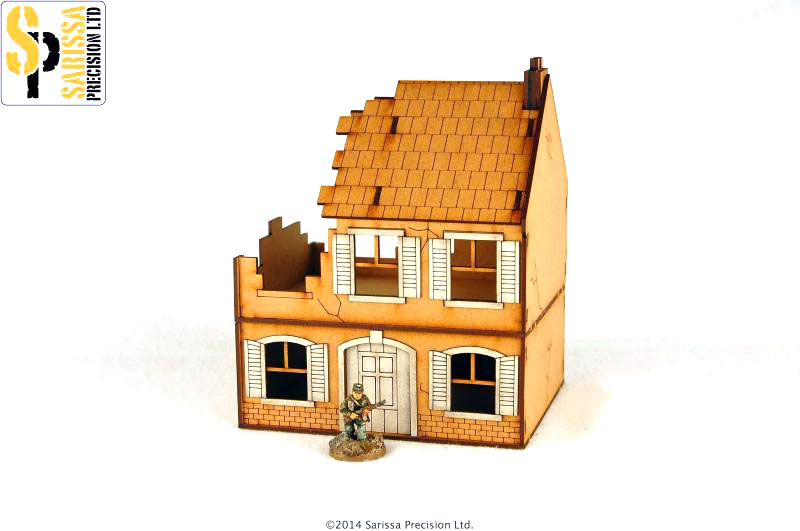
I’m a big believer that ruins need debris, but since they’re used for gaming with miniatures, keeping the debris piles flat is also an important consideration. The debris piles are built up with flat pieces of MDF scraps from the building kits, then these are covered with a mixture and grit and gravel of varying sizes. I also added in “bricks” made from the punched-out bits from the Sarissa kits. Waste not, want not.
The building exteriors are painted with a thick coat of acrylic paint and then sprinkled lightly with a fine flock. Once that base paint is dried, I apply a second colour coat of acrylic paint to seal in the texture.
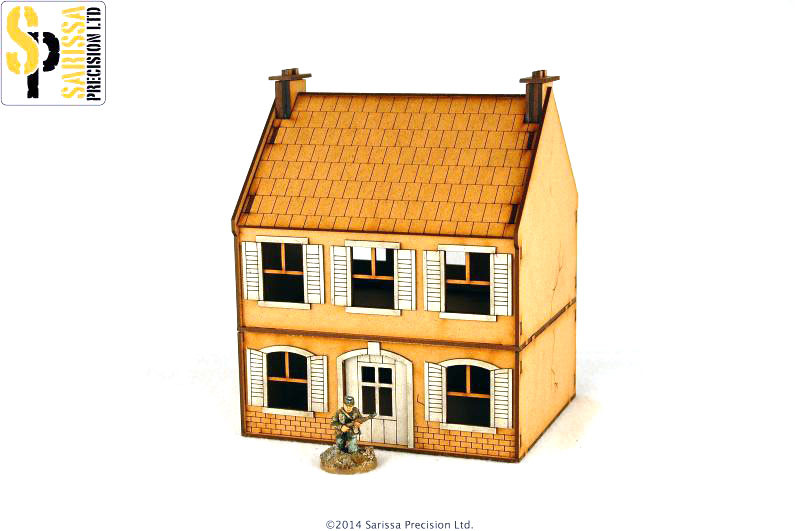
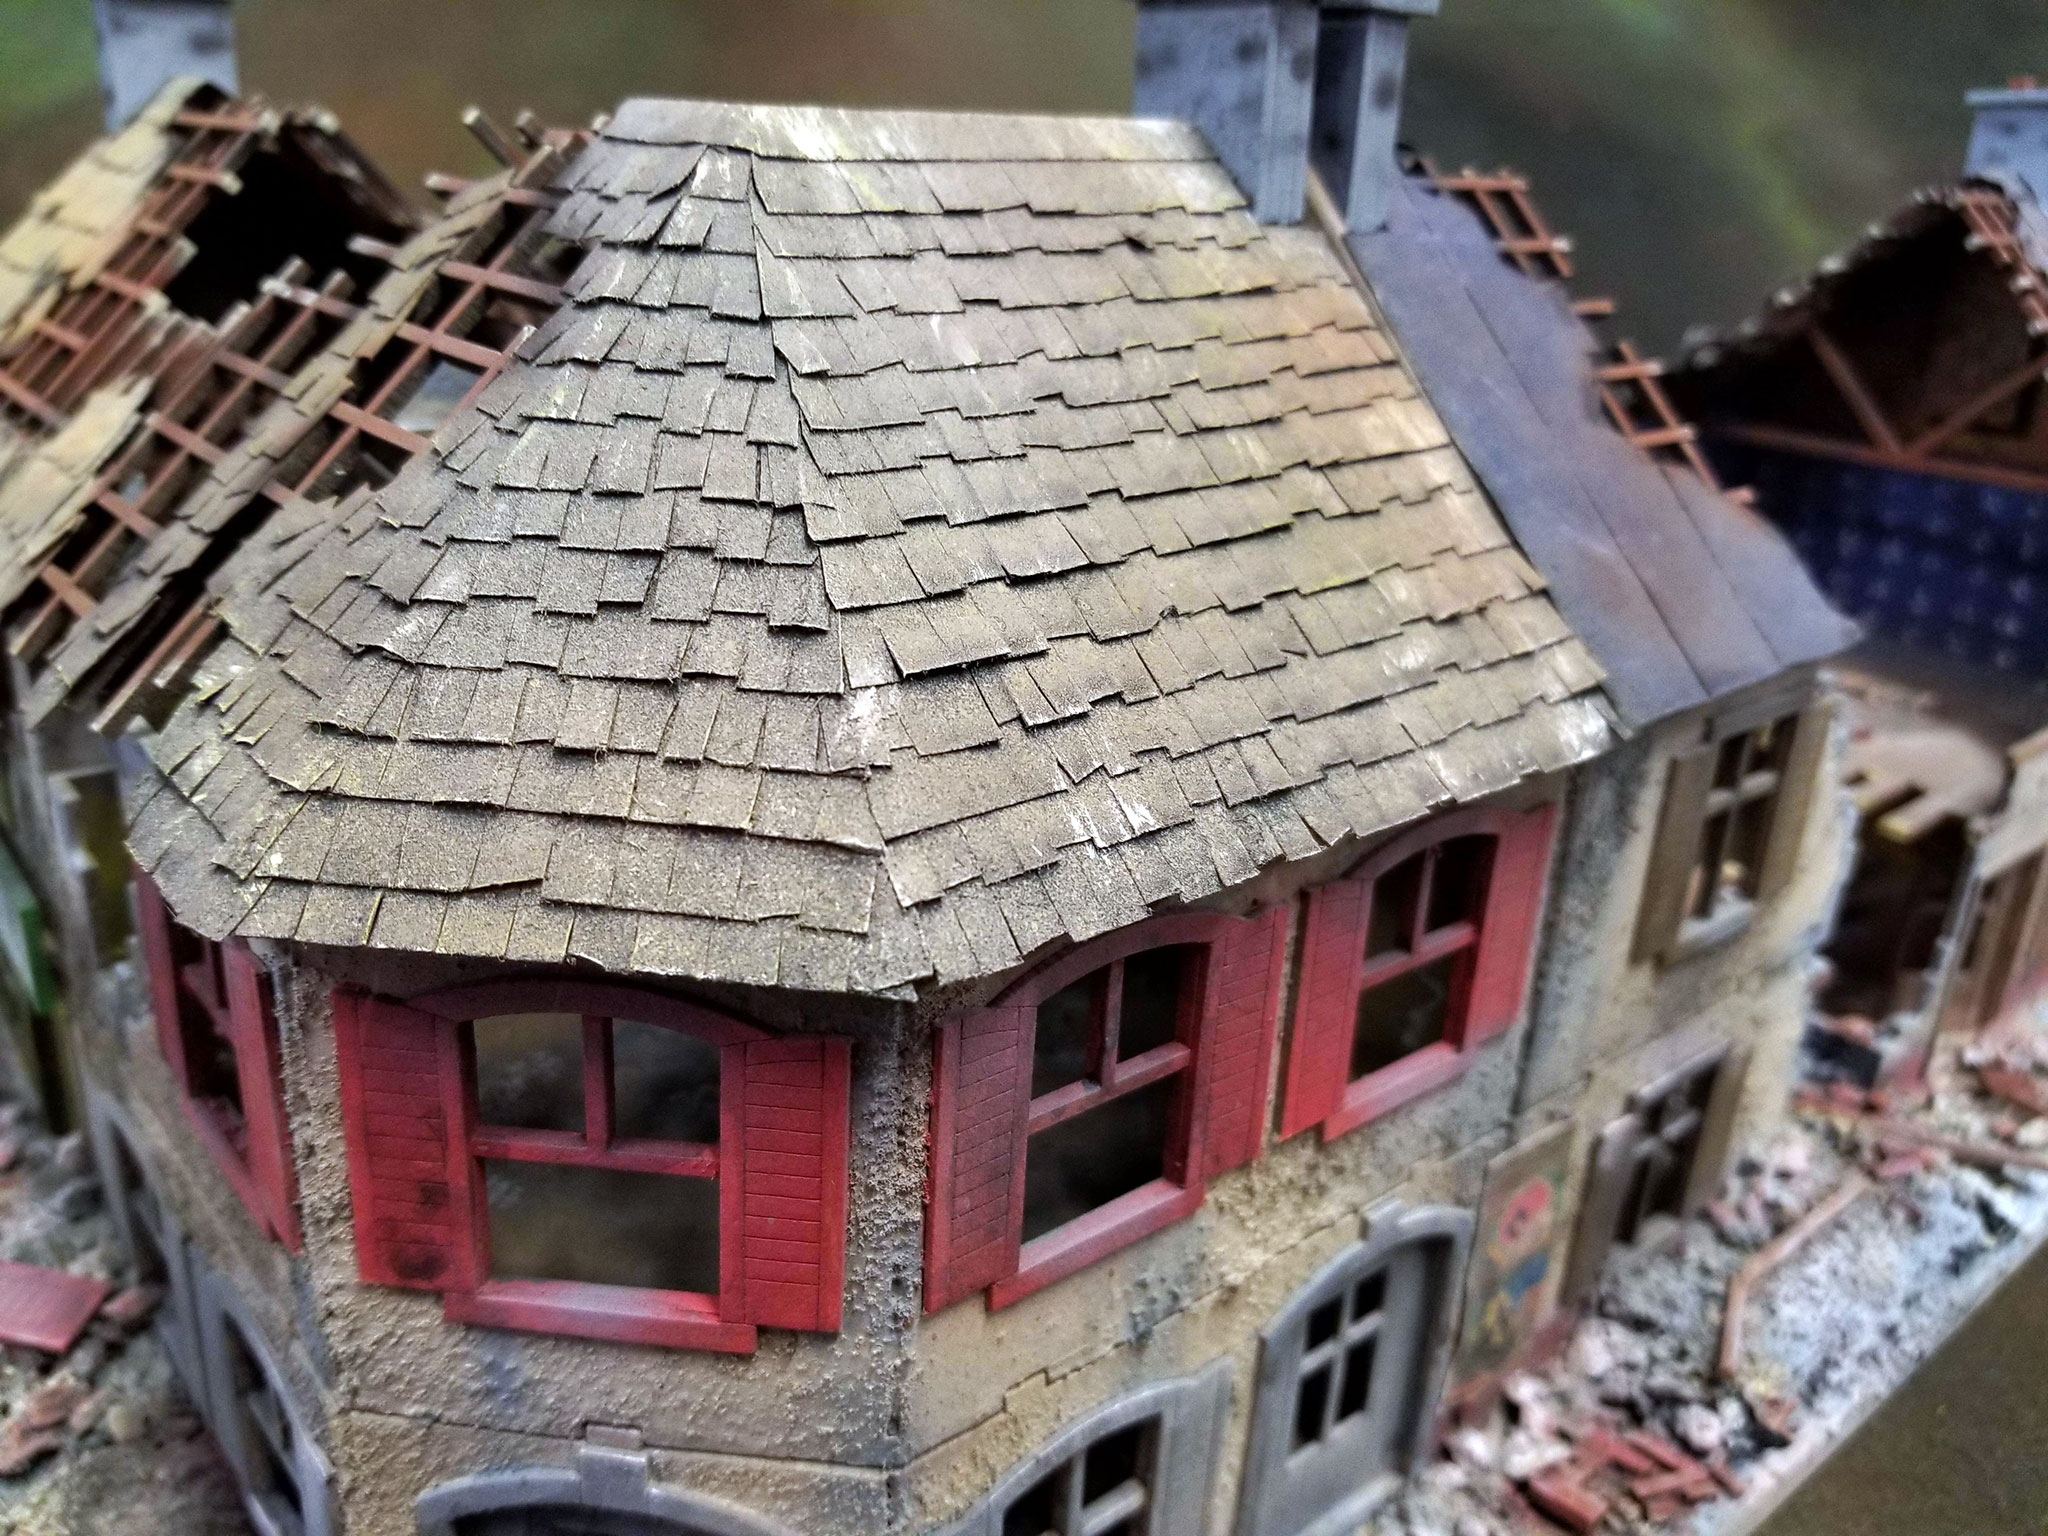
I really dislike being able to see the slots and tabs on the rooftops, and the laser-cut square gridwork for the roof shingles just isn’t appealing. Instead, I apply hand-cut roofing to the models. For the “shingles” I cut plain brown paper grocery bags into long strips. Next, each strip is cut into shingles with a very sharp blade. For some rooftops, I just the bottoms of the shingles at various lengths and angles to create a more rustic look. The strips of “shingles” are then glued in place starting at the bottom of the roof and working up, overlapping each course as you go.
Once the glue is dried, I apply acrylic paint over this shingles. The dried paint gives the paper shingles some strength. Next, the shingles are dry brushed with the appropriate highlights, weathering is applied, etc.
For the courtyard, I just added more debris. Everything is glued down with PVA glue. I sculpted the stone wall around the courtyard polymer clay that you bake in the oven to set it. These pieces, along with the blasted bits of wall, are painted with acrylic paint and then glued into place with PVA. Once the PVA glue on all the hard debris is set, the entire area is painted carefully with acrylic paint. It’s a slow job because too much moisture can soften the PVA glue and the debris starts to move a bit. One the debris is fully dry, I dry brushed it all to bring out the details. Mostly, I stuck with one colour for the debris but picked out the “bricks” with redder colour.
The next step is to add flocking to the courtyard. I left some “grass” showing to indicate that this had been someone’s yard. There’s a bomb crater in the middle of the courtyard that’s strewn rocks and gravel all over everything.
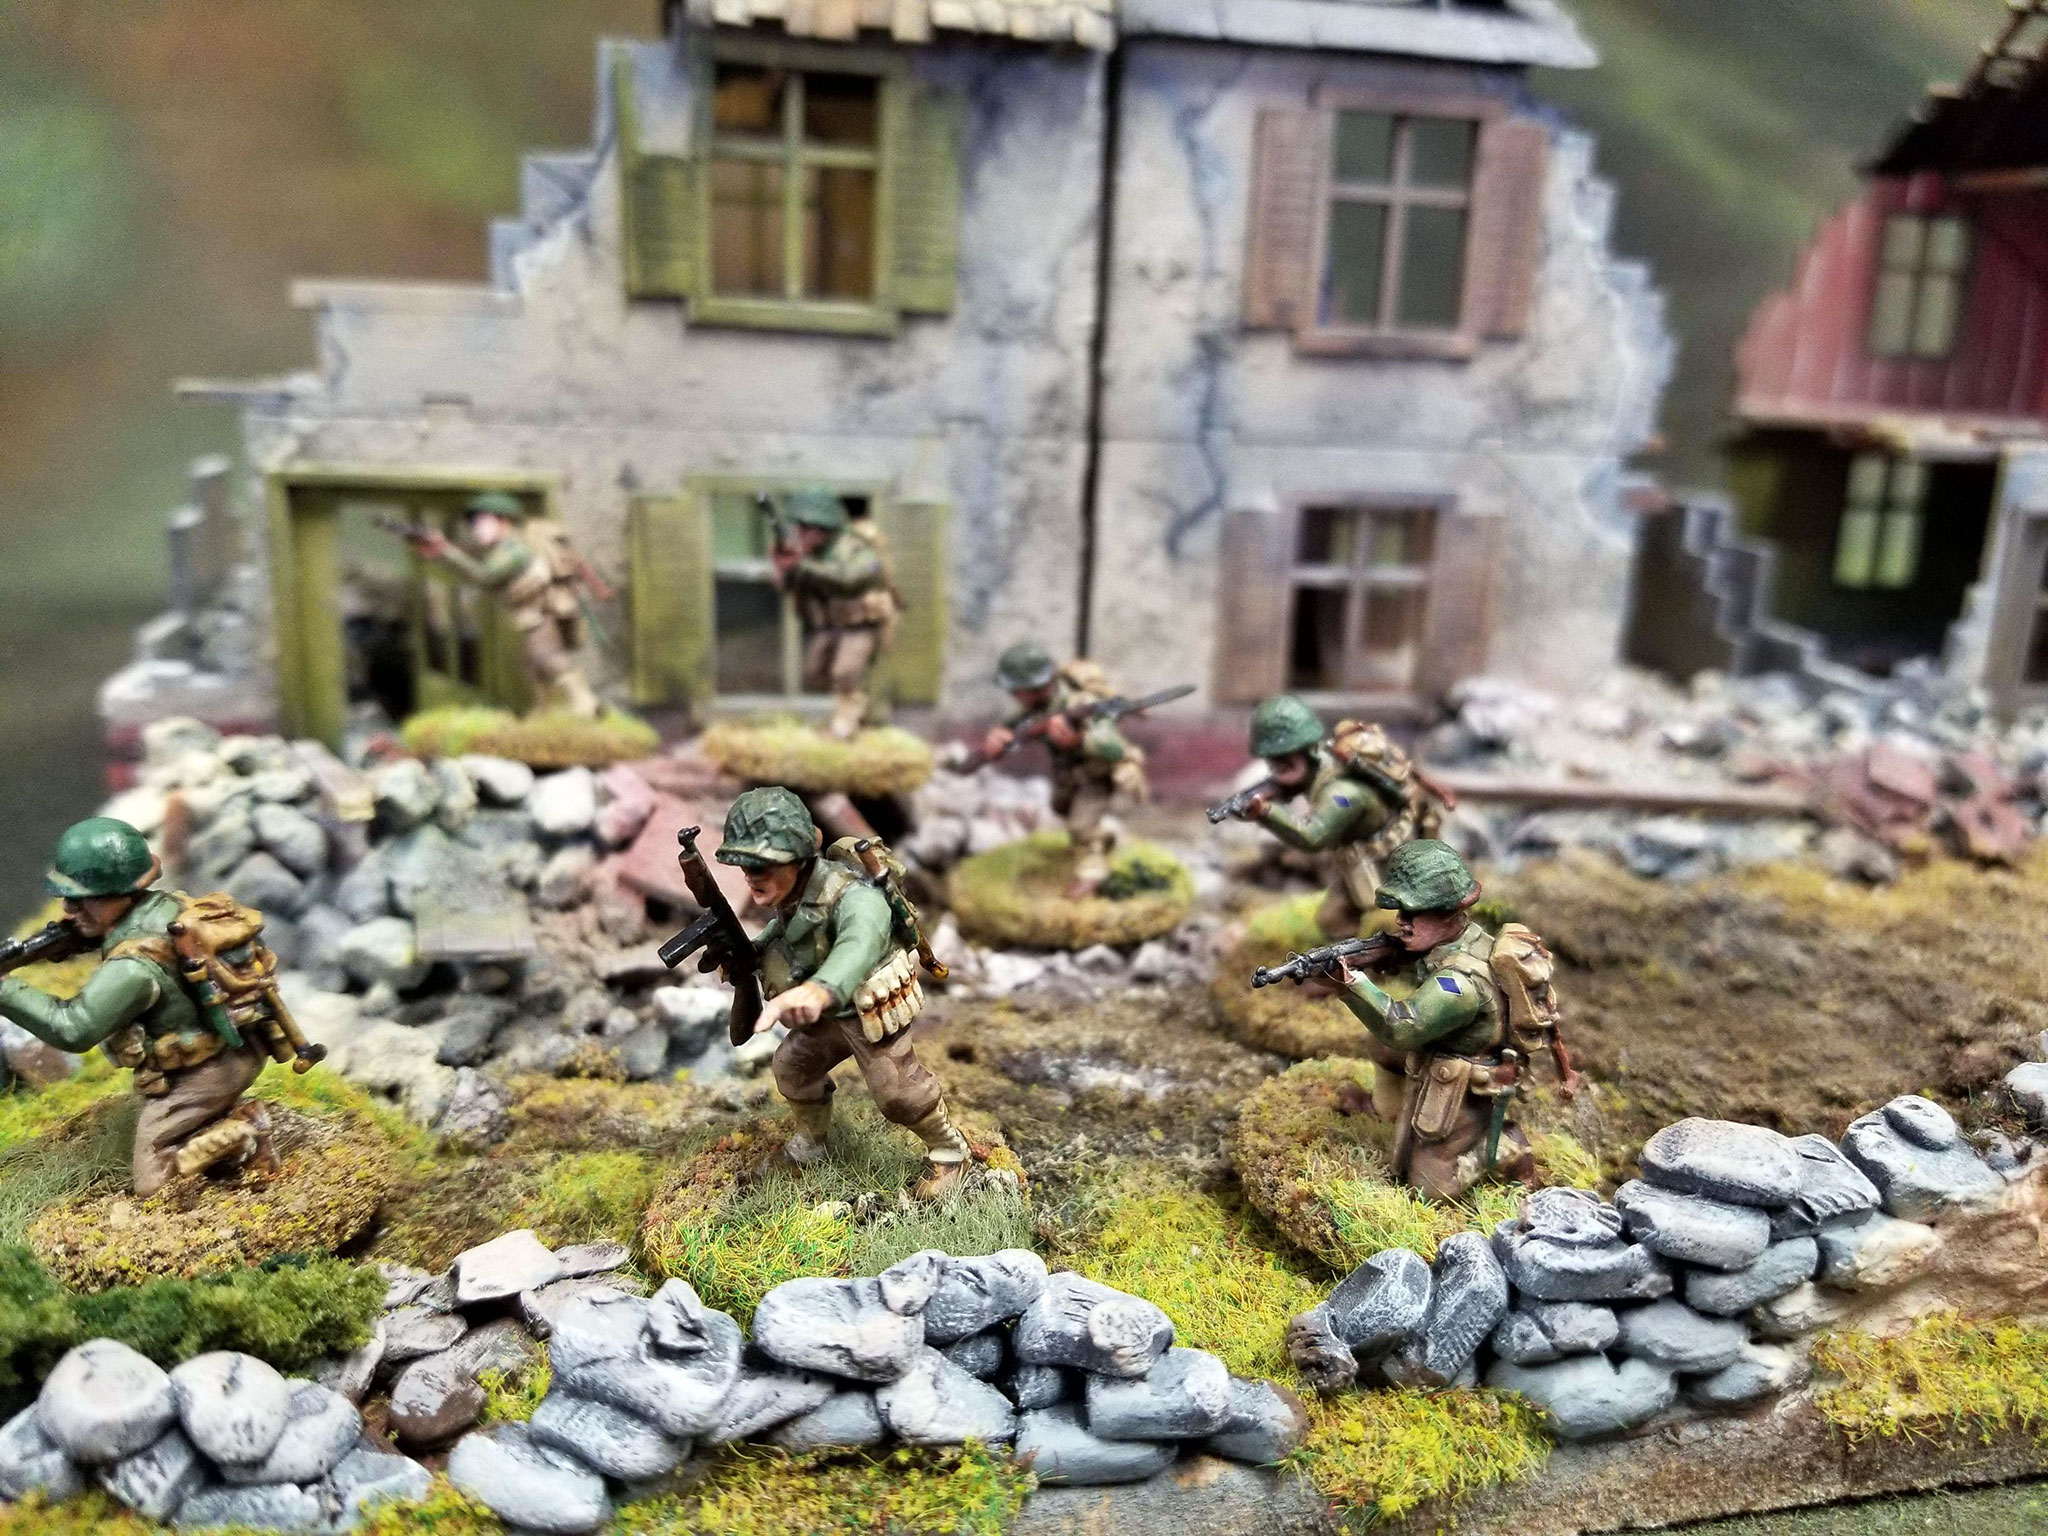
I added a few posters to the finished buildings. I just found some WWII-era French posters online, printed them, and glued them in place with PVA. There are even a few inside of the shops.
After I was satisfied with the painting, the texturing, and dry brushing, I gave the entire piece a heavy coat of spray matte varnish.
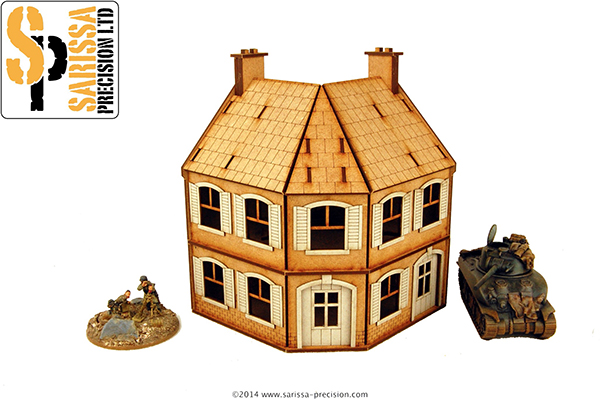
As with most Sarissa kits, the rooftops and upper floors lift off for easy placement of miniatures inside.
Build your town!