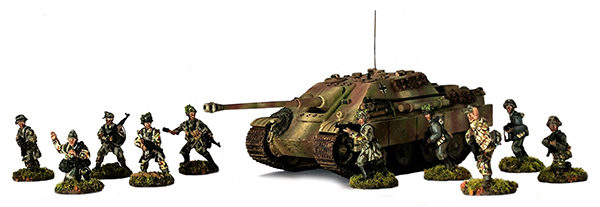
Warlorder Pete exhibits his beautifully painted Waffen SS and Jagdpanther!
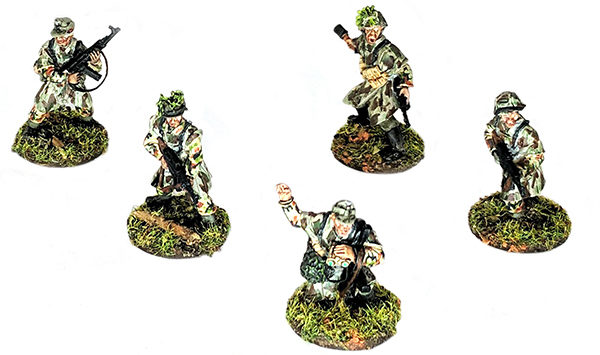
Having got the veteran grenadier squad, I decided on a slightly different paint scheme I’d seen some year ago, so no to the internet.
According to the information I could find, the camo pattern I was looking for was SS-Leibermuster and was intended to replace both Wehrmacht and Waffen-SS camo patterns. This camo clothing was printed using light-absorbing dyes to help combat the inferred night vision equipment coming into use. Only a limited amount of this clothing seems to have been issued at the very end of the war to combat troops.
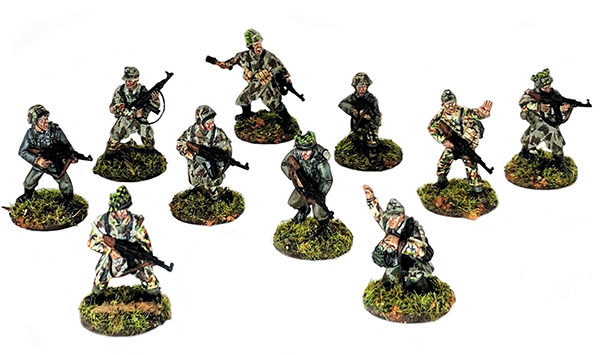
This is the camo pattern I was going to use on some of the figures, with some in part and some in full camo pattern uniform.
The camo pattern is described as being made up a six-colour design starting with a buff base, white flecks overprinted with light green with feathered leaf-shaped in medium green on top and red-brown swathes, and branch shape on top in black.
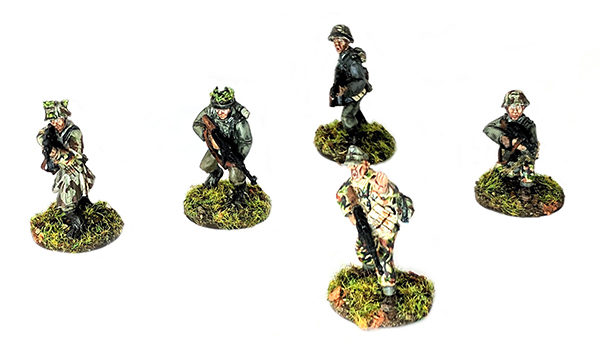
If anyone wants to have a go at this camo pattern, here’s a list of the paints I used. All the paints are Vallejo with Winsor and Newton inks.
1) Base with Iraqui Sand 819, highlight with white and drybrush over the base colour.
2) Small groups of white 951 dots (5 or 6 per group) well-spaced out.
3) Green Sky 974 to go over the top of the white dots leaving some white showing.
4) German Camo Bright Green 833 and red leather 818, put on small irregular leaf shapes, green first, followed by the red leather. The Red leather can go over some of the green.
5) Last with German Grey 995, paint on the branch shapes over and between the other camo colours.
6) Finish off with a very light wash of Winsor and Newton Peat (?) brown ink or Vallejo/army painter light brown wash to help blend the camo pattern together.
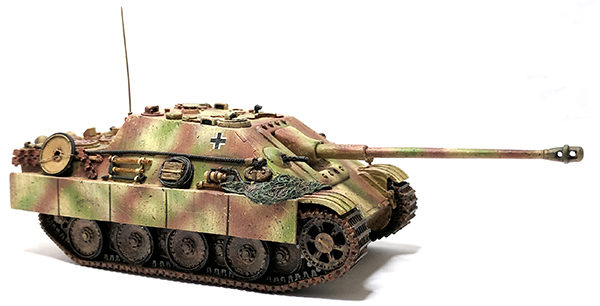
Jagdpanther
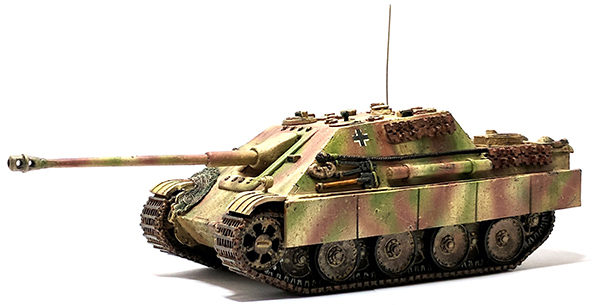
This Jagpanther is a rebuild originally built by Dave Holmes in a very nice winter camo finish and passed onto me when he popped off to Australia. When I got it, one or two parts had come adrift so it was stripped down and cleaned up.
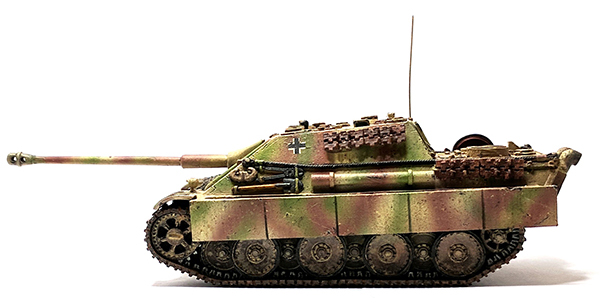
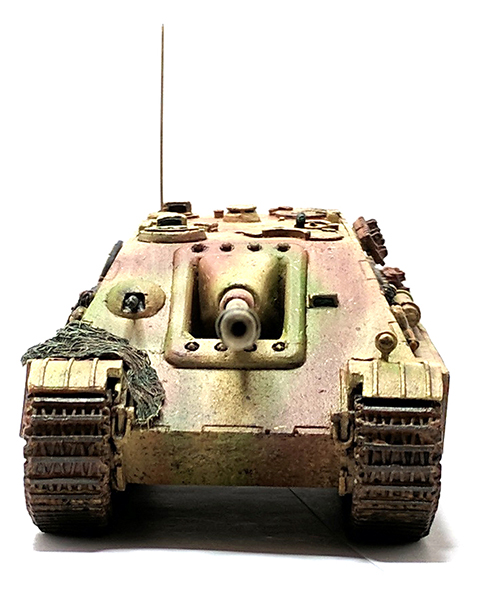
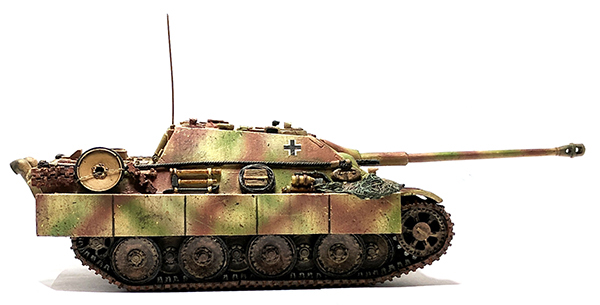
The main gun barrel, muzzle brake, hull machine gun and rapid mount were drilled out, damage to the front left-hand side hull was covered with camo net made from gauze bandage, all painting and weathering were done with Vallejo and army painter acrylics and washes, Winsor and Newton ink plus MIG pigments. If you’re reading this Dave, hope you like what I’ve done.
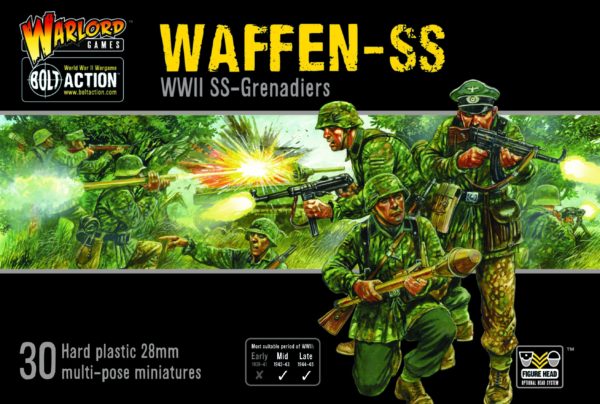
Start a new Army!