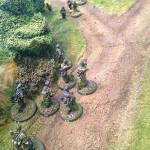
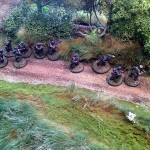
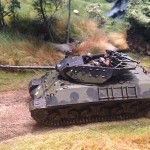
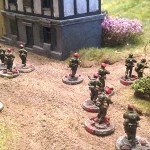
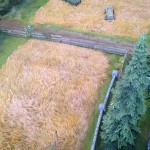
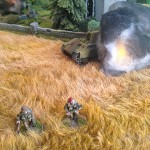
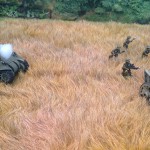
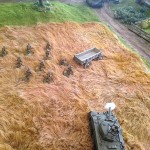
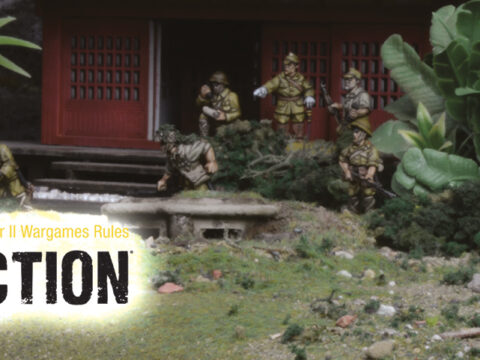
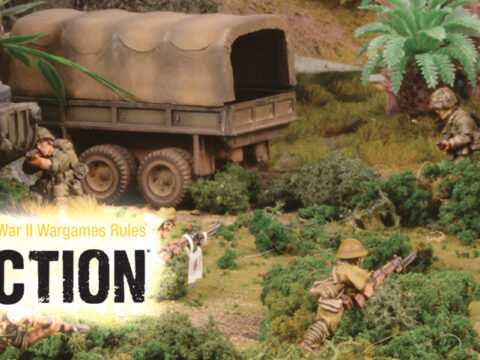
If you frequent the Warlord facebook pages you may have come across the fabulous and inspiring battlefields of David and Kalissa Skibicki. We recently got in touch and they instantly sent over some top tips, time to gather the teddy bear fur and have a go!
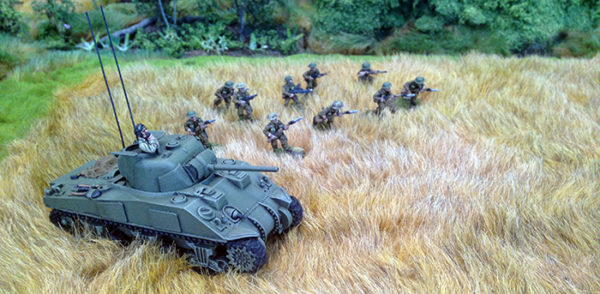
Over the years of this hobby I have read, heard, and seen how usually 10% of our wargaming hobby is spent on terrain. I have always thought it would serve the game better to make the terrain quality match the painted figures. And why not? I have heard countless arguments and discussions about various historic weapon statistics and uniform colors. Why not point out that trees are usually taller than 10 feet in major woods or that there would be no green leaves on the trees in winter tables, other than fir trees?
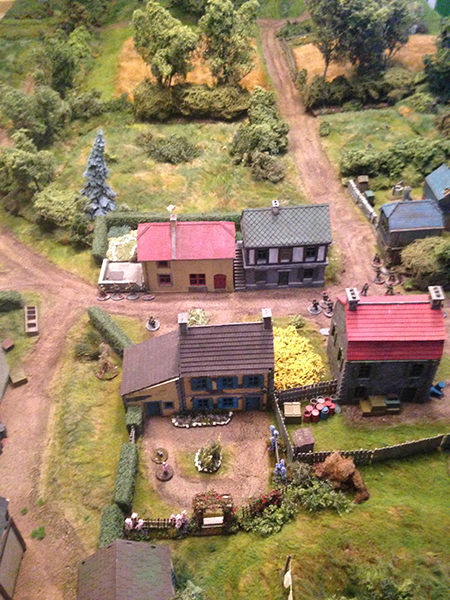
I believe that the terrain we ‘want’ to do for our miniatures is not really ignored as much as it is left due to the belief it’s time consuming. However, I am writing to show that you can do some of these awesome things without taking too much time away from your daily hobby lives with great results!
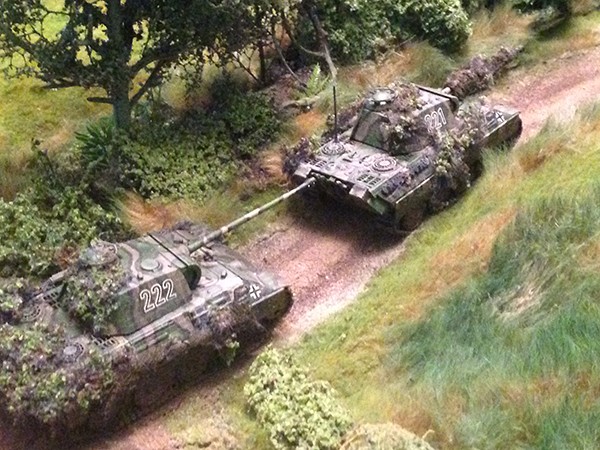
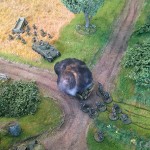
For this article, I want to mention two main elements in my terrain covering Normandy. The first one is the making of terrain boards. The second is the basic hedgerows. Normandy is perhaps the easiest to cover because it’s recognizable and commonly played.
The Board
Before we cover the elements of Normandy, there are some things to know.
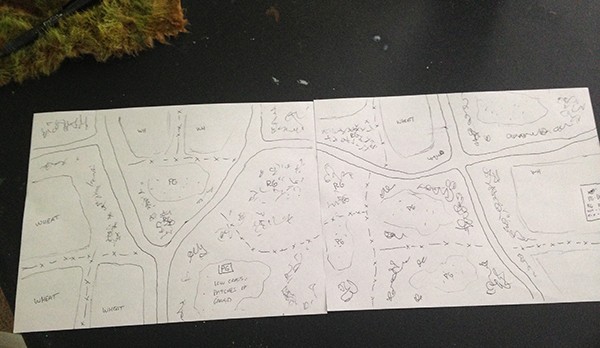
1, Make a plan! If you have a plan, it makes executing it better. I like to draw my boards before I build anything.
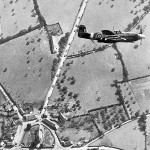
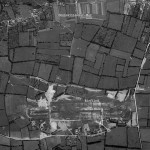
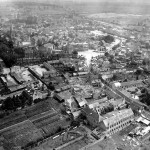
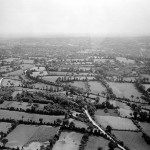
- Normandy 1944
- Colleville-sur-Mer
- Carentan
- Bocage country
- Villers Bocage
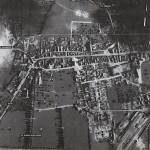
2, research! If you are trying to make a realistic board, research the time, month, and area. This can be done thanks to modern internet. For one, there are plenty of photo references out there. Second, there is Google Maps. I use Google Maps in the following way. I zoom onto the road view following terrain, month, and distance to target. You can zoom to road level in the Caen, and there will still be great references for you to use. For colors of grass and ground, I pick up paint samples from a local paint shop or hardware store. This way, I can compare colors to the actual photos. If the area had a dryer season, I could look at dryer months for reference.
Tip.
A flashlight on the sample placed against the color on the computer screen is the only way to judge how similar the sample is to the computer image, since the light from the computer will make the color on the screen brighter. This is helpful on getting colors right and more natural. This can also save you from wasting money on terrain colored things that may not look right on the finished product.
The Fur
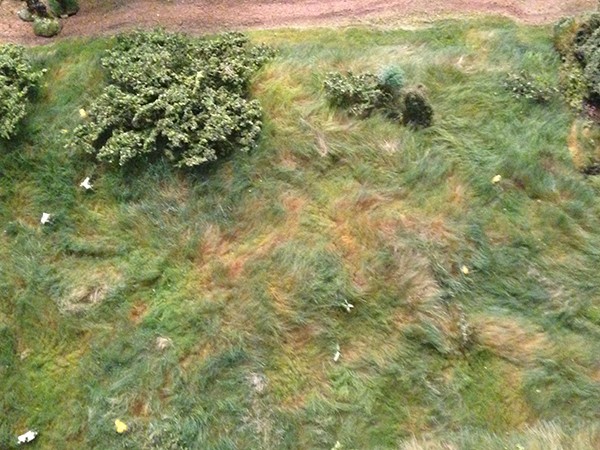
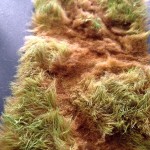
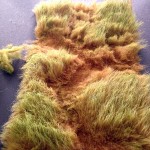
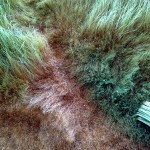
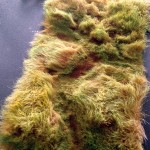
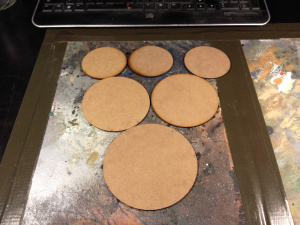
The first element of my terrain making is the board, itself. I played on quite a few basic boards, but decided to switch to the famous Teddy Bear Fur board. Now, the biggest questions about these boards were how to make them. There was once a tutorial for this I saw online. It was very informative to a degree, but I felt there were a few things lacking. For one, the whole premise of working with Teddy Bear Fur is that you have to use an air brush or dye the fur. Fear not, my friends! This is not the case!
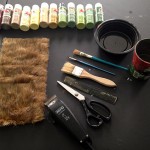
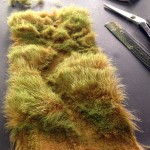
Working with fur can be done with the following tools:
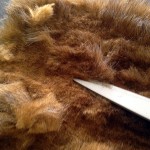
- Scissors.
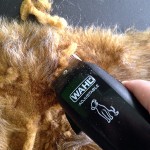
- Dog Grooming Shaver.
- Brushes.
- Acrylic paint.
- A cheap comb.
- A supply of fur in the color you want.
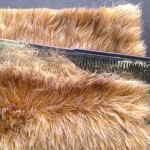
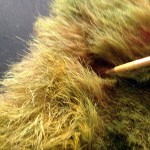
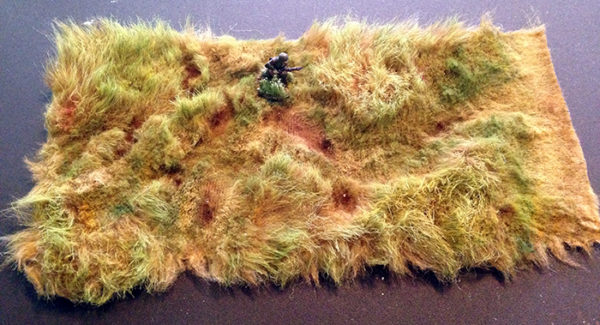
The color of your fur is effectively the base color. With any terrain piece, the base is the most important, since colors change according to the base color. Think of it as the primer you use for your miniatures. You’ll want darker colors for wet terrain, lighter colors work for more arid terrain. When you start painting, your base color will still be seen blended in on your mat. This is useful with the lighter browns, so that you have the dead grass look without having to paint most of the mat.
Tip
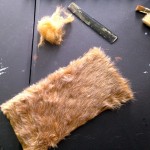
Fur can be very messy if you are not prepared for it. You almost immediately notice that the fibers shed. When I start a new mat, I always have an empty trashcan near me for excess fur.The average mat has about 10 gallons of excess loose fur, before you start to paint comb all of this out so you do not waste your paint. You could do this again after you shave down areas, such as roadways and farm areas (if you are planning on a fixed board). Either way, you are going to be combing a lot throughout the project.
- Clipper
- Cut
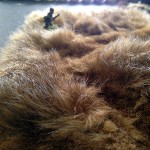
- Comb
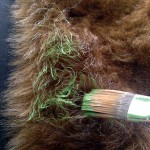
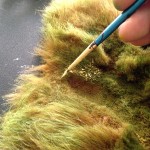
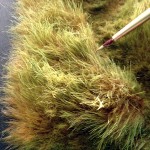
After you have got most of the preparation work done, it is time for the painting. The key is to use paint by lightly dry brushing it onto the fur. Then, you can blend the color into the fur better with a comb. A little paint and combing can go a long way. For larger areas, I use a basting brush. While you are blending, you will still get excess fur coming out. Believe me when I say it goes through less paint, and it is harder to comb out with the original amount of excess. If you accidentally add too much paint the first time, you can still brush out the fur with the comb to make it furry again. I use acrylic paints because they are cheap and easy to find. They also dry very fast for the project.
You can paint sections at a time with ease. If you have to step out or want a break, you can pick up where you left off without worrying about whether that area is dry enough to work around. Highlights work the same way as you’d use on your models. You can drybrush over other colors to blend them in. I usually use 10 to 12 paint colors in my projects. Only three are the main colors but the more blending you bring to the piece the more natural it begins to look.
Tip
Try your planed colours on a smaller piece to get the desired look that works for you before starting on the main piece.
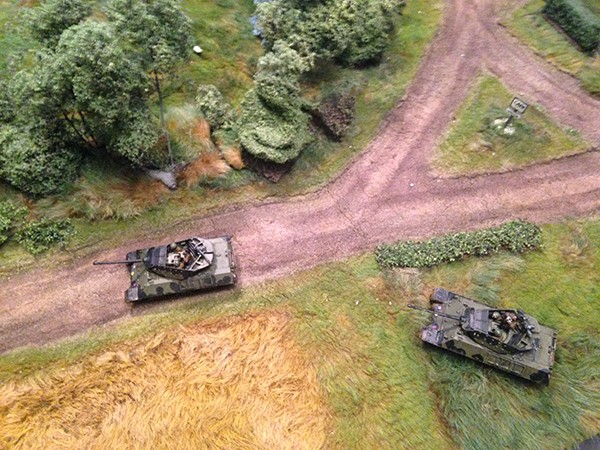
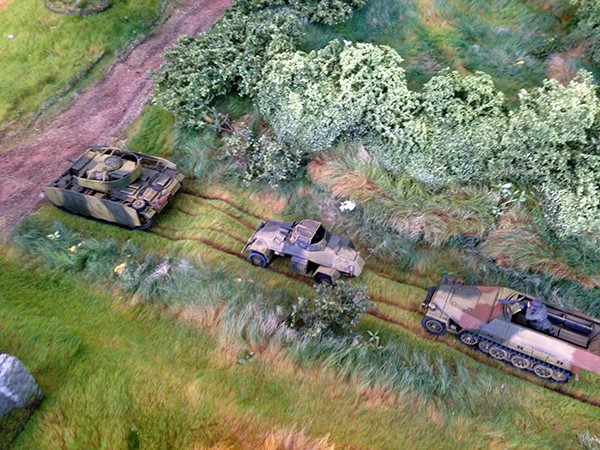
Cover
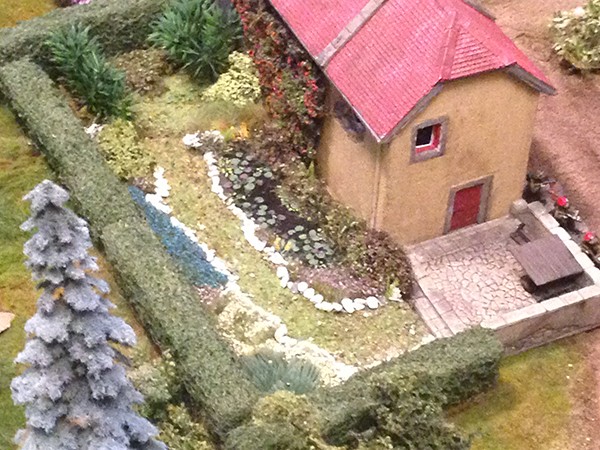
The second element to cover are the hedgerows, I’d like to look at the simple hedgerows I originally made. We still use these hedgerows and my wife will be using these for her Bolt Action Tournament in January next year.
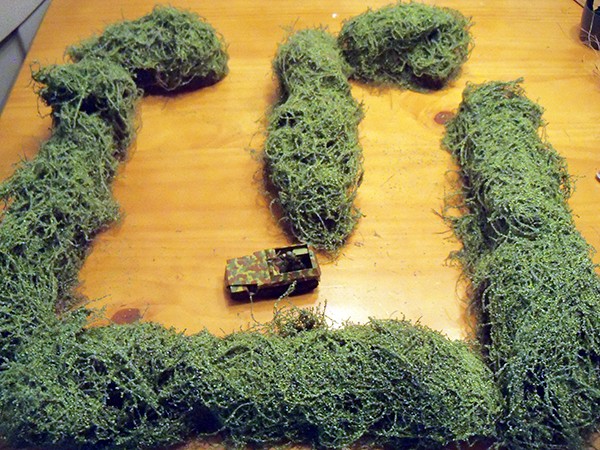
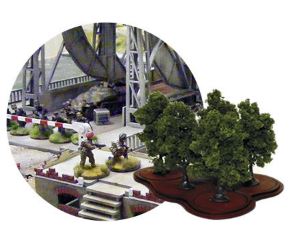
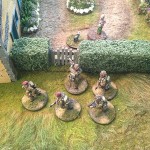
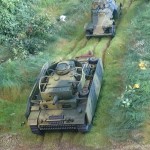
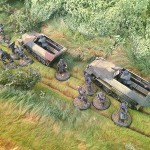
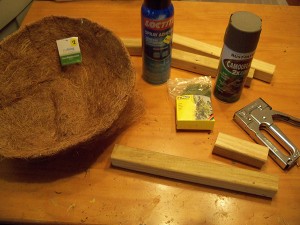
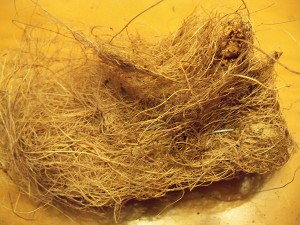
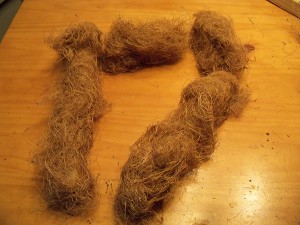
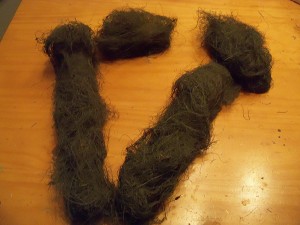
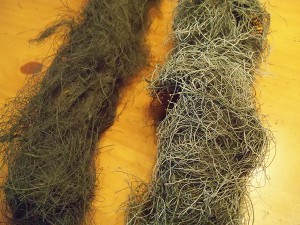
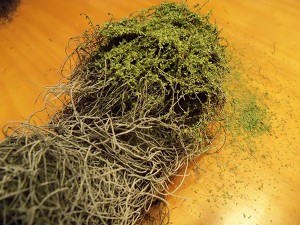
The plan is fairly simple; buy some 1″ x 1″ straight board and cut it in the lengths you would like. You staple coconut linear or horsehair to the board with a staple gun to hold it in place. Feel free to fluff out and trim them like Bonsai trees. After that, spray paint it with a brown flat paint. Flock with leaves from Noch Leaves or Super Leaf. You can spray the leaves with a bright green gloss from a distance to give a sunlit effect. The result should be a nice solid piece that is taller than a tank. Instant Bocage!
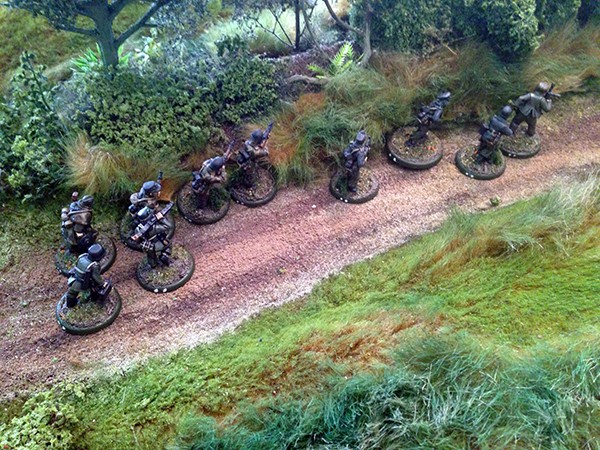
The thing to keep in mind is that making terrain can and should be a fun part of our hobby. You’ll be surprised at the positive impact it can have in your games.
Something to remember is that any terrain you see can be made by you, the reader, of this article! You can do this! We look forward to your inspirations.
Acknowledgements: Figures painted by David Skibicki and our friend, Hugh Alderson (leadmountainminis@gmail.com). The buildings are a mixture of Impudent Mortal, Najewitz Modelbaus, Total Battle Miniatures, and Foxhole Terrain.
Do you have an article within you? Are you itching to show your collection to the world of Bolt Action? Then drop us a line with a couple of pictures to info@warlordgames.com or share with all over at the Warlord Forum
More terrain materials in store
