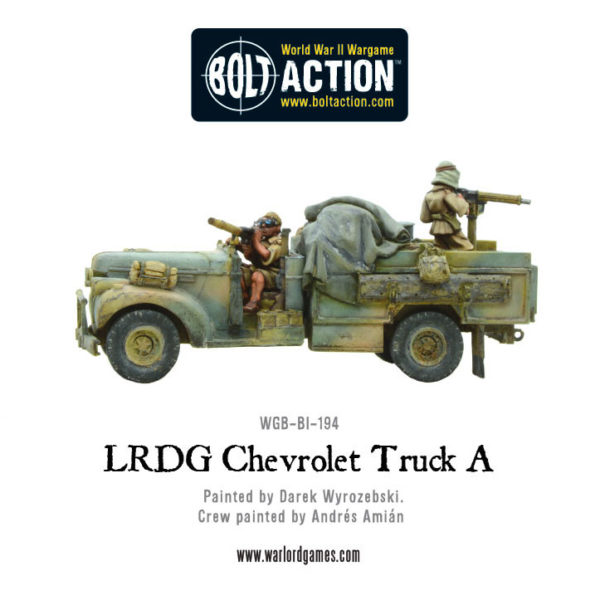
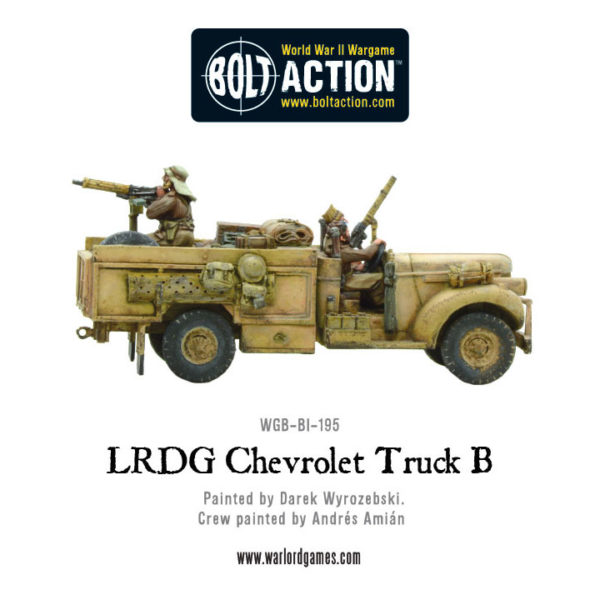
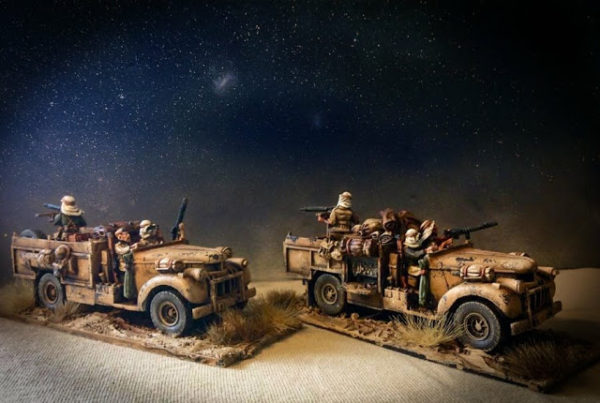
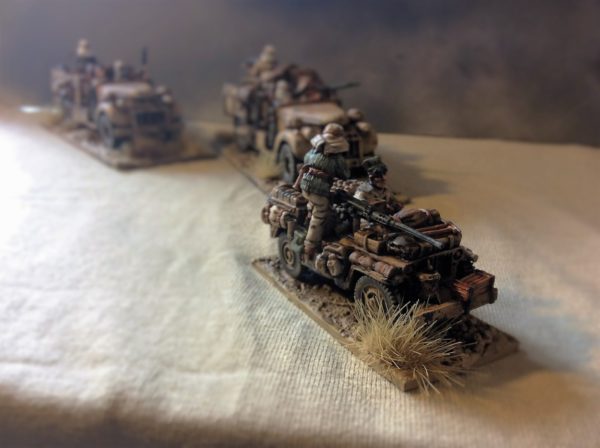
Just before the release of our Long Range Desert Group (LRDG) Chevrolet trucks we sent a few out early on patrol – a set of which found it’s way into the more than capable hands of our friend Patch over at wwpd:
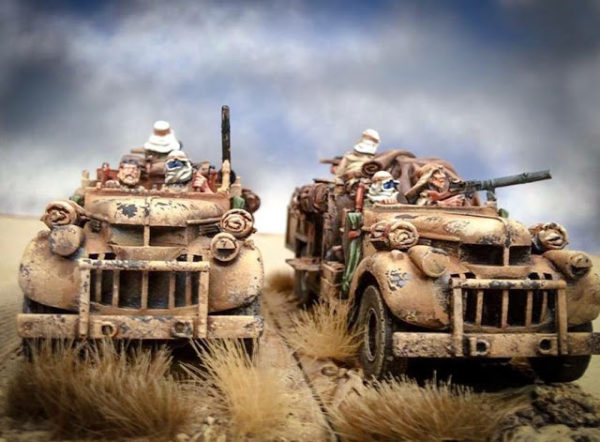
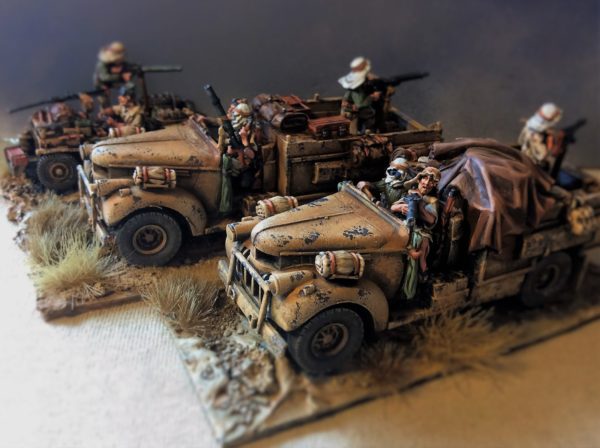
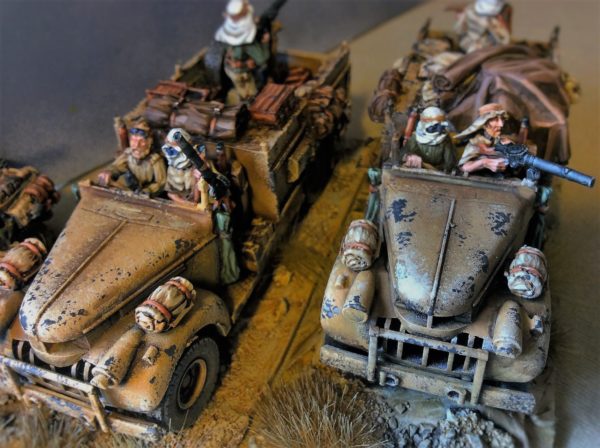
Patch: The vehicles are resin with metal crew and weapons, and are easily some of the finest vehicles I have seen, with a huge amount of integrated stowage. There is no need to add anything to these vehicles. You may need to straighten up some of the resin with some hot water and clean-up some excess flash (How to work with resins article), but this should only take you a few minutes, then on to painting:
Preparation
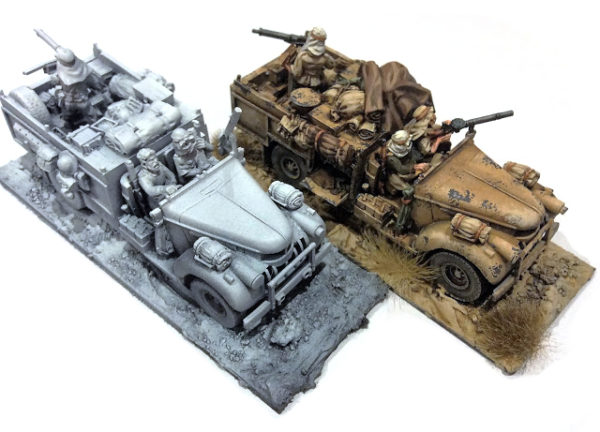
Using plasticard I put down a layer of Spakfilla (Pollyfilla) with some sprinklings of sand and small rocks to create the base. This stage is totally optional and not for everyone. Once dry, I glue the vehicle down and prime first with an Army Painter Black spray. I then like to use an Army Painter white spray and with the can facing directly above the miniature spray lightly, this has an effect of highlighting everything while keeping the lower portions dark and will help later as you add layers of colour to create depth.
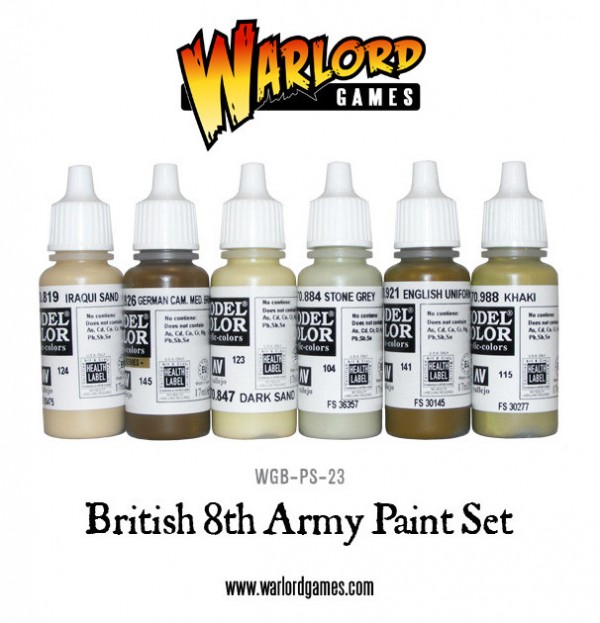
You will need a brush, some foam from a blister pack and something along the lines of the following colours:
| Vallejo Model Color | 977 | Desert Sand |
| Vallejo Model Color | 912 | Tan Yellow |
| Vallejo Panzer Aces | 321 | Highlight British Uniform |
| Vallejo Game Color | 72.034 | Bonewhite |
| Army Painter | Strong Tone Ink | |
| AK Interactive | AK720 | Rubber Tyres |
| Vallejo Game Color | 72.042 | Parasite Brown |
| Vallejo Model Color | 981 | Red Brown |
| Vallejo Model Color | 826 | German Dark Cam Medium Brown |
| Vallejo Model Color | 983 | Flat Earth |
| Vallejo Model Color | 826 | German Beige Brown |
| Vallejo Model Color | 924 | Russian Uniform |
| Vallejo Model Air | 052 | German Grey |
| Army Painter | Army Green |
Vehicle Body
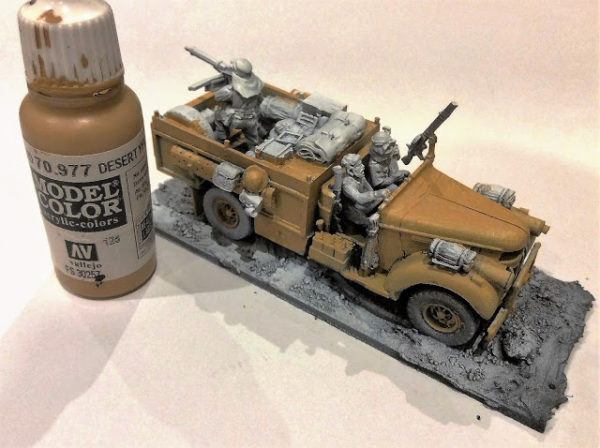
Stage 1 – Paint the vehicle with (70.977) Desert Sand Vallejo Model Color
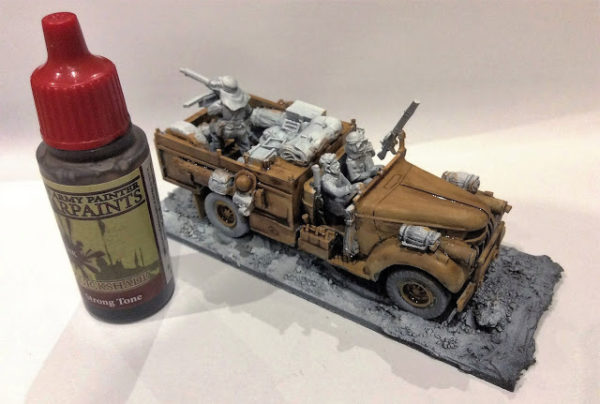
Stage 2 – Wash the vehicle with Army Painter Strong Tone.
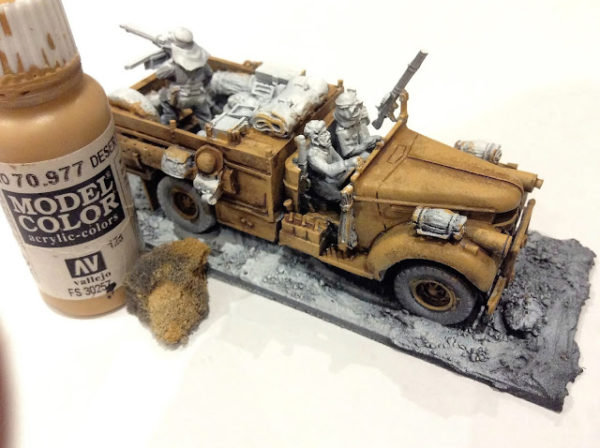
Stage 3 – Using some blister pack foam blot the raised areas with (70.977) Desert Sand Vallejo Model Color (normal procedure applies to blot off most of the paint on tissue paper before applying in dabs to vehicle). Ensure you leave the recesses dark and make the areas deliberately uneven.
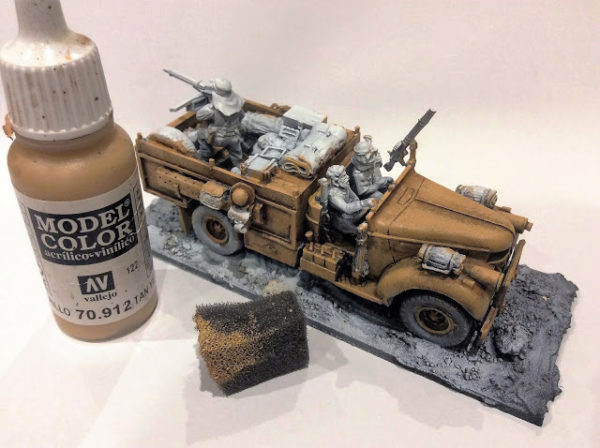
Stage 4 – Using blister pack foam, this time with (70.912) Tan Yellow Vallejo Model Color, trying to concentrate on blotting the areas that would get the most light.
Stage 5 – Continue the blister pack foam blotting with (321) Highlight British Uniform Vallejo Panzer Aces, this time within a smaller area again.
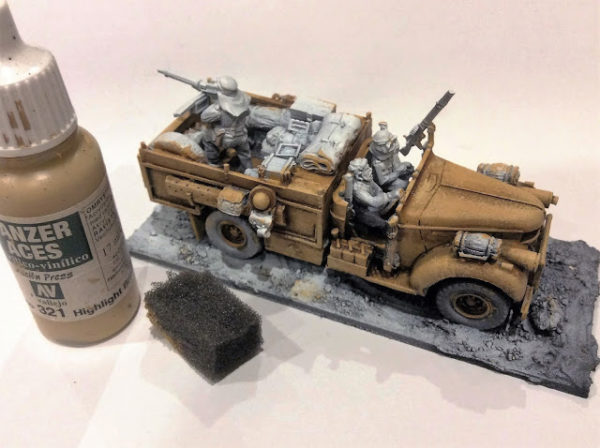
Stage 6 – Finally use the (72.034) Bonewhite Vallejo Game Color as a final highlight to areas that would get the most amount of sun.
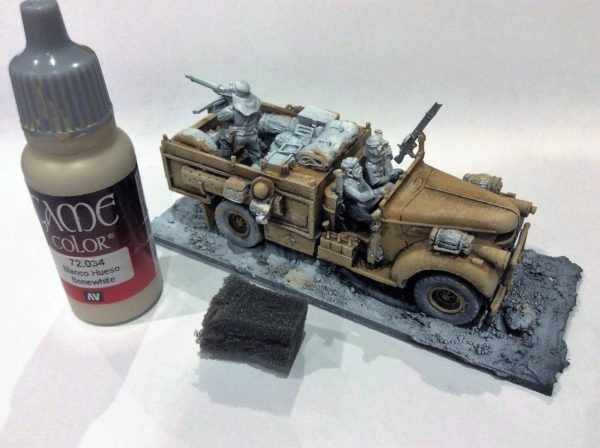
Stage 7 – (Optional) This is the part where I add the chipping to the paintwork. I like it as it adds that veteran look and provides some contrast to the light colours. I use (71.052) German Grey Vallejo Model Air to do the chipping and some blister pack foam in a random manner with most of the attention given to the most exposed areas.
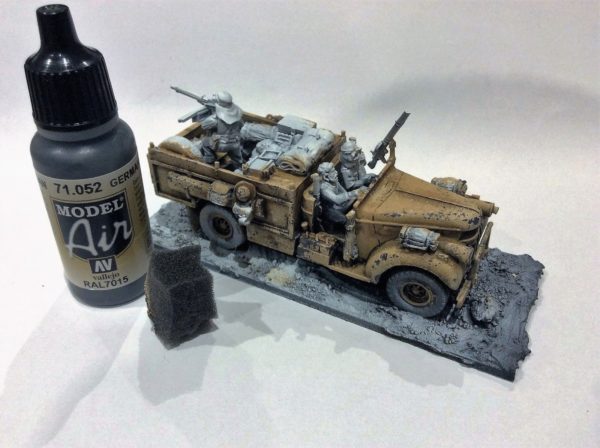
Stage 8 – Using the (AK720) Rubber Tyres from AK Interactive, paint the wheels. This paint is very thin, so be careful not to put paint on the actual rims. Once dry you can use the (72.034) Bonewhite Vallejo Game Color to drybrush and make the wheels looks dusty.
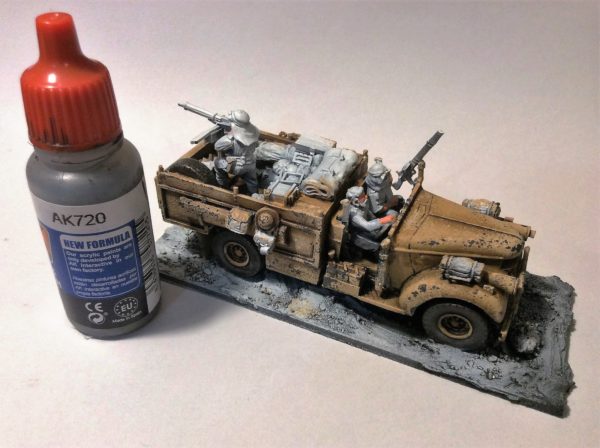
Stage 9 – Now it is time for the stowage. I used four main colour schemes – dark brown, red brown, sand and green. These all follow the same technique which is base colour – wash – base colour – lighter colour (smaller area) – lightest colour (just the highlights).
Dark Brown – Large tarps, some smaller stowage
| Vallejo Model Color | 826 | German Dark Cam Medium Brown |
| Army Painter | Strong Tone Ink | |
| Vallejo Model Color | 983 | Flat Earth |
| Vallejo Model Color | 826 | German Beige Brown |
Red Brown – Wood, rifle stocks etc.
| Vallejo Game Color | 042 | Parasite Brown |
| Army Painter | Strong Tone Ink | |
| Vallejo Model Color | 981 | Red Brown |
| Vallejo Game Color | 034 | Bonewhite (mix with red brown for final highlight) |
Green – some cloth type stowage
| Vallejo Model Color | 924 | Russian Uniform |
| Army Painter | Strong Tone Ink | |
| Army Painter | Army Green |
Sand – some cloth type stowage
| Vallejo Model Color | 912 | Tan Yellow |
| Vallejo Panzer Aces | 321 | Highlight British Uniform |
| Vallejo Game Color | 034 | Bonewhite |

Troops
I used the following for the light coloured uniforms:
| Vallejo Panzer Aces | 321 | Highlight British Uniform |
| Army Painter | Strong Tone ink | |
| Vallejo Game Color | 034 | Bonewhite |
And for the green coloured jumpers I used these:
| Vallejo Model Color | 924 | Russian Uniform |
| Army Painter | Strong Tone Ink | |
| Army Painter | Army Green |
Flesh
| Vallejo Game Color | 041 | Dwarf Skin |
| Army Painter | Strong Tone ink | |
| Vallejo Game Color | 034 | Bonewhite (mixed with dwarf skin) |
General Tips
The sponge technique is a really great way to get a controlled variation in colour throughout your vehicle and most people have these just sitting around. Tear off a corner of a blister pack sponge and give it a go. This technique can also be used with other colour vehicles like green for Allied M4s or Dunkelgelb for German tanks. This hobby is all about trying new things to get slightly different effects, so challenge yourself on your next project!
My highlights on the stowage are extreme – subtlety is great but if you want them to ‘pop’ you have to have nice contrast between the light and dark variations of the colour.
I hope this guide is a help to some out there. Like anything, there are a million ways to do it and if you get even something small out of it then that makes it worth it. Happy painting!
If you want to know more about collecting your elite unit, for either the desert or European theatres then check out this article on the LRDG & SAS:
And then get into action with this special scenario from Bolt Action rules writer Alessio Cavatore:
