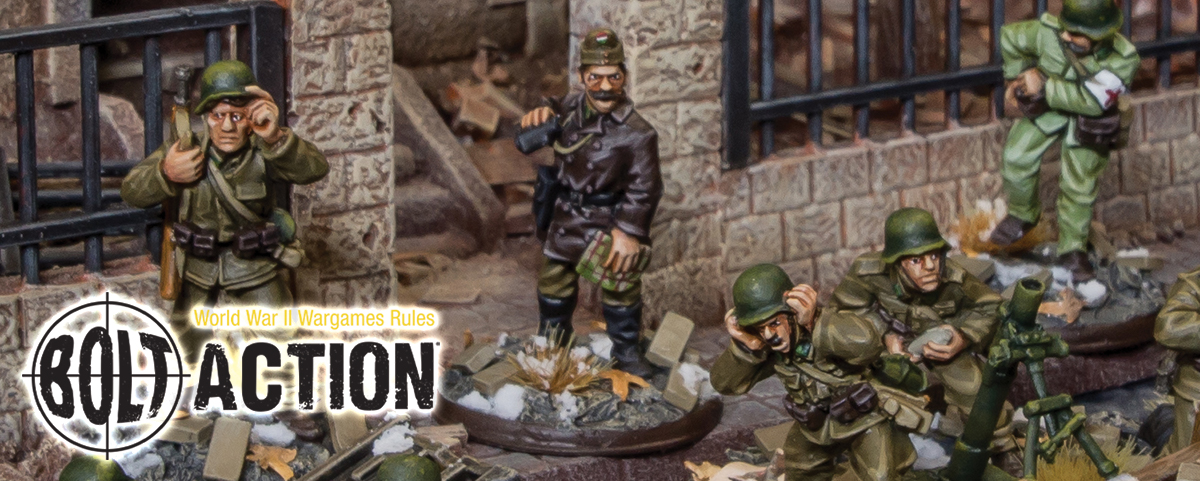
This Axis ally of Germany on the Eastern Front had an interesting mix of contemporary equipment and dress as well as throwbacks to the old Austro-Hungarian Empire.
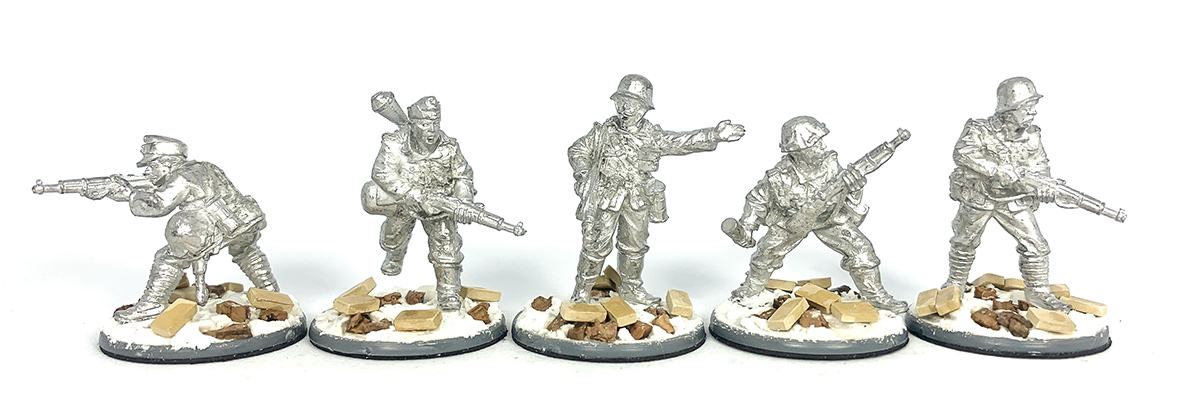
Before applying any paint, it’s a good idea to add any materials you are using to texture your bases. This saves time later as the spray primer will cover this too. In this example, I am going to create urban looking bases to represent a force fighting in the siege of Budapest. To create an impression of rubble I’ve used Polly-filla from the hardware store smeared over the base to obscure the metal tab at the miniatures feet. Once dry, I have glued on some 1:48 scale bricks from a company called Juweela.
Before getting started, make sure you’ve undercoated your miniatures with Army Painter Matt Black primer.
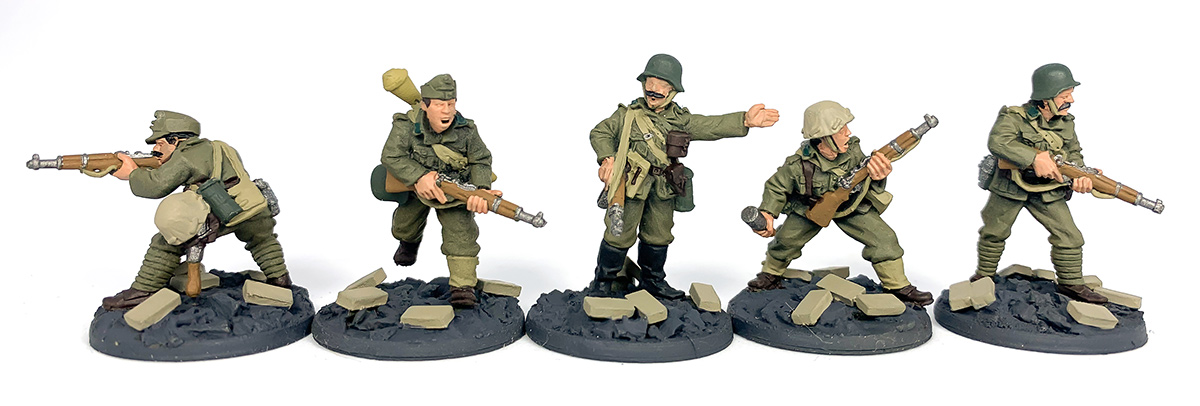
Step 1 – Base Colours
First, paint on the base colours using a brush. I tend to use a decent sized brush with a good point. Be sure to thin your paints with a little water so they apply smoothly. Some colours will benefit from a second thin coat to give solid coverage.
- Uniform and leg wraps: Crypt Wraith
- Helmet and gas mask canister: Necromance Cloak
- Flesh: Tanned Flesh
- Wooden gun stock: Monster Brown
- Metal gun barrel, water bottle, grenade heads, shovel blades: Gun Metal
- Gun slings, canvas bags and straps, SMG ammo pouches, gaiters and helmet covers: Filthy Cape
- Jackboots, some hair and moustaches: Matt Black
- Belt, rifle ammo pouches, binocular case, low cut boots, some hair and moustaches: Dirt Spatter
- Panzerfaust: Combat Fatigues
- Collar Tabs: Angel Green
- Bases: Dungeon Grey for the rubble and Filthy Cape for the bricks.
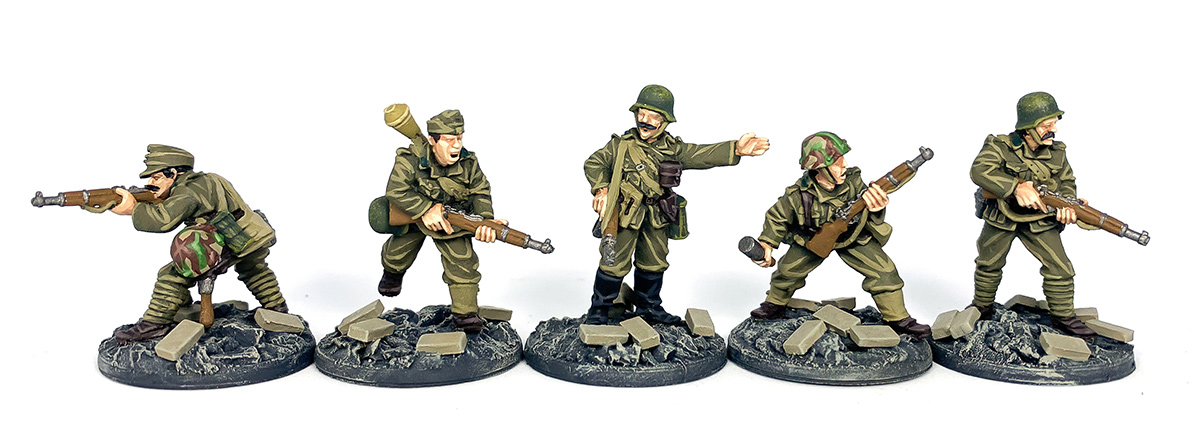
Step 2: Camouflage Patterns
The Hungarians used their own three colour camouflage pattern. The M1938 design consisted of dark reddish-brown and olive green shapes on a khaki background. The base colour has already been applied in the previous stage. Using a fine detail brush, add the second and third colours of the pattern as shown above. Be sure to thin your paints so you can easily create smooth shapes.
- Base Colour: Filthy Cape
- Colour 1: Greenskin
- Colour 2: Oak Brown
At this stage, if you’re following the Warlord Games Rapid Deployment Paint System, it’s time to break out that tin of quickshade and liberally apply that to the model, along with a good coat of matt varnish once the shade has dried.
Once you’ve done that, drybrush the whole base with Stone Golem and add some snow and tufts and the model’s good to go!
If you’re looking to spend a bit more time on each model, keep reading!
Step 3: Highlighting
Time to begin creating some depth by highlighting the raised areas of the model. I apply washes after the highlights are laid down as this will help blend the highlights with the base colours underneath.
This post highlight wash cuts out several stages of blending that would normally require mixing colours. Remember to be deliberate with your brushstrokes and don’t cover too much of the base colour underneath when applying your highlights.
- Uniform and leg wraps: Crypt Wraith over the raised surface area, then an edge highlight of Filthy Cape
- Helmet, gas mask canister: Crypt Wraith over the raised surface area, then a sponged on a highlight of Commando Green.
- Flesh: Kobold Skin then Corpse Pale
- Jackboots, some hair and moustaches: Dungeon Grey
- Belt, rifle ammo pouches, binocular case, low cut boots, some hair and moustaches: 70/30 mix of Dirt Spatter& Kobold Skin
- Camouflage helmet covers: For the green areas, a 70/30 mix of Kobold Skin and Greenskin, for the brown areas, a 70/30 mix of Kobold Skin and Oak Brown
- Panzerfaust: Kobold Skin
- Infantry collar tabs: Greenskin
- Bases: Drybrush the whole base with Stone Golem.
Step 4: Washes
As previously mentioned I like to apply washes after highlighting as I find it does a lot of the blending work between the highlights and base colours for me, as well as adding the shadows.
- Uniform, wooden gun stock, gun slings, canvas bags and straps, SMG ammo pouches, gaiters, panzerfaust, camouflage helmet covers: Soft Tone
- Helmet, gas mask canister: 60/40 mix of Green Tone and Strong Tone
- Flesh: Flesh Wash
- Metal gun barrel, water bottle, grenade heads, shovel blades: Strong Tone
- Bases: Strong Tone
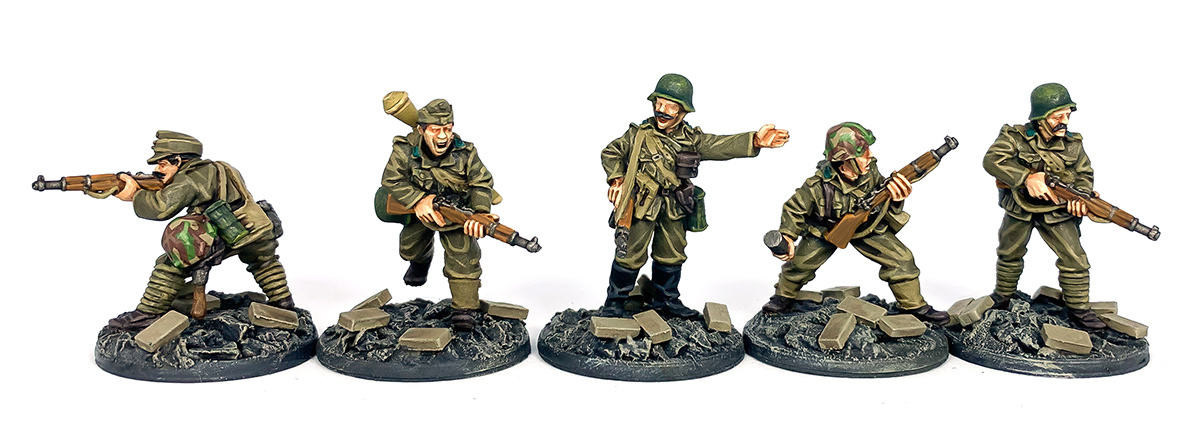
Step 5: Finishing Touches
To finish off our Hungarians there are a few finishing touches to make. The first is to highlight the two areas that were not done prior to the washes like the rest.
- Wooden gun stock: Tanned Flesh
- Gun slings, canvas bags and straps, SMG ammo pouches, gaiters: Filthy Cape
The models wearing soft caps feature a small shield on the front of them. Paint the shield in Matt White, then add a small strip of Dragon Red to the top of the shield, followed by another strip of Goblin Green at the bottom.
Campaign: Fortress Budapest
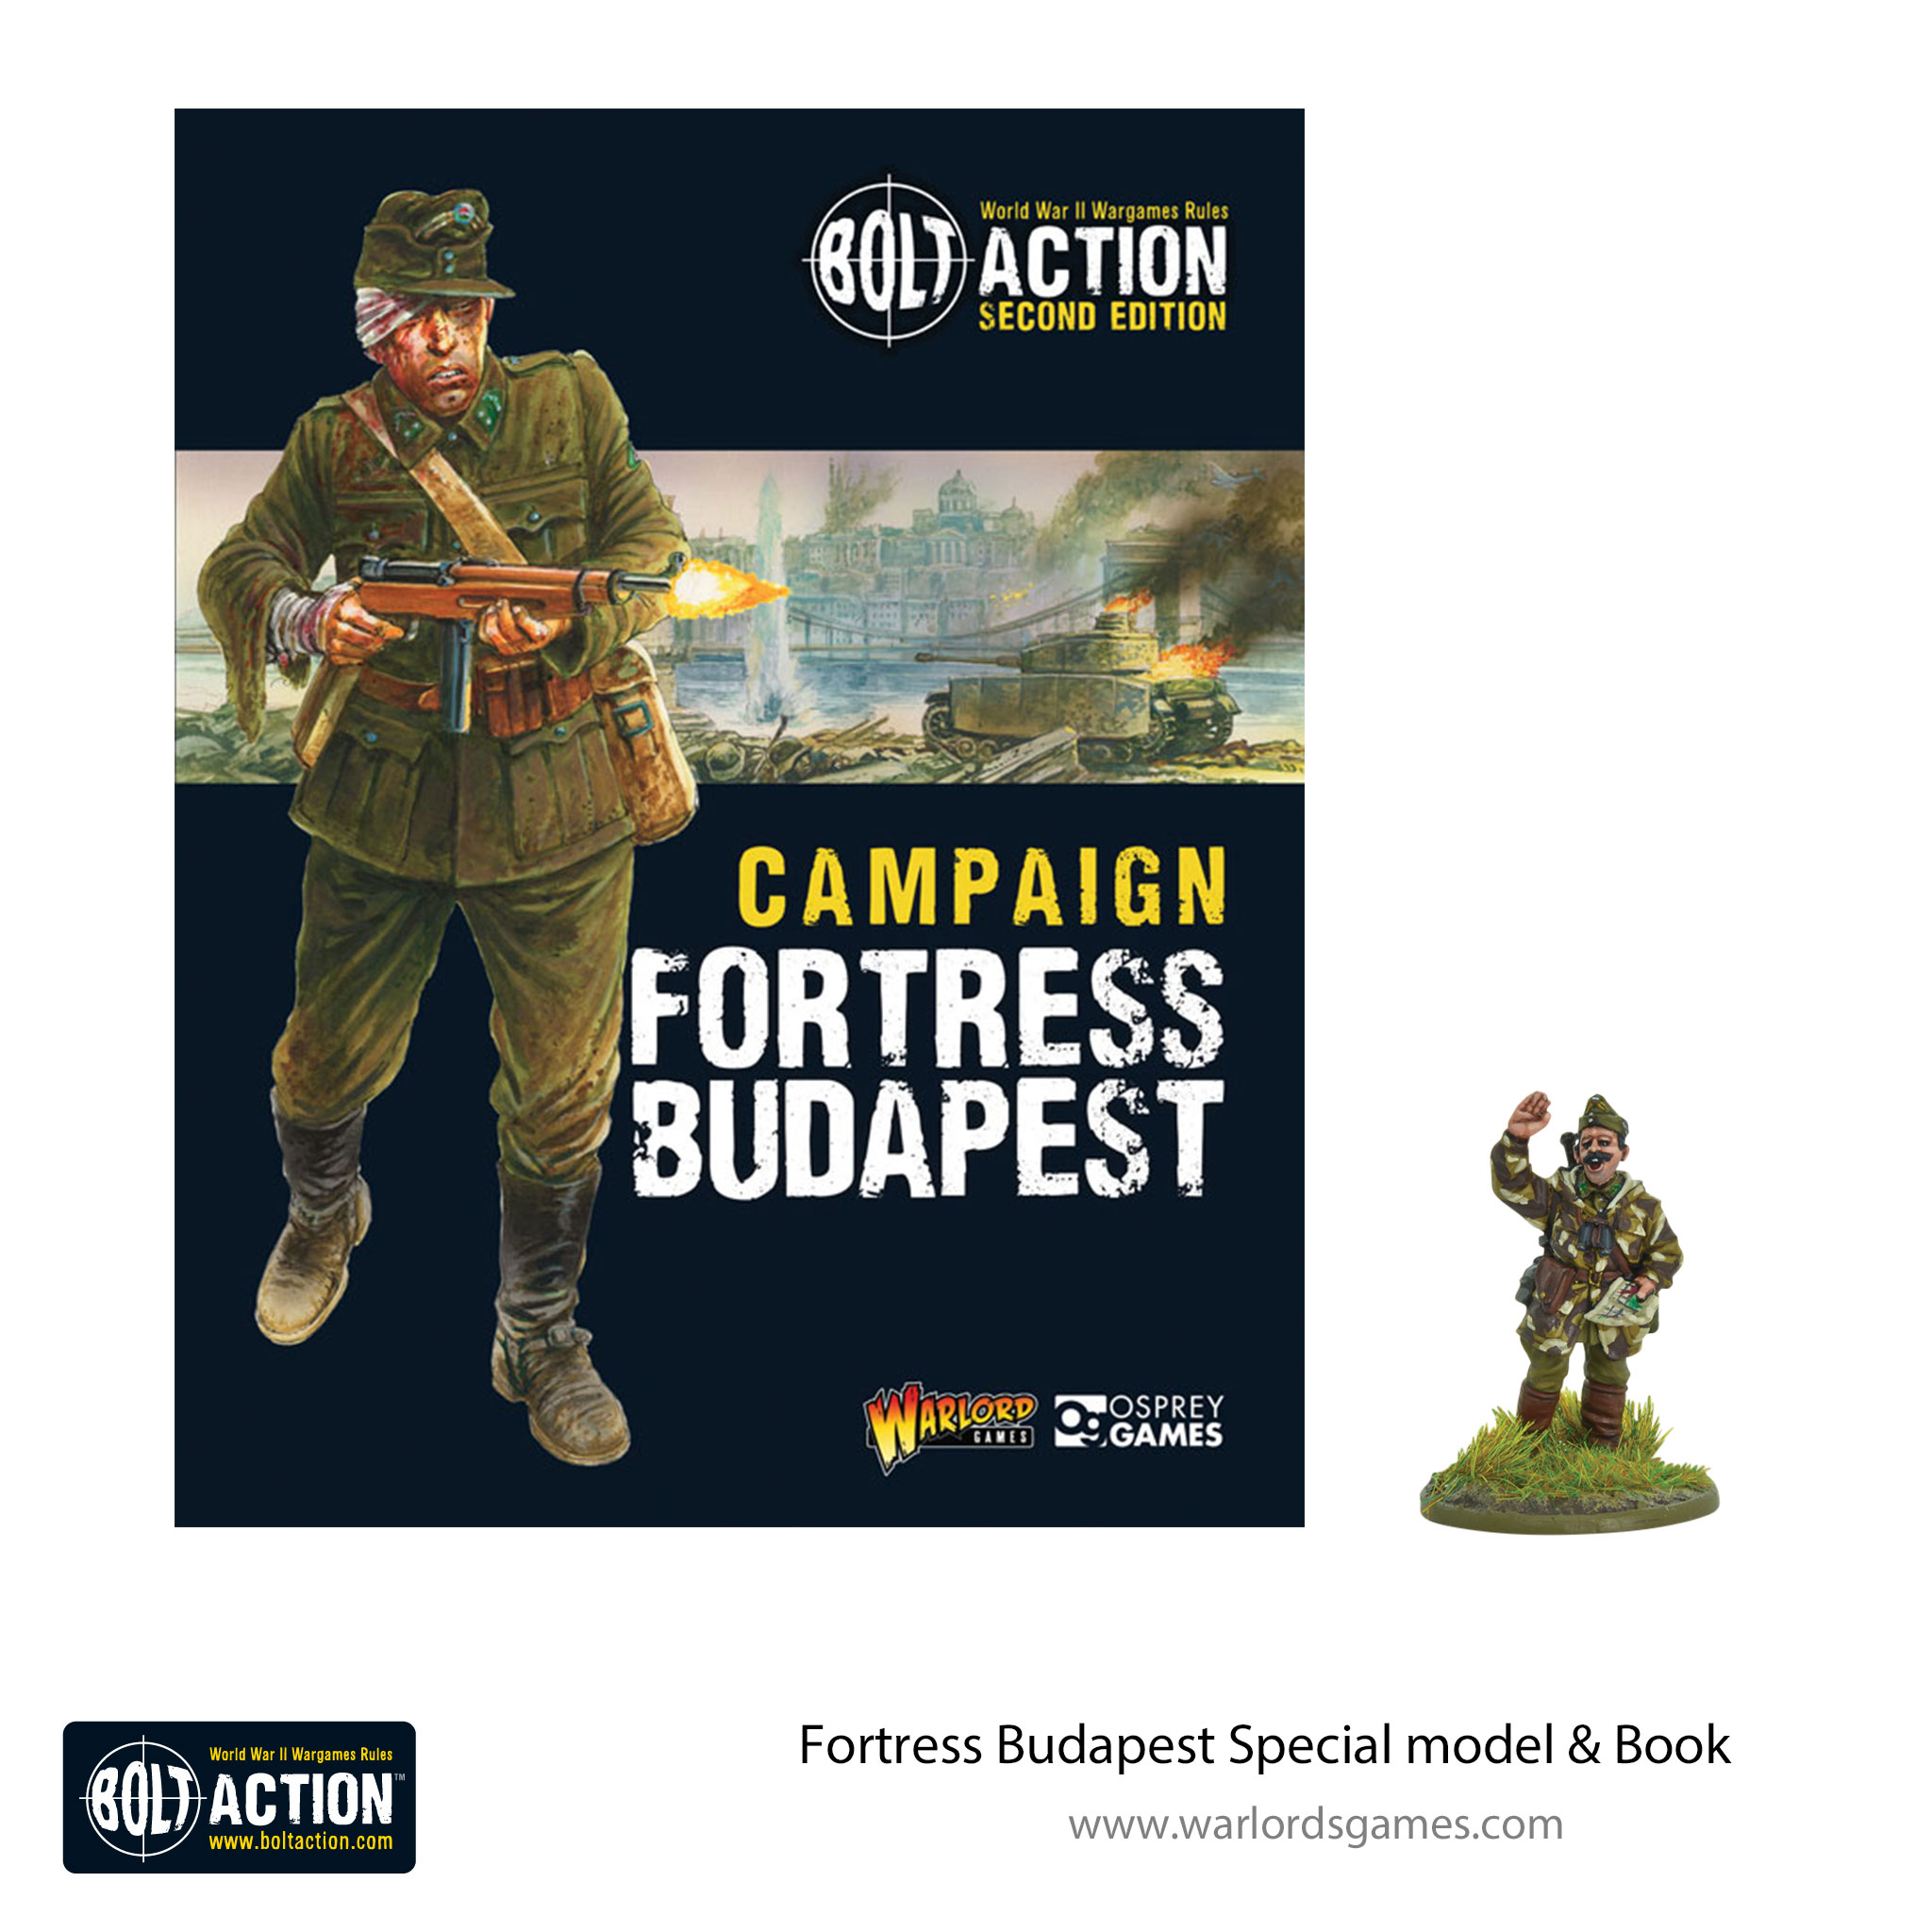
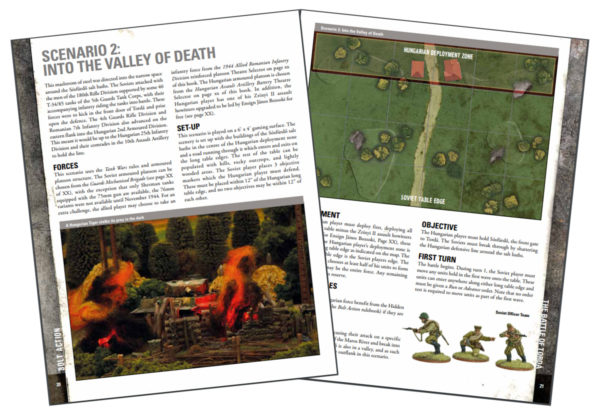
Throughout the autumn of 1944, the Axis forces in the Carpathian Basin were fighting for their very existence. Campaign: Fortress Budapest will inspire and guide you through the entirety of this particular conflict and on to many more victories with your Bolt Action forces…
Hungarian Army
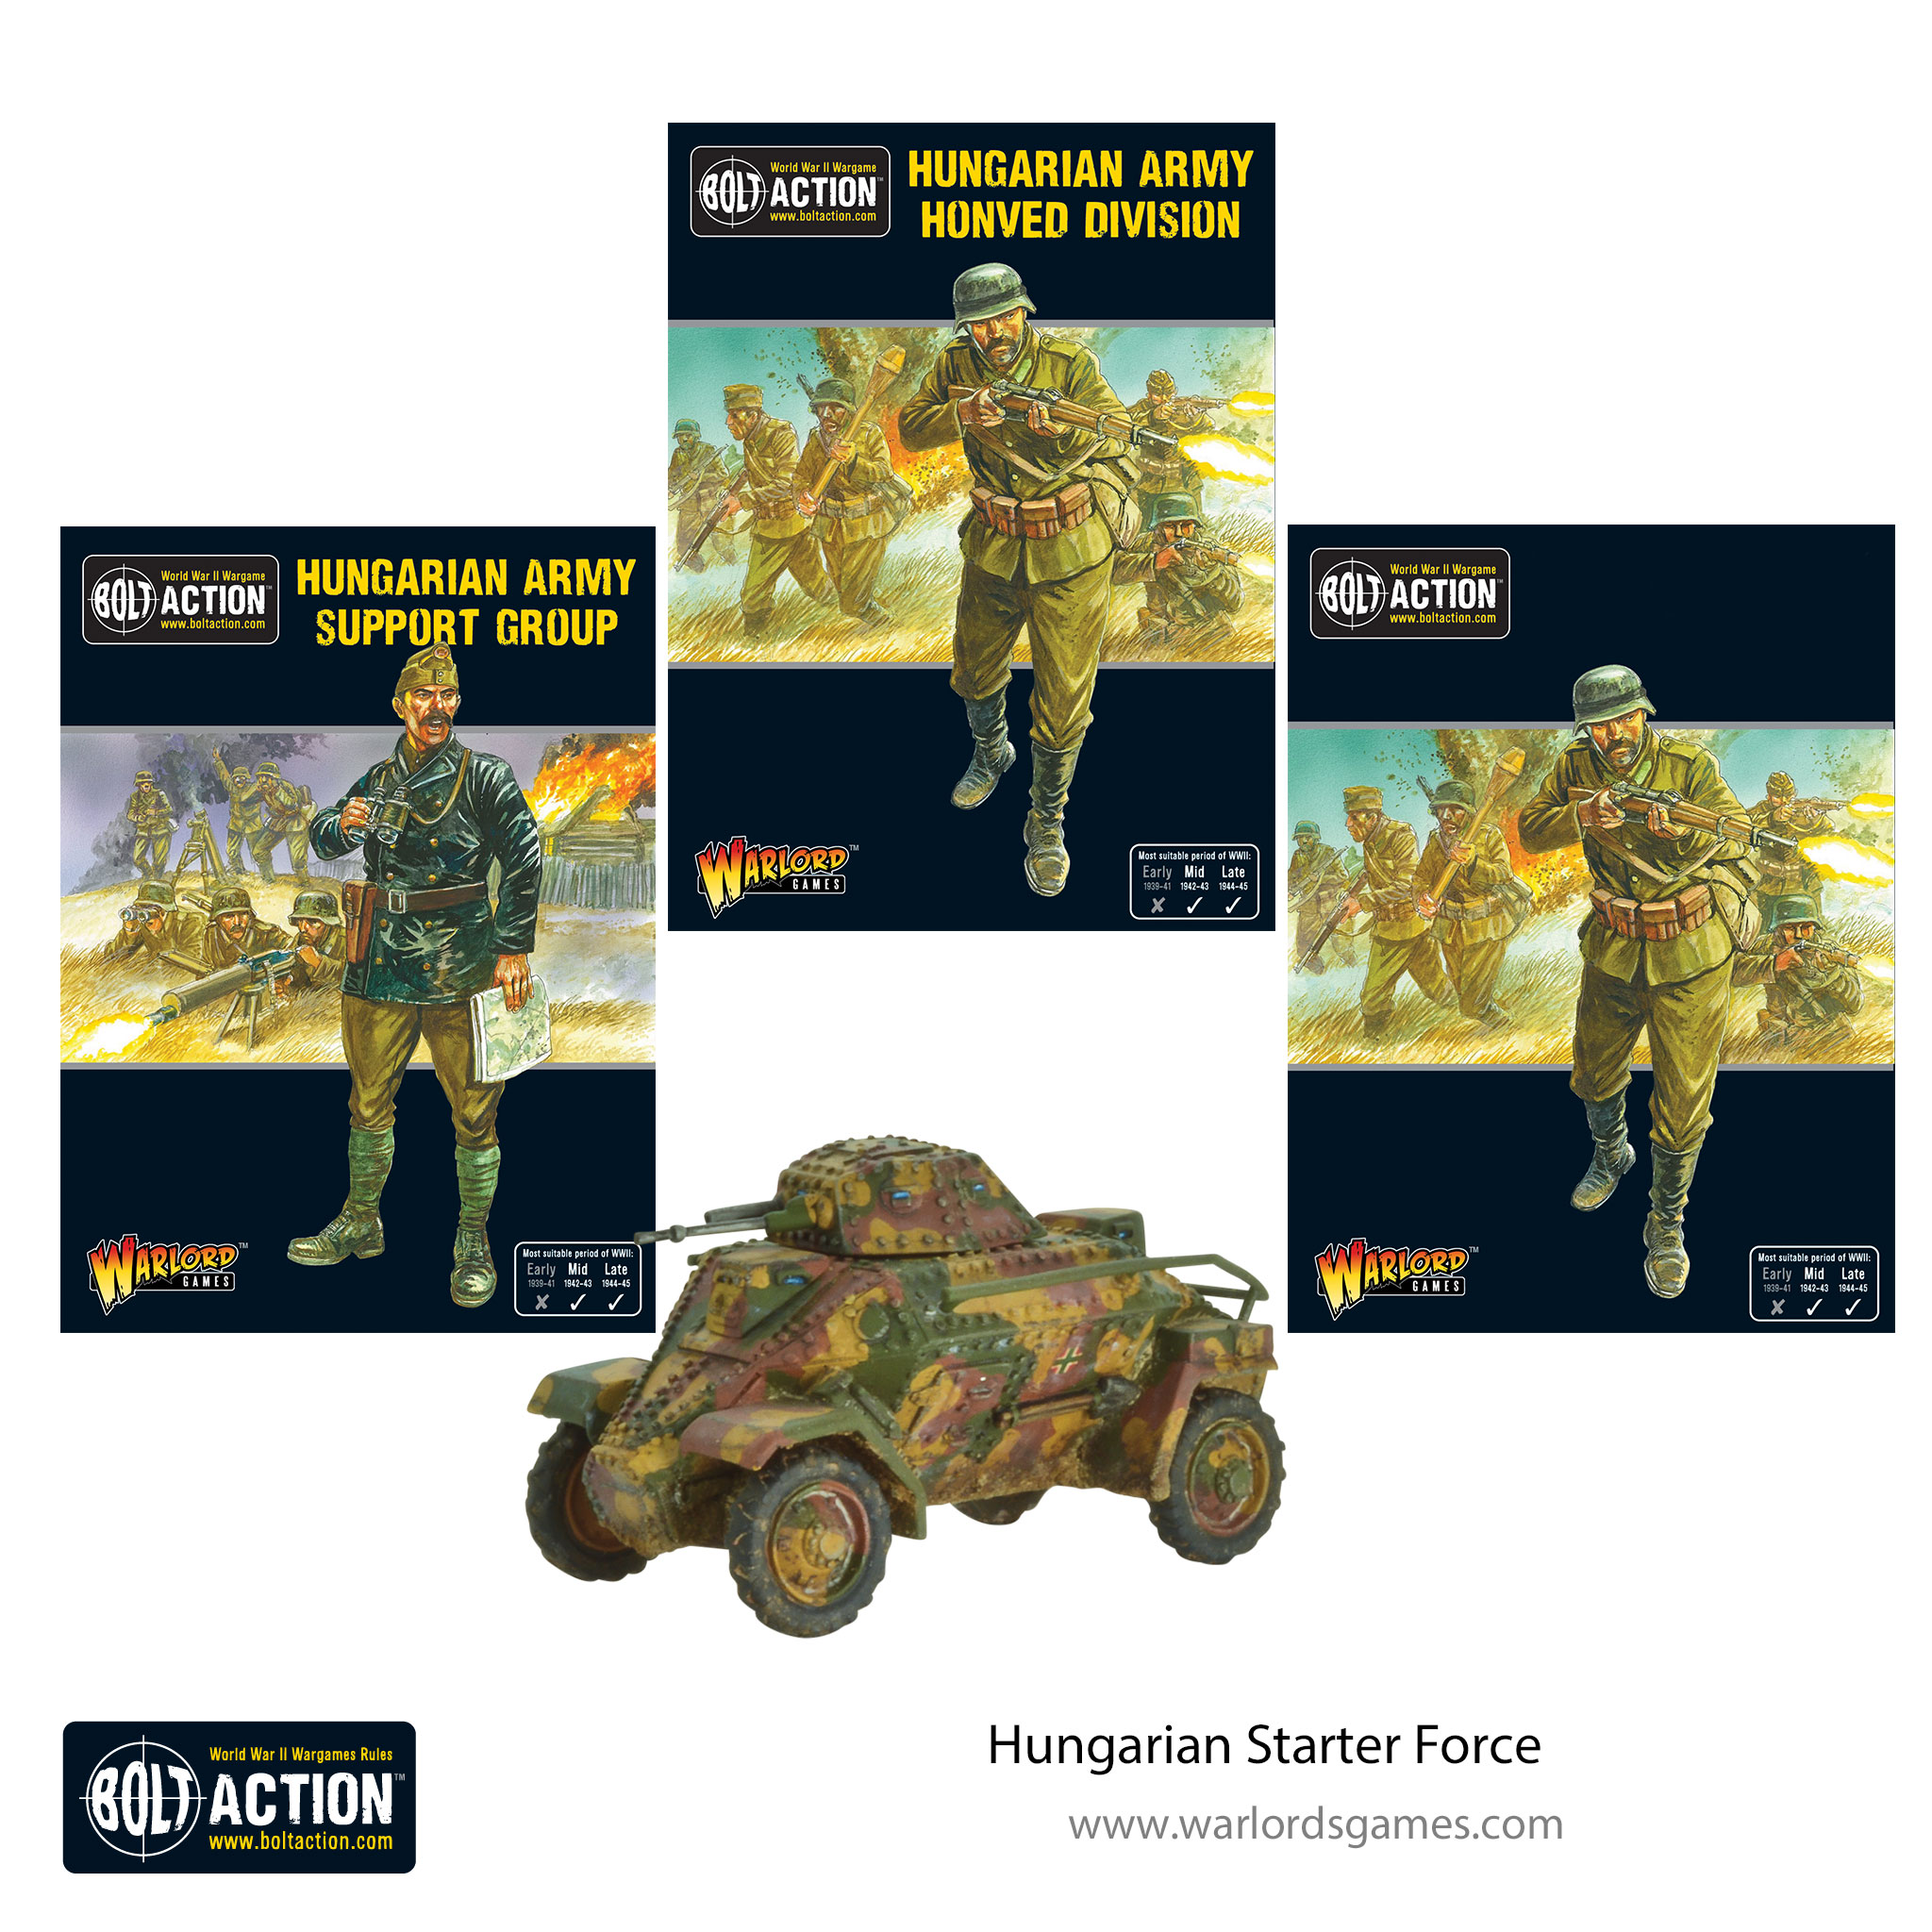
The Royal Hungarian Army was created in 1922 after the defeat and breakup of the Austro-Hungarian Empire in the First World War. Initially limited to 35,000 men under the Treaty of Trianon, the army peaked at nearly 1 million men during the battle for Hungary itself in 1944.
This set contains the perfect Hungarian Army to begin this campaign!

