Progress has been slightly slower with this update, as I am no longer Furloughed! So on the plus side I’m getting out of the house and shipping you lovely lot hobby goodies (following social distancing guidelines and obsessive washing of hands of course!) however on the downside no lie-ins!
Between packing orders, I have found some stuff to paint and model, the army is all but done now (for 1000 points at least). If i could ship Stalingrad orders and paint GI’s I would, but alas work has caught up with me!
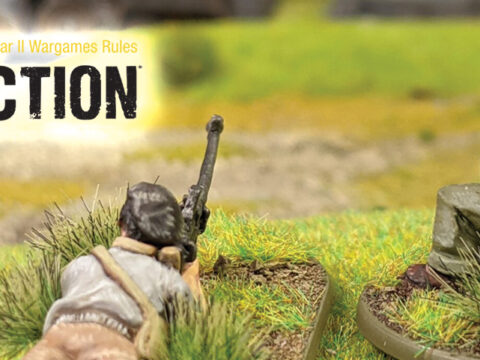
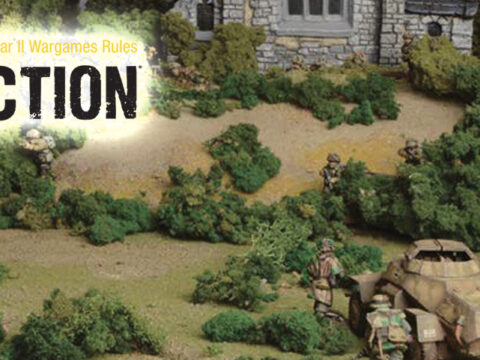
This week’s addition is another 20 soldiers, plus a Machine gun jeep, there’s a few minor kit bashes in the squad using German bare heads from other kits or the metal upgrade set along with the arm holding the helmet down. These little conversions add a little flavour to an army in my opinion. Though I’m close to finishing my initial 1000 point list I am also adding a few last units so that I can make a 1000 point inexperienced version of this list to represent the first few weeks of the campaign. This will mean I’ll need a few more units like a light mortar and some medium artillery plus a medic squad, a chaplain and air observers as well as a handful more infantry to bump up the squad sizes from 10 to 12! It turns out you can really squeeze in a lot of units when your core is all cheap inexperienced troops!
This list is also going to be used in a themed tournament coming up later this year, its from the SSWG guys, and I did a write up of that tournament here: https://www.warlordgames.com/tournament-tales-three-good-men/ I’d be surprised If I’m not the only guy there with a mostly inexperienced army!
Painting Tips!
A few people on my Facebook page and the Bolt action groups have been asking for a guide to paint these units, and here it is!
As this sort of thing takes forever to write up properly I’ve simply listed what paints go into which step. Generally, I undercoat every part of the model in the first colour, then wash the whole model with the washes listed. If you just want your army tabletop ready then stopping here wouldn’t be a bad call, as the models will already have the right colours and look pretty dang good.
Then wait for that to dry I'll have a cuppa tea (or a beer if it’s not a school night!) then get back to it painting on the highlights, followed finally by basing and decals. I paint in batches ranging from 3 (if it’s a team weapon) all the way up to batches of 10 for whole squads. However there is no right or wrong way to go about this so find the batch size that works for you, I know a lot of people like 5’s as a number to stop them getting bogged down yet still churn out a large number of minis.
Paints Used
Jacket
Base: 917: Beige
Wash: a 50/50 water to AP Light Tone mix
Highlight: 917 Beige
Skin
Base: AP Tanned Flesh
Wash: a 50/50 water to Flesh Tone mix
Highlight: AP Barbarian Flesh
Highlight: 845 Sunny Skin
Chinos
Base: 876 Brown Sand
Wash: AP Mid Brown
Highlight: Brown Sand
Helmet & Grenades
Base: 887: US Olive Drab
Wash: 50/50 mix of AP Military Shader
Highlight: US 887 Olive Drab mixed with a little 837 Pale Sand
Add more 837 Pale Sand to produce highlights until its bright enough.
Belt, pouches & Y straps
Base: 918 Ivory
Wash: a 50/50 water to AP Light Tone Wash
Highlight edges with 918 Ivory
Wood
Base: 981 Orange Brown
Wash: AP Mid Brown
Highlight: 981 Orange Brown
Metals
Base: 863 Gunmetal Grey
Wash: AP Dark Tone
Highlight: 865 Oily Steel
Backpack & other bags
Base: 873 US Field Drab
Wash: AP Mid Brown
Highlight: 873 US Field Drab
Highlight: 988 Khaki
Gun Strap & Boots
Base: 818 Red Leather
Wash: AP Mid Brown
Knife Handles
Base: 866 Grey Green
Wash: AP Dark Tone
Until next time folks! I wouldn’t be surprised if the next update takes a little longer due to being back at work, but hopefully, the next update will be this whole army together and finished, and then hopefully after that we’ll be in a position where I can get a game in with these guys and post a report of that so we can see the brave GIs in action!

