Learn how Warlorder Jamie prepares for the upcoming doubles tournament, and there is no better way than starting a new army!
Jamie: Hey Guys!
It’s Warlorder Jamie T here, in the first in an article series: The Road to Peak Offensive. I hope you have all seen the hobby pledge system we are setting up in the Bolt Action Facebook group (there are prizes you know!) Obviously, I had to take part! And in true wargamer style, I saw the new British airborne and immediately changed my mind on what my pledge would encompass!
So, my fellow Warlorder Dave Matthews; runs a doubles tournament every year at his gaming club: Dales WRG called Peak Offensive. A doubles tournament means I can paint the first 500 points of my army and return later to do the other half. Perfect for someone with extreme “shineyitus” like me, who is quickly moving from one half-finished project to another. I pressganged my friend, Paul who you will meet in the 2nd article of this series to be my team mate.
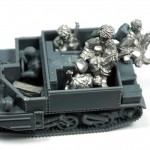
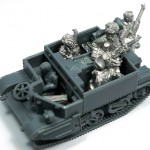
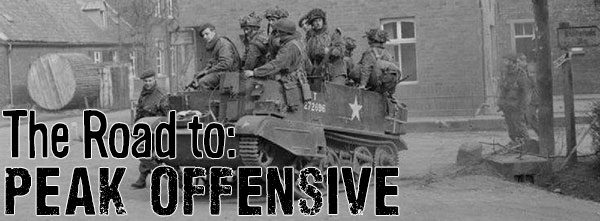
Now I had my reason, I had my deadline, I needed inspiration! Most my friends know I am a tread head: so, doing a full army of infantry might be a shock to them. So rather than break that habit I searched high and low on the Imperial War museum archive and found this image of a Mk II Universal Carrier full of British airborne: “A Universal Carrier and men of No.1 Parachute Platoon, 716th Light Composite Company… in Hamminkeln 1945.”
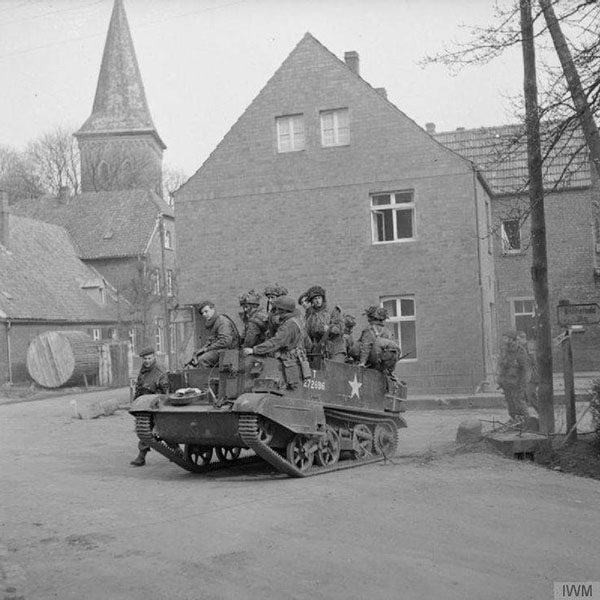
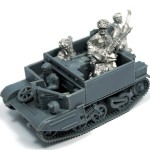
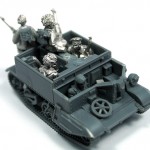
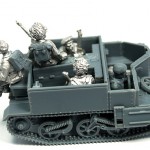
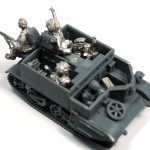
Straight away I felt inspired to try convert a universal carrier to have airborne passengers.
With this in mind I grabbed a universal carrier and our newly released jeep I found from images that the driver, would not wear the Denison smock instead wearing battle dress with a red beret.
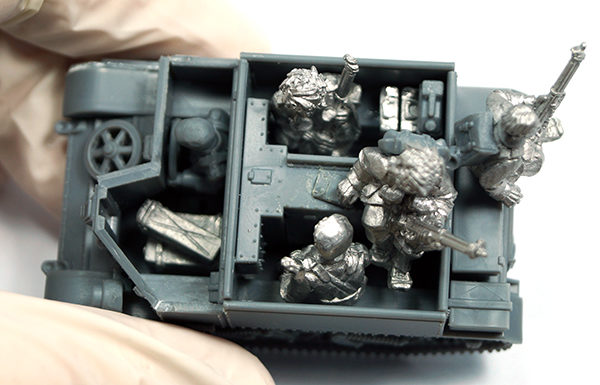
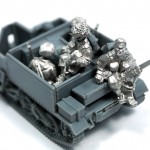
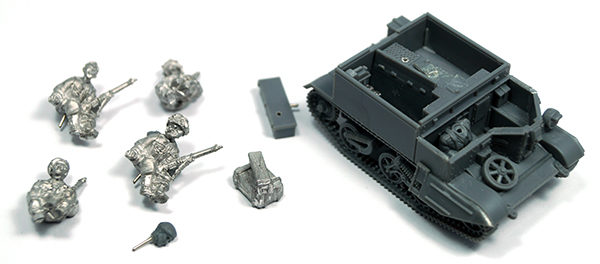
Therefore, I used the standard plastic driver, and began adding passengers to the rear of the vehicle. They fit well with some filing: I pinned them in place so I could paint them separately, as well as some of the stowage and detail pieces.
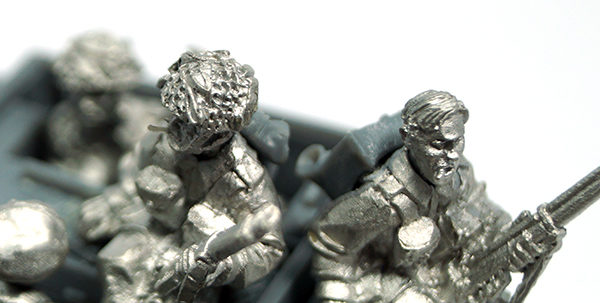
I also melted a piece of sprue to add a cigarette to the war weary soldier in the centre: I figured by 1945 these guys would be extremely weary! I used one of the bare heads from our figure head system on the rear rider to add to this effect.
To tie these riders in with my plastic infantry I added backpacks to a couple from the plastic British airborne set.
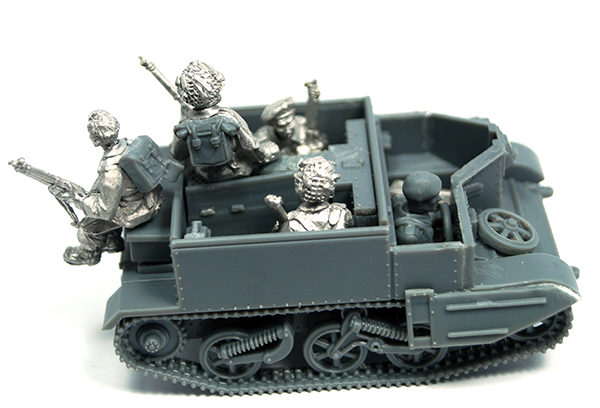
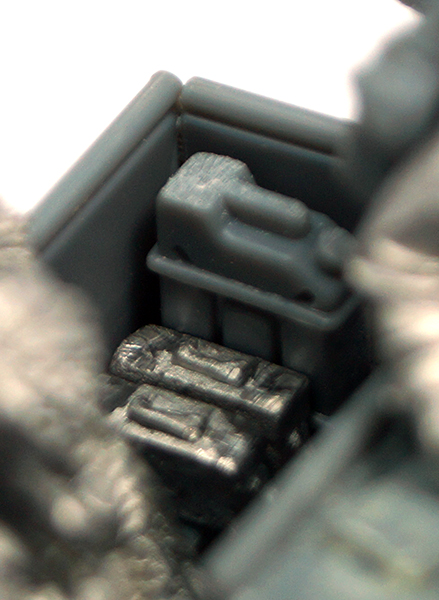
To make the vehicle look more lived in I added stowage from our British stowage set, as well as a fuel tank from our plastic Sherman V.
I will do an article on vehicles in Airborne use in the future as the army grows: as this is a common discussion on the Bolt Action group with many people thinking taking an airborne army means giving up on Vehicles. This is not the case, and at 500 points I think my little universal carrier makes a cool centre piece!
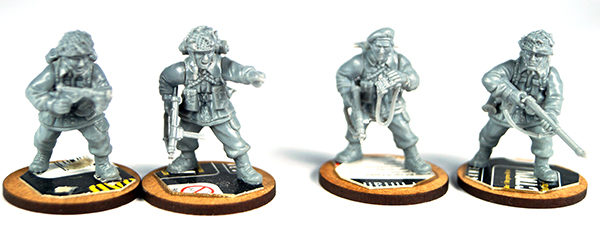
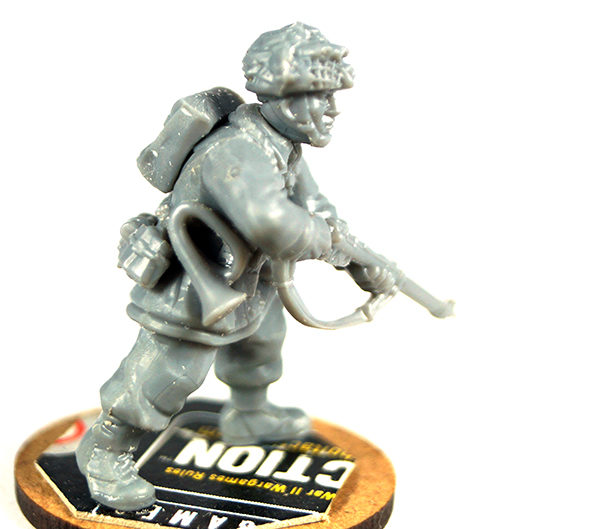
Now unto the rest of my 500 points! Firstly, I am sure to take advantage of the free Artillery observer Brits can take, and gave him a body guard as I feel the single guy is just not survivable enough. To model these I gave the FAO binoculars, whilst his body guard has the iconic airborne bugle. An officer is a must take: to save points I took a 2nd LT, and gave him a body guard. Now where possible I try to arm these HQ models with SMGs: as their weapon is given to them for free I thought it would be better to take advantage of this. Especially as I am fond of the “Up and At Them special rule,” which allows my units to charge into combat without an order test when pinned. As a veteran force combat is a great place to take advantage of survivability.
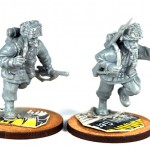
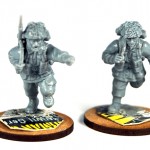
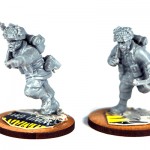
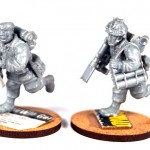
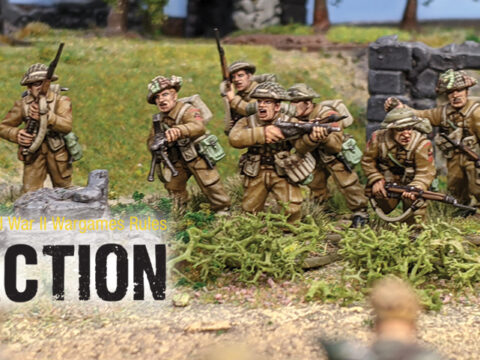
I need some bodies in the force: I decided to opt for two small units. As veterans’ numbers will always be an issue at 500 points. I decided to give them three stens, and a bren in each unit. The SMGs take advantage of “Up and At Them,” whilst the bren means they will still pack a punch at range. All the figures, including HQ and weapon teams are made from the new plastic airborne set. The great advantage of plastics is the pose-ability, I could do one squad very aggressive with running poses and charging into combat; whilst the second squad is more at ease or firing their weapons. There was also plenty of webbing and back packs so that each trooper could be equipped with full gear. By using differing back packs, arms and heads on the same body it is possible to make it so no two miniatures in the force are the same.
Now to really take advantage of a Warlord Games Bolt Action plastic kit: add weapon teams! The British Airborne box is great in that not only does it include all the figures for my infantry squads and HQ: but also for a couple of teams. I opted for a dynamically posed Sniper team, and a PIAT team should I come up against any armour. It is possible to capture motion in the miniatures in this seat: by having them looking and running in the same direction it is possible to create scenes within the army.
So, with my army list drawn up I turned to my friend, Paul to do his force. After researching British airborne operations in Operation Varsity around Hamminkeln we found that American Paratroopers were dropped mistakenly in the British sector of operations: this 513th Parachute Infantry Regiment operated alongside the 6th Airlanding Brigade of 6th Airborne: eventually storming and taking the town. We could not think of a more awesome theme to join our two forces together and so he will be doing a force of late war American paratroopers utilising our plastic set. Theming a force like this always makes it more enjoyable for me to play; and instantly gives us a starting point for our armies. Paul will be on the site later in the week to show us his force!
So there we have my assembled 500 point British Airborne force.
I will be back in the future to show you how I painted these, and eventually bring you news of how my force faired at Peak Offensive. Wish me luck – it’s my pledge to get these done by 23rd July!

Do you have an article within you? Are you itching to show your collection to the world of Bolt Action? Then drop us a line with a couple of pictures to info@warlordgames.com or share with all over at the Warlord Forum
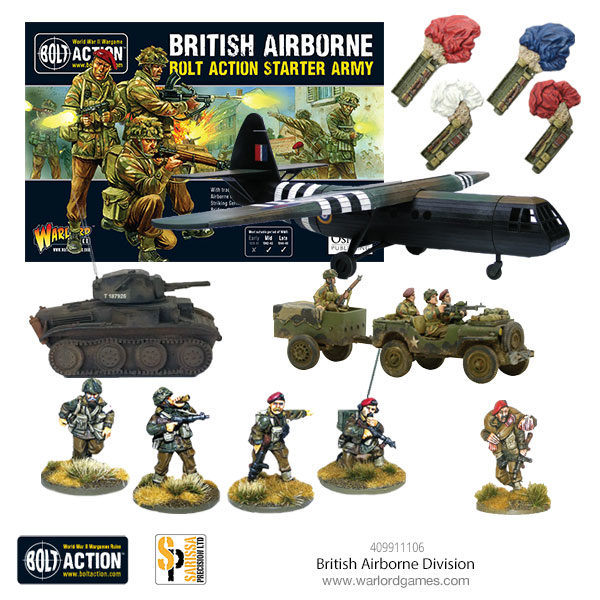
Looking to start the British Airborne?
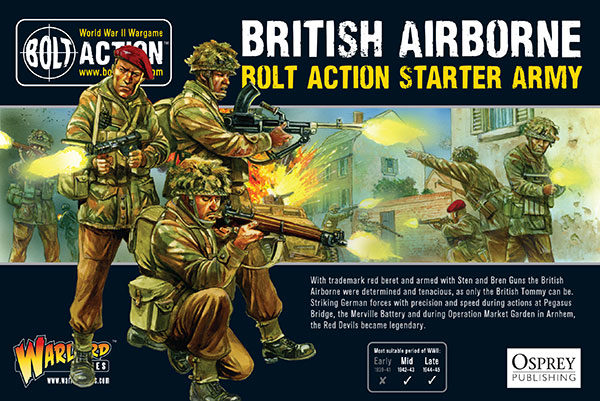
Or start small!
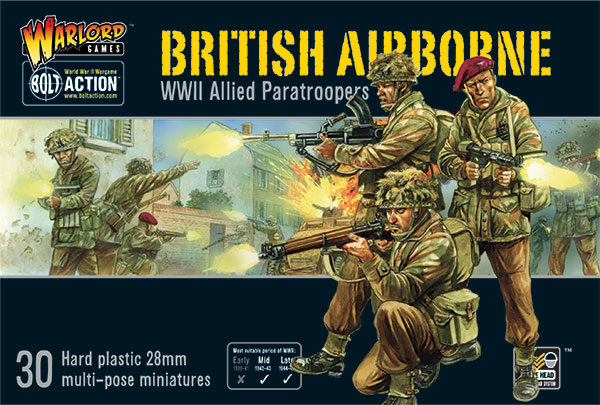
Or even bigger!
