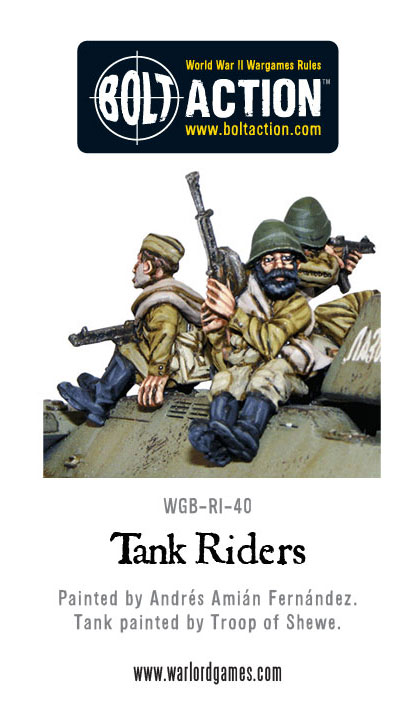
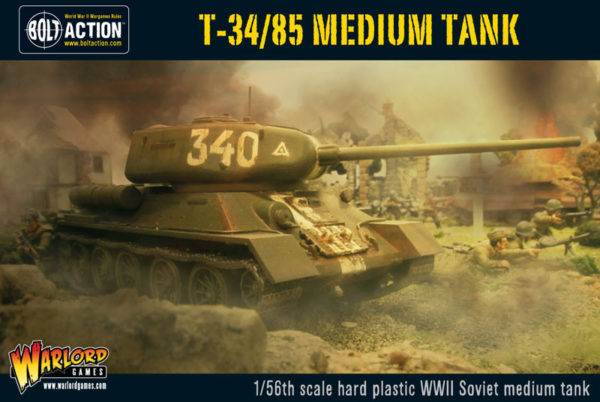
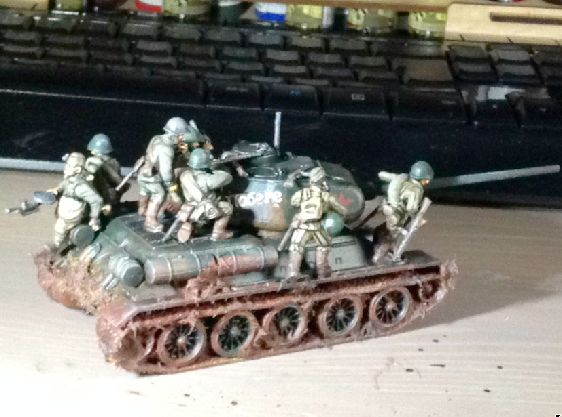
In between playing in the Warlord staff Tank War campaign and occasionally doing some work, Daz Evans has been creating this lovely T-34/85 with some brilliantly posed Soviet tank riders. Daz explains how he went about this conversion project:
In the last few weeks I’ve been stoically avoiding many of the projects on my hobby desk (Codenamed “pile of shambles” by my wife). After butchering some figures to make some Kriegmarine cyclists and painting an American Civil War Confederate force, plus moving some 28mm things from one shelf to another I went to the pub, wherein after a few ales were sunk, conversation rolled around to tank riders. We all agreed – you never see them enough!
There we were, my leg draped dandy-like over the arm of a chair, the rest of us fanned out in a beery semi-circle. “Well we do some metal figures” said one of us, “Hmmm” Some wag went “we do a lot of plastic infantry! Can we use them?” A hush descended… “But… Aren’t they all kinda running and standing and stuff?” It was getting a bit late by then. Sadly I forgot the greatest bit of advice I learned in a past life and went “well I did some fun things with the Japanese sprues and some captured Bren carriers…!” and before you know it I’d been ‘volunteered’ to write this article.
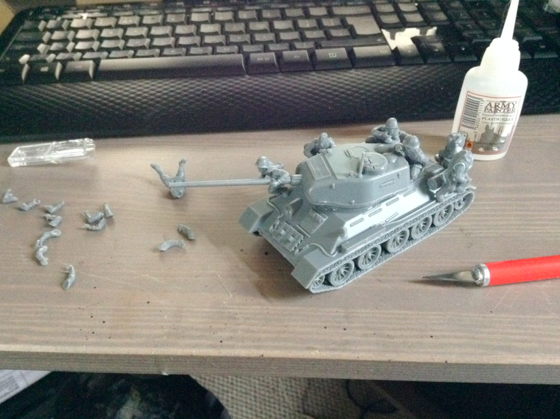
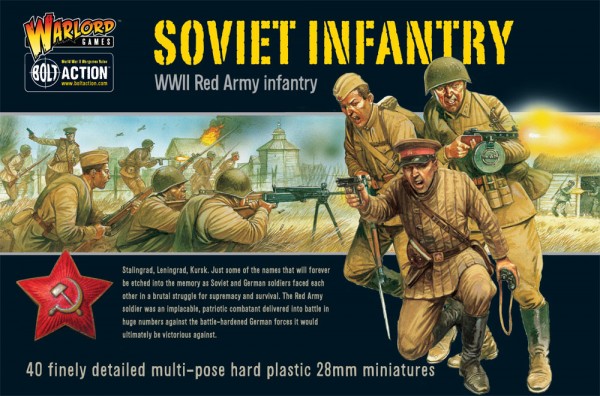
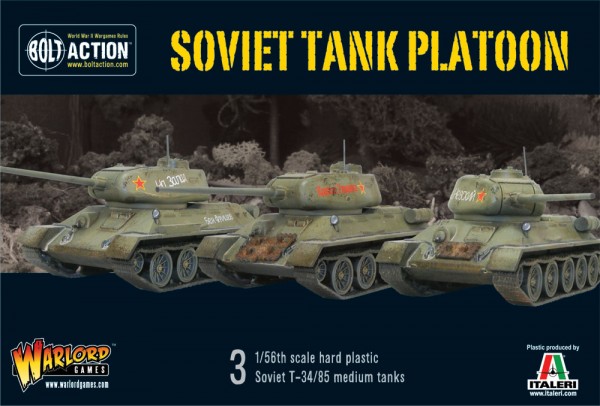
So here we are! Armed with a Soviet T-34/85 sprue, a sprue each of Soviet infantry and Soviet weapons, plastic glue and paints, I started by assembling the tank. Next I snipped the Soviet infantry off the frame and used Blu-Tac (reuseable putty) to position the bodies along the hull. As I tried different places, a lot of the shapes worked naturally – play with the angles and it gets weirdly arty once you have done one or two! I positioned the bloke over the main barrel and the guy on the bottom left, which gave me a nice anchor point and an idea of the space I had left.
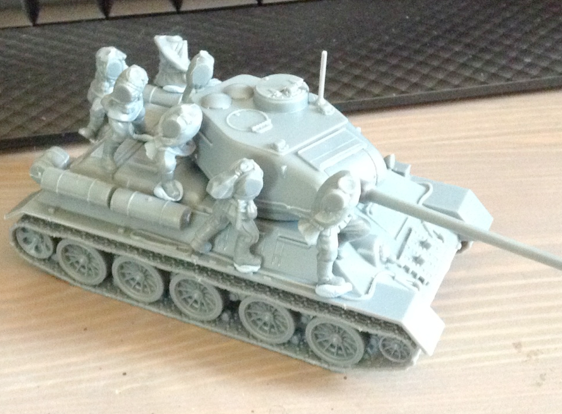
With the bodies done, the next important bit was the arms. I figured the key to riding a tank is to hold on tight, and try NOT to fall off – so when modelling the arms, they need to look like they were (like an Action Man) gripping tight. I only had to cut and re-glue a hand or two.
Side note: to easily cut an alternate hand – place the chosen limb in some kind of putty/Blu-Tac ball then take a sharp knife and slice at the cuff line, this saves you chasing a tiny piece of plastic around the floor for hours!
Again, before I glued any of the arms or hands in place, I used Blu-Tac to test-fit them and get the positions just right.
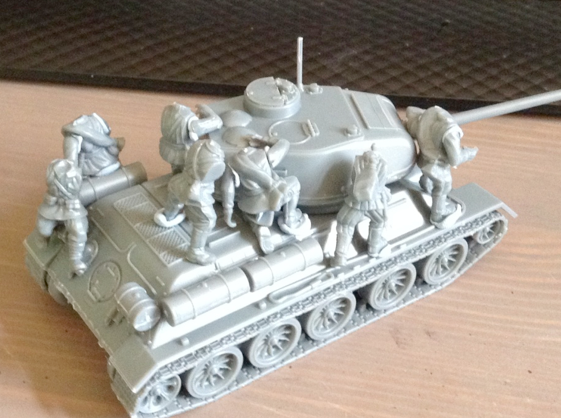
So with the arms in a realistic pose I took one figure off at a time and glued it back in place. Adding riders like this meant I had to go with a static glued turret, but that sacrifice gives a far better model, in my humble opinion!
The next step was to start dishing out kit and weapons – I added loads of spare bits to represent the crew and riders’ equipment.
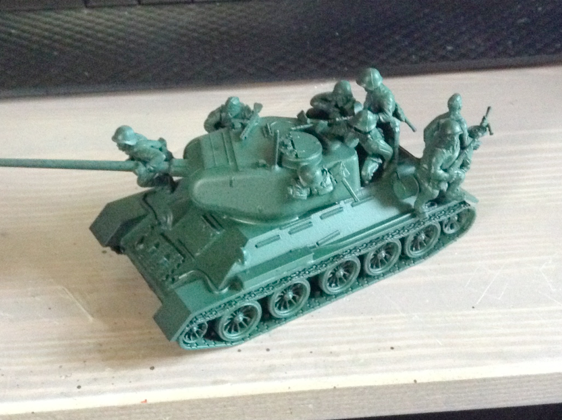
With the riders securely glued, I undercoated the model and painted as normal.
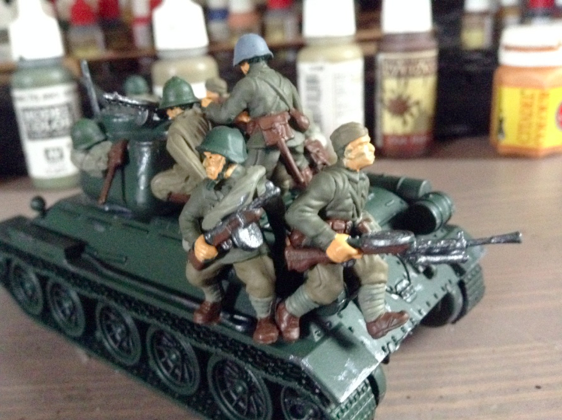
Base colours nearly finished….
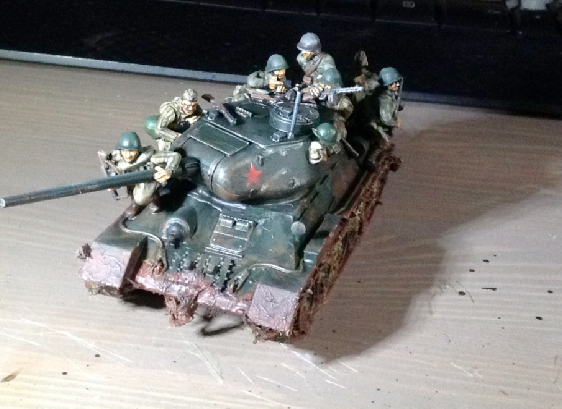
The finished piece, complete with markings, weathering and added mud!
The kits that Daz used can be found in our webstore. Alternatively, you can take the easy route and buy our metal tank riders:
