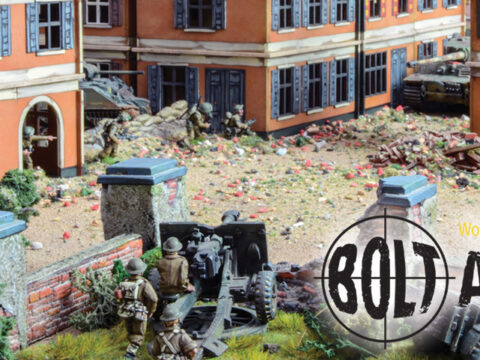
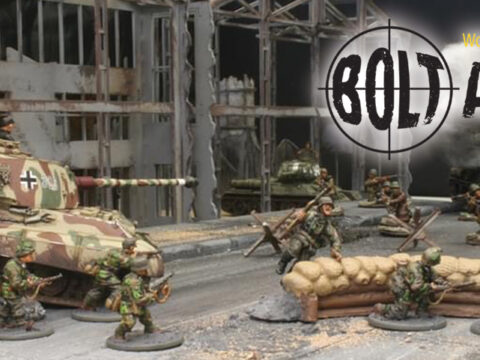
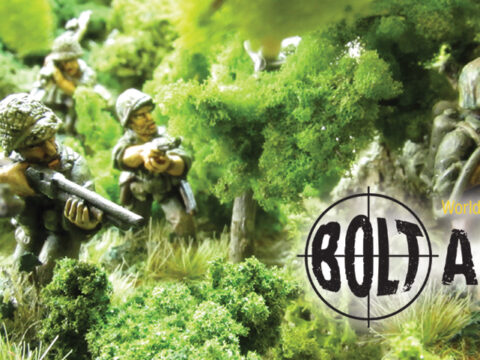
Hot on the heels of our Warlord Plastic Churchill and Sherman Firefly release we spotted a post from Atelier-Robin aka Rob Shackleton with a very fine set of British along with their tanks sporting some great looking camouflage:
Hi, Robin (Rob) Shackleton’s the name, and (dear God!) I am now the wrong side of fifty.
I paint toy soldiers, study history, I like castles and cooking (curries especially one up for Bradford!) and travelling (I sort of support Bradford Bulls).
But enough of that, on to some tanks! and who can resist doing something a little… extra;
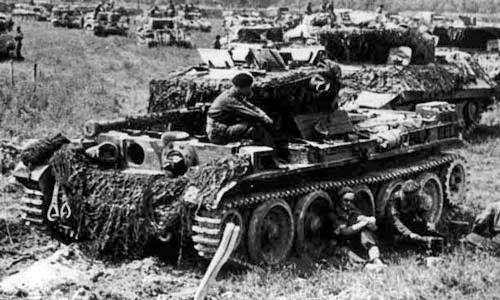
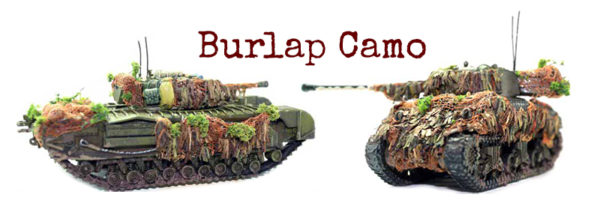
Burlap (Hessian) Camo
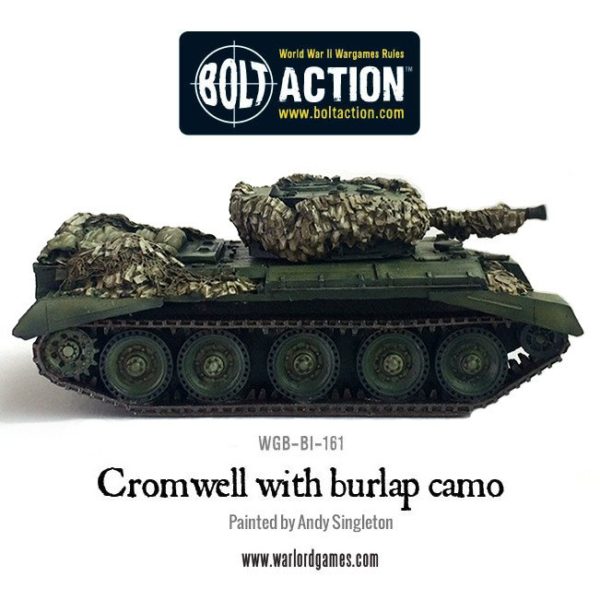
Burlap (otherwise known as Hessian) was a durable, open weave, naturally non-shiny and fuzzy material. Superbly suitable for camouflage scrim, it was used on combat helmets and also woven onto shrimp and fish netting to create large-scale military camouflage netting.
My burlap cammo was simply done using a gauze bandage soaked in old tea and coffee grounds to colour it. Then in a mixture of water, acrylic flow improver and white glue (to give it a little bit of stiffness – don’t skip this step. it makes the modelling bit so much easier). Then cut this into scale size strips portions (whats the biggest piece a crew of 28mm tankies could handle sort of approach) and fix strategically around the tank.
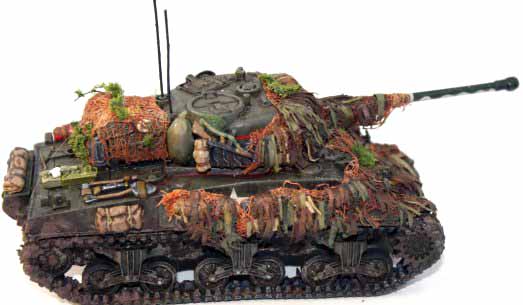
The cloth strips are, well…cloth strips. Its called bias binding and it’s available from all good haberdashers. I used three colours brown, green and a beige. Its fragile stuff and once again the old water /flow improver /glue mixture is brought into play to give it some stiffness and stop it disintegrating. This is then cut into tiny tiny strips and glued one at a time onto the netting. Start at the bottom and make clumps of same coloured binding leaving small gaps between clumps.work your way around the tank. When you have a ‘row’ paint the clumps of strips in the old glue mixture. Then, using the colour of the binding as a guide, paint the clumps (I used Vallejo chocolate brown, Russian uniform, and English uniform).
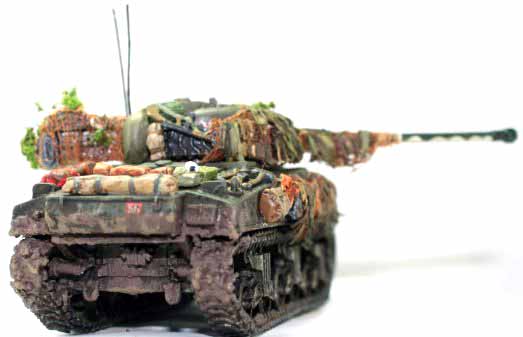
Then repeat for another ‘row’ once its all on. I gave a wash of burnt umbar oil paint, and then painted a variety of differences in colour on individual strips. Finally I made some twiggy- foamy things to act as foliage and glued them on here and there.
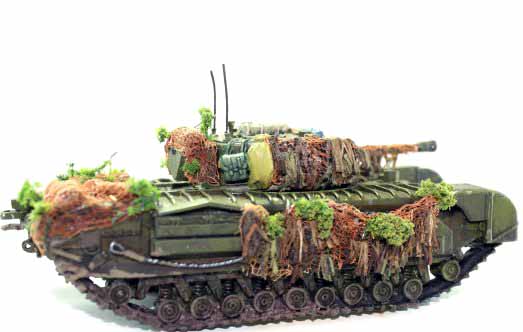
One last note; A problem that never occurred to me when I started was that underneath all the netting and stuff I had carefully made quite a bit of track armour, especially on the Firefly, which is now covered over. When the model is in you hand ,you can see it and you can see the detail behind the netting, but the extra detail is sort of lost in photographs.
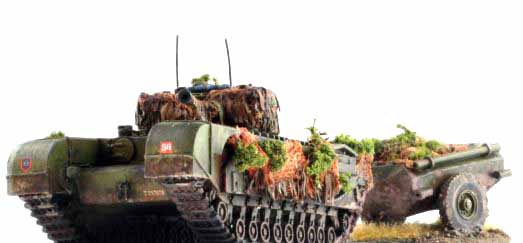
Anyhoo, if you want to look in on more then I will be posting some pics of Germans soon that just happened to be painted at the same time as the Brits.
Toodle-Pip
Do you have an article within you? Are you itching to show your collection to the world of Bolt Action? Then drop us a line with a couple of pictures to info@warlordgames.com or share with all over at the Warlord Forum
