Given the vast number of variant vehicles developed, and the amount of field modifications and unofficial up-gunnings of military vehicles throughout the Second World War, it’s simply not possible for us to offer all of them for sale (yet!) – however our ingenious community members regularly email us and post photos on the Warlord forum of conversions that they’ve made – and whenever possible, we like to show-them-off for others to take inspiration.
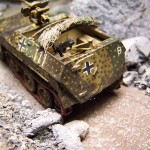
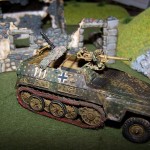
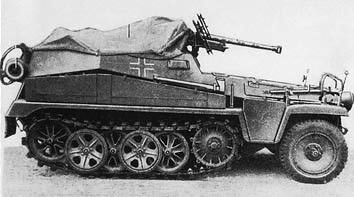
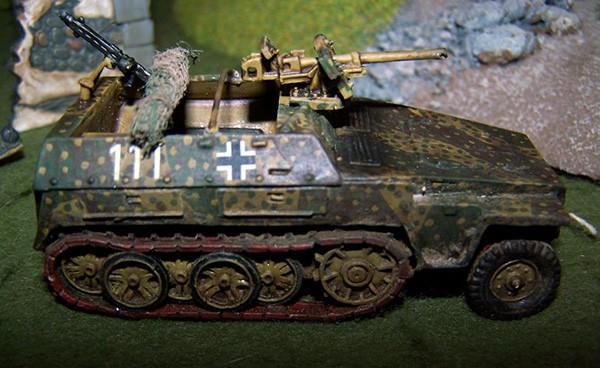
We were recently emailed by Ken Redington, with photos of his 250/11 conversion – which mounts a PzB 41 on the Sd.Kfz 250 chassis…. over to Ken with more details…
Concept
The original concept was for a 1000 point tank army using armored cars. It had to be something the DAK would use in the desert, and have at least 3 of the same type of vehicles. I also wanted to experiment with an auto cannon armed force to see how it worked against infantry armies. It would also need an anti tank element in case of another tank army. The last element was a single infantry platoon and transport for hard to reach places.
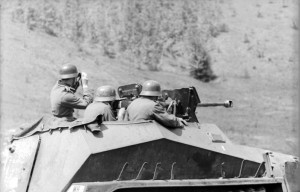
The core was simple 3 SDkfz 222’s with the 20mm auto cannons, these would not only give me an anti infantry ability but had the bonus of anti aircraft fire in numbers (had a bad experience with aircraft). The second anti tank element was a bit more difficult given the time frame. I looked at Puma’s but they came in later than the period I’m focused on, then I discovered the SDkfz 250/11 with the PzB 41 (AKA PAK 28/20). Here was a weapon I could fit on a halftrack that hit hard at close range but the vehicle still got the recce ability just like the 222’s. This gave it a much better chance of getting in, hitting, and then escaping. So add 2 of those to the mix and finish off with an SDkfz251/1 with the PzB 41 option for one more AT gun (I would have to take engineers with this but that just means a flame thrower also).
Parts list
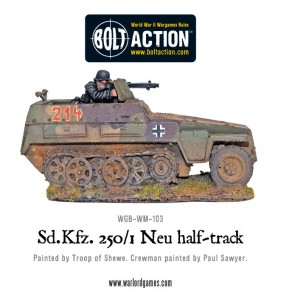
- SDkfz 250/1 neu vehicle
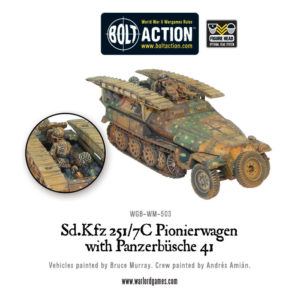
- PzB41 gun, gun shield, and mount from the SDkfz 251/7 kit
- Thin brass wire stock
- A chunk of cheese cloth at least 4 x 4 inches square (10cm x 10cm)
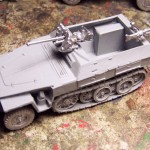
First was the easy part, wash the kit in dish detergent to get the mold release off so paint will stick to it. After that it was just assemble the vehicle and mount the gun mount. After looking at many different pictures online I noticed that there were two different basic mounts, One had the base mount stick out over the top of the drivers cab while the other seemed to be set back a bit. I chose the stick out version because it worked out to be very simple with the supplied mount.
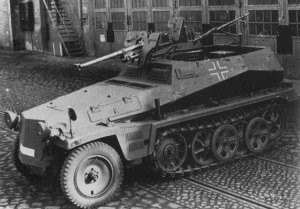
As you can see from the pictures it looked close and did not require any alterations.
At this point I also noticed a slight issue with the model. I wanted to do a DAK unit but the model is an SDkfz 250 Neu version that they started to put out in October of 1943. The DAK surrendered in May of 1943 so would have used the SDkfz 250 Alte version instead. OK…no problem, the 21st PD was rebuilt after surrendering in Tunisia and was in Normandy so I can still do a 21st PD unit just a few years later. Everything else in the list works and I can add better toys to the infantry unit….. Problem solved.
Now after painting it up I did some more poking around and noticed that the SDkfz 250 and 251 series had a tube frame construction over the open back to put a tarp on. Using a little brass rod I scratch built a few bars across the top. (Note that they also had a bar straight down the center between the frames to hold them straight)
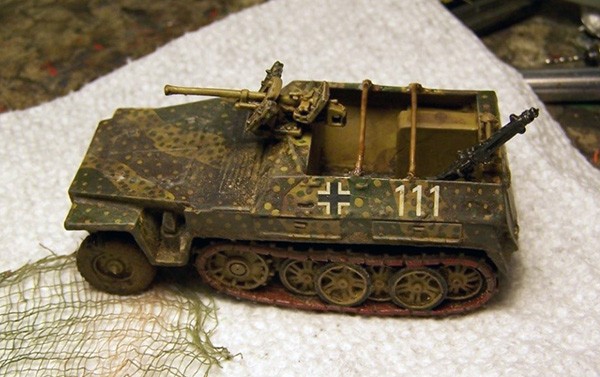
I also wanted to put some rolled up camo netting on the model so took some cheese cloth and soaked it in a much diluted solution of brown paint. After it dried I spread it out on a piece of paper towel and painted green lines on it using more much thinned down paint.
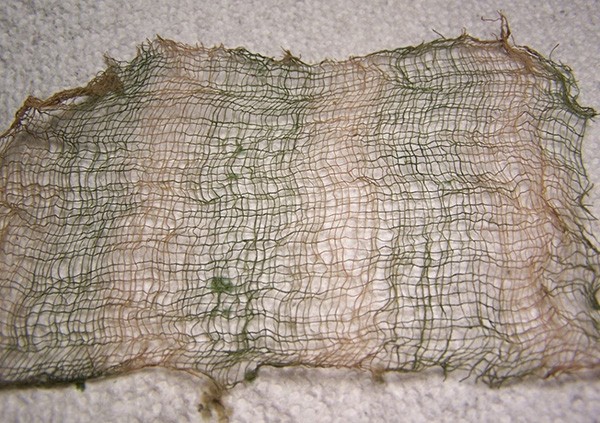
At last I teased out a few strands of the cloth to use as rope ties, roiled it up, and mounted it on one of the supports across the back.
Closing:
All in all it was a rather easy conversion, using books from my library and internet sites to gather data also helped. Below is a listing of books I used.
German Tanks of WWII by F.M.von Senger und Etterlin. This was a very useful book on the production of WWII vehicles with pictures, variants, and numbers.
The Weathering Magazine by Ammo of MIG. This is a quarterly magazine that covers one aspect of weathering model vehicles every issue. They are up to issue 11 and just came out with a WWI special. They have covered subjects like rust, dust, chipping, mud, snow and the like. This is VERY useful for the modeler.
How to build Dioramas by Shepard Paine. This book is a how to for doing mode dioramas. The author did a large number of the old Monogram tank kits from the 70’s and though old is still a valued part of my library.
SDkfz 251 in Action Armor series #21 by Squadron/Signal. While this was the other larger version of my halftrack the markings, paint, and general use were the same so made a useful tool.
Panzer Colors vols 1, 2, and 3 by Squadron/Signal. While starting to show their age these books are still a must have for serious German model builders. Many fine pictures and charts are included.
The Art of War Vol 2: The Wehrmacht Edition by Battlefront Miniatures. This hard to find magazine was second and last edition of their Art of War series, It is absolutely a must have for any serious library. Not only does it have color patterns for both infantry and armor camo, it also has rank insignia for Heer, SS, and Luftwaffe. It breaks down armor color patterns by year and theater. It also includes Aircraft markings and colors. If you find one grab it.
Spearhead: 21st Panzer Division by Chris Ellis. A useful book giving more detailed information and marking on the 21st PD.
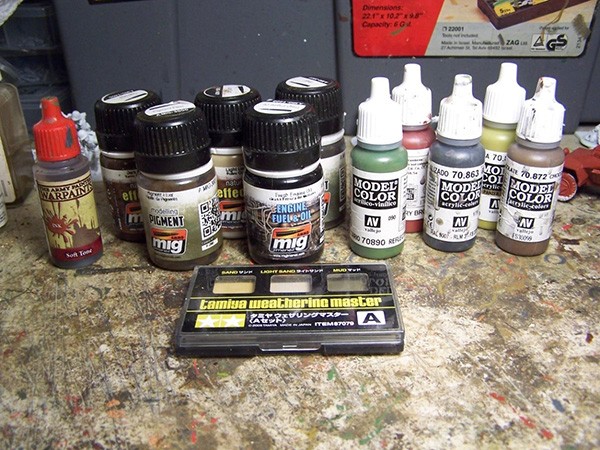
Last but not least is a group shot of some of the paints, washes, and weathering material I used.
It was a fun and easy project that will be easy to recreate. In my studies though I did spot one interesting fact, I found a couple of entries that showed or talked about a SDkfz 221 mounting the PzB41 but the German army book does not have that option…..HHMMMMM.
