Richard Caldwell explains how he went about the epic task of recreating the Battle of Rorke’s Drift:
22 January 1879
Two key battles that would be indelibly etched into British Military history…
The Battle of Isandlwana – a Zulu combined army annihilates a British-led force. In the aftermath of the massacre the next battle began; The Battle of Rorke’s Drift. A small, heavily outnumbered British force defeats the Zulus in one of Britain’s finest hours.
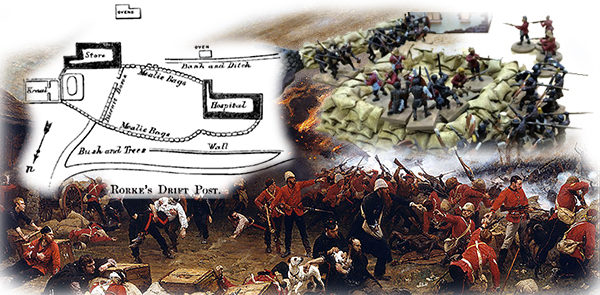
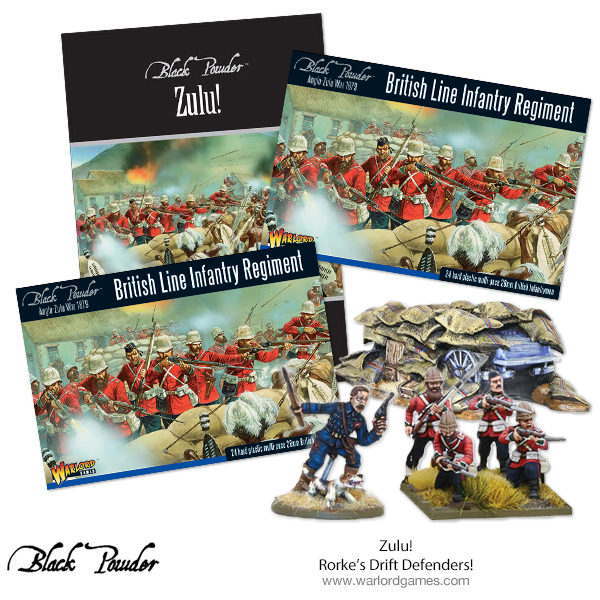
Much to my delight, my wife bought me the now out of print Rorke’s Drift battle-set when it first came out. I wasn’t sure if I was ready to embark on another wargame genre, but I have always been an avid fan of the movie, Zulu.  I started with the characters. Since they are unique figures I put much more detail into them compared to the rank and file that populate battalions on the table top.
Next, I painted the 20 British infantry and then the Zulus. That’s where the project sat for two years as we packed up and moved to a new home. I sat down one night recently and read the Osprey Campaign book by Ian Knight on Rorke’s Drift. Even though the book pointed out the inaccuracies in the movie, my curiosity was piqued. What really took hold of me was the wargame notes at the end of the Osprey book which suggested doing the game using 1:1 for the British and Colonial forces. I started reading other online sources to gather more information such as the list of KIAs. I started to figure out who was in the hospital and who had been assigned to defend it. To buy so many figures would be out of the question.
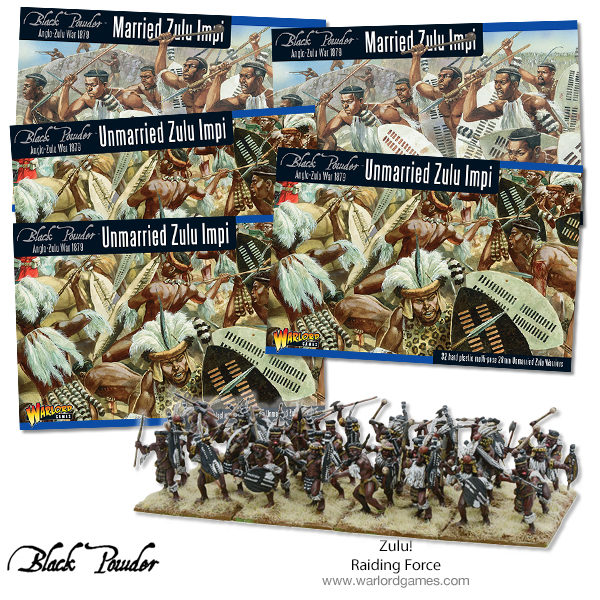
Then a close friend, who was moving out of the area, asked me if I wanted some Zulus. “Sure,” I said, thinking he had some sprues he had picked up at conventions. Much to my surprise, he presented me with 4 boxes of British, 1 of Natal Native Contingent and 9 boxes of Zulus(!) along with another complete box set of Rorke’s Drift buildings… Suddenly, I had the means to take on the project and more. That was the impetus that launched me on my quest to refight the battle in 1:1. Well, the Zulus would be more like 1:4 but further reading verified that not all of the 4000 or so Zulus who attacked the Drift were present or attacked at the same time. That would allow me to recycle figures to represent the various attacks.
There are several authenticated lists of the participants at Rorke’s Drift. I settled on the one in the Osprey book since the author had clearly reviewed and researched this issue long before me. Why reinvent the wheel? There were about 150 plus Brits and Colonials who took part in the action. I read through the Order of Battle from the Osprey book and planned out what figures I would need. I already had Chard, Bromhead, Bourne and Hook but now needed to create the others. I bought some Empress miniatures to add the NCC corporals, Adendorf and Schiess as well as Dalton, Reynolds and Pastor George Smith. I co-opted one of the Perry crowd figures wielding a shotgun to represent Mr Daniels who operated the ferry at Rorke’s Drift.
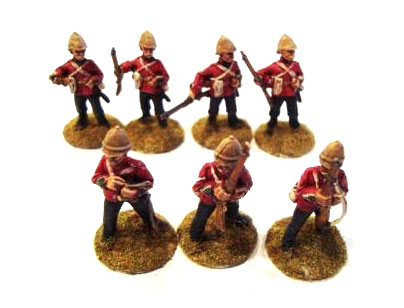
Since the battle start time was recorded as 4:30 PM, I decided that the war game would take place after Reverend Witt and the Natal Native Contingent had fled the scene. Since I had four boxes of Brits and one of NCC, I used the metal figures from these box sets to flesh out some of the participants needed. The metal command figures from the boxes were converted to provide sergeants and corporals and commissary figures. The other NCC figures would be used in other games. 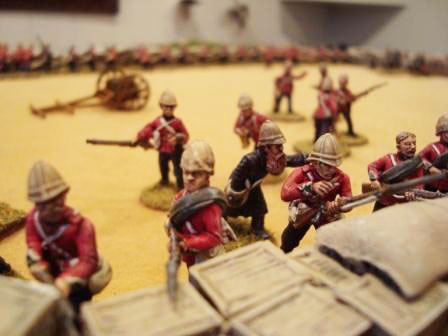
Painting the Figures
To paint so many figures required an assembly line technique for mass production, I used the following painting regimen: Undercoat in matte white. Some painters prefer black or grey, but I prefer the white to bring out the colours and to allow for the darkening down of the varnish. More on that subject later. The “2-foot” rule for figure painting is a must if you are going to complete any army in a reasonable period of time. If you can see a detail at two feet then paint it. If not, don’t worry about it. My troops are meant for the rough and tumble of tabletop combat, not a museum glass case.
I painted trousers, face, coat, gaiters and boots, webbing, weapon and hands in that order and touched up the colours as required. I used a flesh wash ink for faces and hands to give a weather-beaten look to the soldiers. Once the colours are done I use a white dry brush going down from head to toe to represent the highlighting you would get with the midday sun. More careful painters are probably cringing at this point but it works for me and the troops look good on the field. I use Army Painter dark tone to bring out the detail and enrich the colours. I brush on the varnish as opposed to dipping the figure. It’s less wasteful and I have nowhere to splash varnish off the figures! More to the point I would be more likely to drop the figure and ruin the work I put into it. Lastly, I use Army Painter flat varnish to finish off the figure and eliminate the gloss of the dark tone varnish.  To base the figures I used flat washers with an outside diameter of 3/4 inch, the washer has two key advantages – it makes the base heavy on the plastic figures so they are less likely to topple over on the table and now it is attracted to a magnet to allow easy figure management on storage trays using magnetic mats. For regular battles, I will make larger bases to represent the men in line formation such that the circular base is recessed like the skirmish stands available in the marketplace. For individuals who won the VC during the action, I mounted those figures on a larger washer to make them more easily distinguishable in the heat of battle. Another shortcut I used is walnut coloured wood filler to finish off the base. This eliminates the need to paint the base before flocking it. If you are working quickly, you can apply the wood filler, smooth the coat and dip it in flock immediately to eliminate the step of applying glue before flocking. Since I prefer to do the basing in a couple of sessions, I used glue to cover the base and then flocked it with fine turf mixture. These techniques allowed for the rapid painting of the British miniatures.
For a time I experimented with using dental loupes which made a 28mm figure look as if it was 100mm tall. There were pluses and minuses to using the loupes. Now you could see the amazing detail put into the sculpts. The 3.5X magnification increased the steadiness of my hand when painting detail, but the paintbrush took on the dimensions of a household floor mop! I stopped using them when I found that my production rate had slowed to a crawl. Now I was painting and repainting errors that I could not even see with the naked eye. I do use them for personality figures such as generals in their wonderful uniforms of the Napoleonic era.
To handle large batches of figures I made a box crate much akin to those you would use to store Christmas ornaments. This allowed me to use wooden clothespins with the top sanded flat to hold one figure each, I use “blue tac” (a gum used to hold artwork temporarily in place) to hold the figure on top of the clothespin throughout all phases of production. I tried using a hot glue gun but found it was a major headache trying to get the figure off again without damage. I still use hot glue for metal horses since they are much heavier than the blue tac will support. For handling the figures during painting I used a six-inch section of broom handle with a magnet glued on one end and a hole bored in the other end to accept the clothespin. This device allows me to work on figures without handling them. I can work directly on a figure with a metal base or one mounted on the clothespin. Once I had painted a particular colour I pulled the figure off the broom handle and returned it to the egg crate rack to dry. I am fortunate to have a vented spray paint hood which I use for mass undercoating and flat varnishing.  Painting 500 Zulus was a different matter. I tried spray painting the sprues in the desired colour and then assembling each figure. I found that technique did not speed production because I had to clean all the places where the glue was needed otherwise I was constantly re-glueing parts. In the end, I assembled batches of 40 to 100 figures and used the spray booth to paint them. Then mounted the figures as before on the pins and worked on the details of each figure. For the battle, I have commitments from other gamers for about 400 painted and based Zulus. I have 144 already done and mounted as war bands of 28 figures each. I have 360 more to do.
Figure conversions
Since I had four boxes of British line infantry, I needed to create some variety among the castings to make the figures more interesting visually. I did some thirty conversions to metal and plastic alike to create unique figures for the battlefield. Thus I modified the command figures from each box set to make them different.
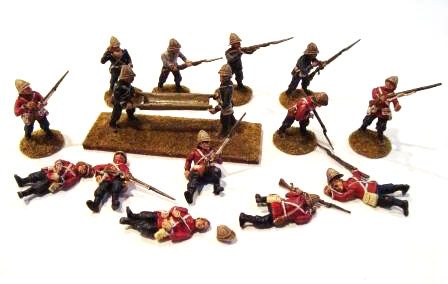
Using the standard sprue figures, I created 8 casualty figures for the Brits. Don’t be afraid to experiment with the plastics. I cut limbs off one figure to create a different pose. I even shaped the back or front of a figure to get it to lie flat on the ground.
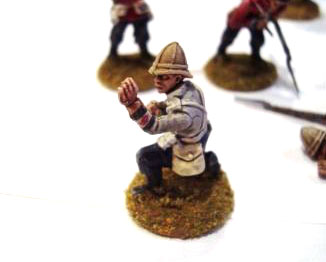
There is a classic scene in the movie Zulu where two corporals, Lyons and Allen, are wounded within moments of each other. After treatment by Surgeon Reynolds, they went around on their hands and knees giving out ammunition to soldiers at the barricades. I used the kneeling pose figures and added a sling to one figure to support his right arm while his outstretched left hand is handing out ammunition boxes. The other I removed the frock coat and webbing to represent the soldier in his shirt sleeves with a bandage on his arm.
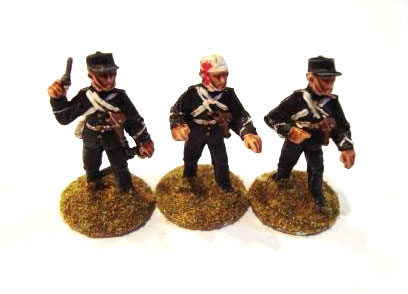
It’s fun to see what you can come up with in terms of different poses. For example, I used two standing figures from the basic sprue converted to army medical corps staff as stretcher bearers using a camp bed to carry a wounded man. The sprue figures were also converted to Royal Artillery figures who were hospitalized at Rorke’s Drift at the time of the action. Rather than have four figures in dark blue, I removed the service coat on one, removed the webbing on another and armed them with rifles. Converting metal figures takes more work but can be just as satisfying in the end. In some cases, I used plastic hands to carry rifles in different poses to add variety to the metal castings.
Building Rorke’s Drift for the wargame
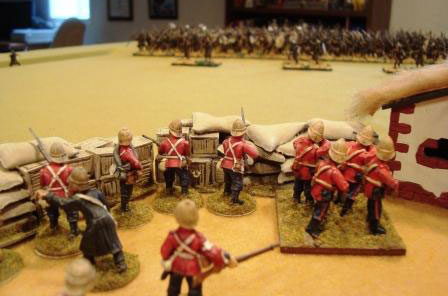
First I studied the layout of the buildings and barricades and figured out how many were required to recreate the fortifications. The small kraal to the side of the storehouse had interior walls with a gap. I cut one wall section to make the short wall sections required. I also cut a biscuit box section to fit next to the storehouse to connect to the small kraal. The leftover section was used to close a gap on the fortifications elsewhere. I set about painting barricades. I opted not to do the red and blue stripes on the mealie bags for two reasons, there are a lot of bags which require the lines and my hand isn’t that steady to do it justice and secondly, the barricades can be reused in other battles in other periods.
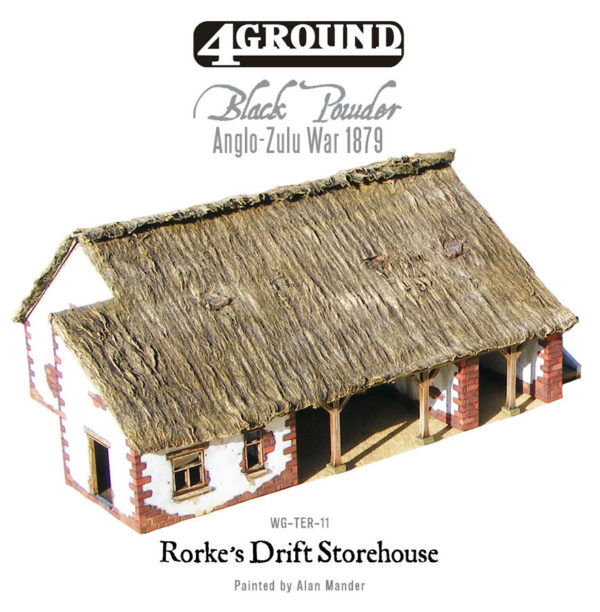
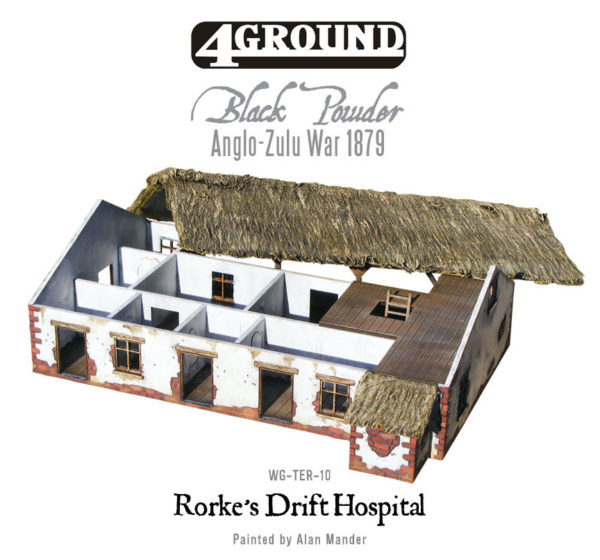
4Ground Storehouse for Rorke’s Drift
4 Ground makes excellent wagons and a water cart ideal for the battlefield. I also opted to make ammunition boxes. Short sections of boxwood or balsa work well to represent the boxes. Don’t forget the 2-foot rule! The defenders went through 20,000 rounds of ammunition during the battle. The area must have been littered with empty boxes and brass casings. The battlefield will fit on an 8 x 4 foot table without too much difficulty. Most of the Zulus will be off table at some time or other. For the Zulus firing down from the Shiyane hill which overlooked the station, I decided not to represent them except for a D10 roll every turn to determine if anyone was hit by the random musketry on the hill. The key area to represent is around the hospital. If you don’t have enough wall sections you can dispense with the large stone kraal adjacent to the small one mentioned earlier. 
Mustering for Battle
Once all the Brits were painted and labelled, I researched the company structure of the British Army in 1879. In a company, there were 4 sections. Each had a sergeant and two corporals to lead it. In overall command was a Captain supported by two lieutenants. Captains were often away from their companies on detached duties. Thus a lieutenant, from the French for “placeholder” could often find themselves in command of the company. For the management of the battle, there would be essentially five commands for the gamers on the Brit side as follows. One gamer for each section of the company plus one to represent the soldiers and patients in the hospital, On the Zulu side, four-player commands would be sufficient to represent the four regiments that took part in the fight. With the gaming command assignments arranged I was ready to take on the Zulu’s and refight the Battle of Rorke’s drift.

Do you have an article within you? Are you itching to show your collection to the world? Then drop us a line with a couple of pictures to info@warlordgames.com or share with all over at the Warlord Facebook page
Prepare for your Battles
