If you’ve been keeping up with Konflikt ’47 on facebook you may have seen some excellent Soviet armour rollling in and here is from the Konflikting Opinions Blog is isquishpeople (aka Simon) to show us some steps to achieving winter glory:
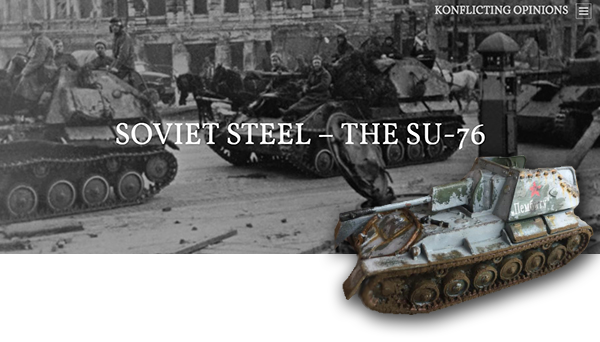
Simon: When I was younger I thought that I had a good knowledge of the Second World War. It was only when I started playing the PC game Warthunder (other pc ww2 action sim games are available) I realised that all my knowledge centred around the popular theatres and was predominantly focused around the British and German forces.
I had never heard of the SU-76 before I encountered one in my trusty Panzer 3 whilst playing Warthunder.
I was most disappointed as this cheap flimsy thing blew my tank up from miles away with it’s #russianbias 76mm!
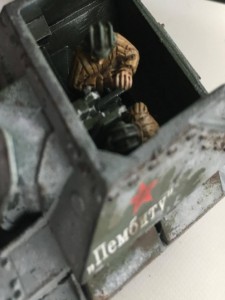
Starting a Soviet army for Bolt Action has led to me researching the exploits of the Russian army and the theatres that they were focused upon. It has also encouraged me to purchase and paint the SU-76. According to my extensive research (Wikipedia!) the SU-76 was the second only to the T34 in numbers produced during the war. They were cheap to build and were largely popular with their crews. Due to a couple of steering quirks the crews would often name their SU-76s with colourful names.
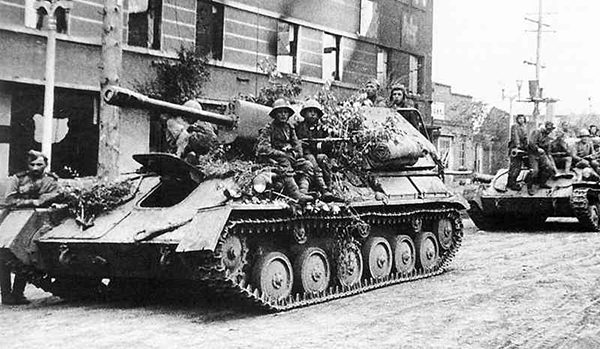
It’s probably a good idea that I wasn’t aware of this when I was painting mine as otherwise I may well have offended any players capable of reading Russian!
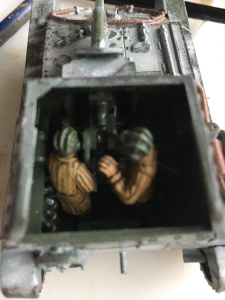
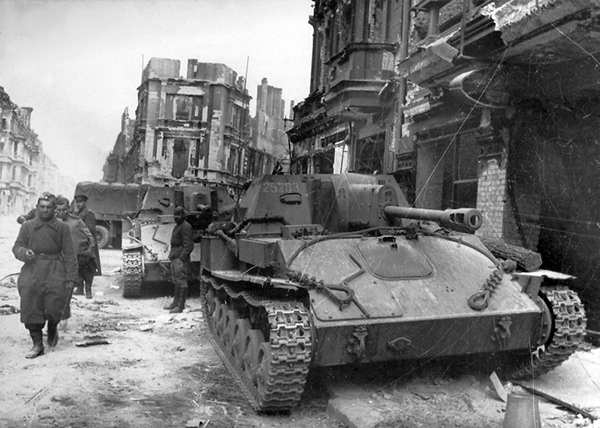
In game the SU-76 is a tasty little number, it’s a light open-topped self propelled gun mounting a 76.2mm Zis-3 gun. This gives it the ability to fire either as a light howitzer with HE ammunition or as a medium anti-tank gun. It weighs in at 115 points for a regular SU-76 and for 5 points you can remove open-topped (presumably by giving it a closed roof and back).
This seems to me to be a very efficient cost for something that is mobile, immune to the majority of small arms fire and capable of blasting infantry apart or cracking open tougher targets like medium tanks and walkers.
I bought my SU-76 from Warlord Games and it is an excellent little kit. The kit is made up of both resin and metal parts, with the hull and tracks being cast in resin and the gun breech, barrel, lights, hatches, ammunition and crew being cast in metal. The kit goes together very easily although I would recommend having a bowl of very hot water close to hand. One of my track units was slightly warped and a quick 30 second dip in the hot water allowed me to easily fit it into place against the hull and secure with super glue.
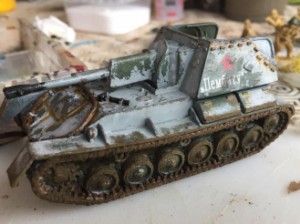
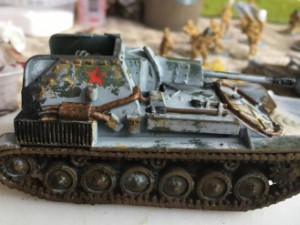
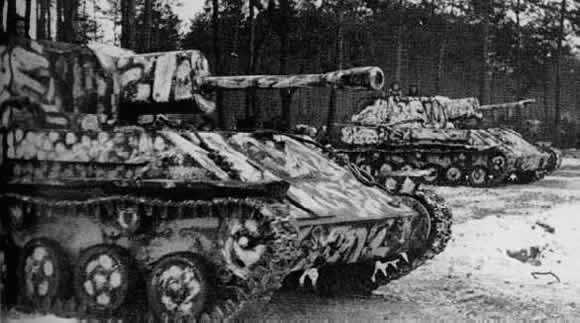
My SU-76 has been painted to match my winter army and as such uses my winter camouflage method which has been discussed in my blog and a recent article here. I’ve got some stage by stage pictures to show complete with a some final shots to give you an idea of how it looks.
The model was primed and then sprayed with Vallejo Model Color (VMC) Olive Grey and then highlighted with coats of Olive Grey mixed with White. Once dry these coats were varnished with gloss, partly to help me move decals into place and partly to help protect the paintwork against handling considering I have a fairly hectic weathering plan for it.
Once the Decals had been applied using MicroSol and MicroSet to help get them looking right, they were then given a coat of gloss varnish to protect those against the chipping method that I was planning to use. Finally a light coat of chipping medium was applied over the model. Those of you who have been paying attention will remember that I said whilst painting the Heavy Armour Squad that I wouldn’t use this again. Unfortunately my wife was away for the weekend and had taken my chipping medium of choice with her, to ensure that her hair looked nice!
This lighter coat of chipping medium proved more successful this time (and perhaps fitted the scale of the model better) and I found it much easier to control the stippling and chipping of the armour this time. Using warm water and a stiff bristled brush I soaked areas where I wanted to remove paint and then vigorously teased and rubbed the paint flaking some chunks away and in other areas wearing through to the green below. I did this all over the model until I was happy with grey base.
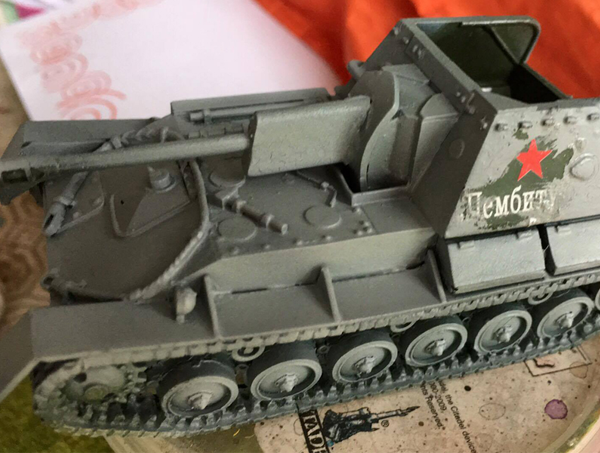
The SU-76 having been given a light coat of Light Blue Grey and showing a start of the chipping
At this point all of the bits of the model that would be rusted (exposed tow cables, exhausts, tracks etc) were given a coat of chocolate brown, then highlighted with rust and then washed with smoke (a dirty brown / red wash). When all of this was dry we moved onto adding the top coat of rust effect. Orange was stippled onto the cables and exhausts and then washed around areas of rust to show damage and streaking.
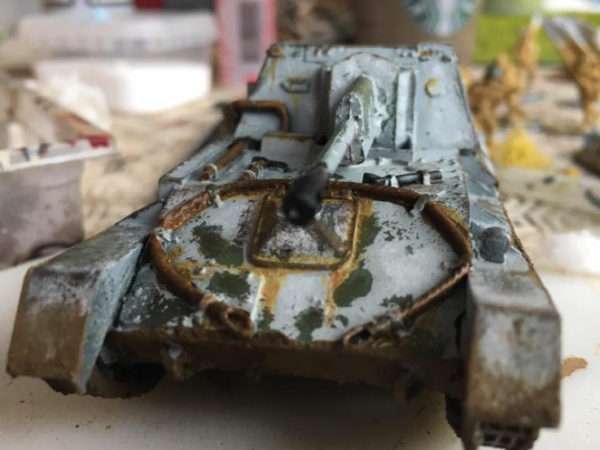
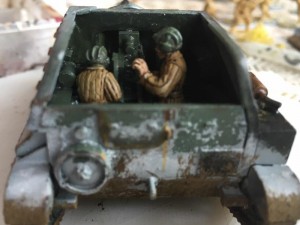
Finally the tracks, underside and track guards were given a weathering coat of Dark Umber pigment mixed with GW Agrax Earthshade and water to create a textured clumpy mud effect. Once dry the whole model was given a coat of Matt Varnish. As before this process sounds intensive because of the volume of steps. It really isn’t. The weathering takes place at the end and takes around 30 mins to an hour maximum. All of the other steps tend to be 5 minute jobs followed by 30 minutes of waiting for coats of paint / varnish / chipping medium to dry. It’s very easy to be working on something completely different whilst doing this model due to the nature and length of pauses required by the method. Start to finish. actual time spent cleaning the air brush and painting the model / building the model would be around the 3 hour mark. Not exactly difficult to achieve and certainly doable in a weekend.
Do you have an article within you? Are you itching to show your collection to the world of Bolt Action? Then drop us a line with a couple of pictures to info@warlordgames.com or share with all over at the Warlord Forum
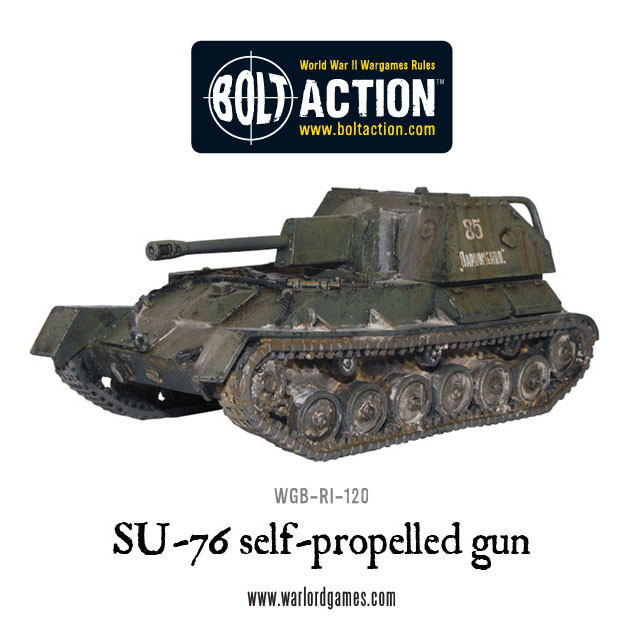
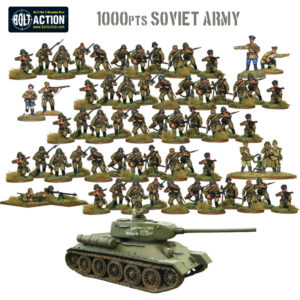
Begin your Soviet Army today with the 1000pt starter set.

