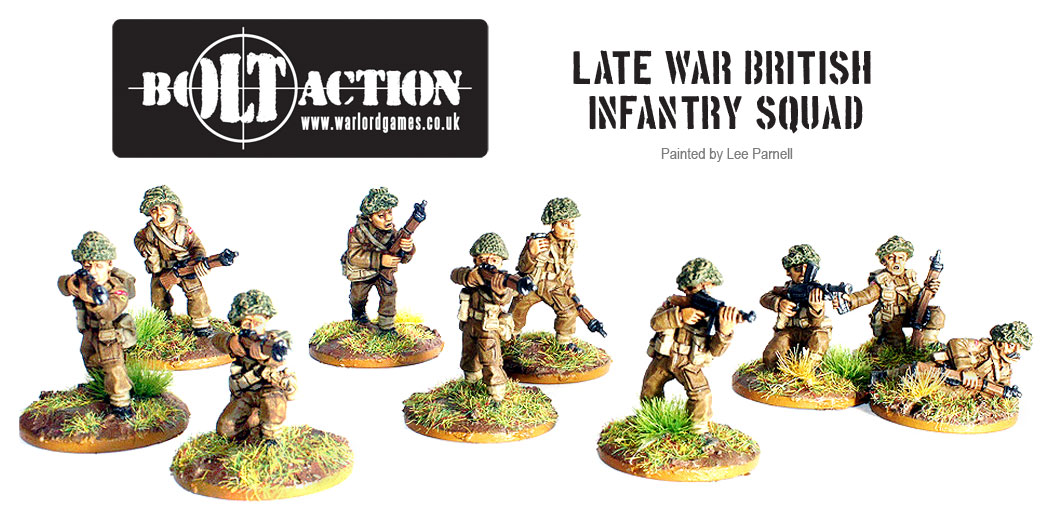
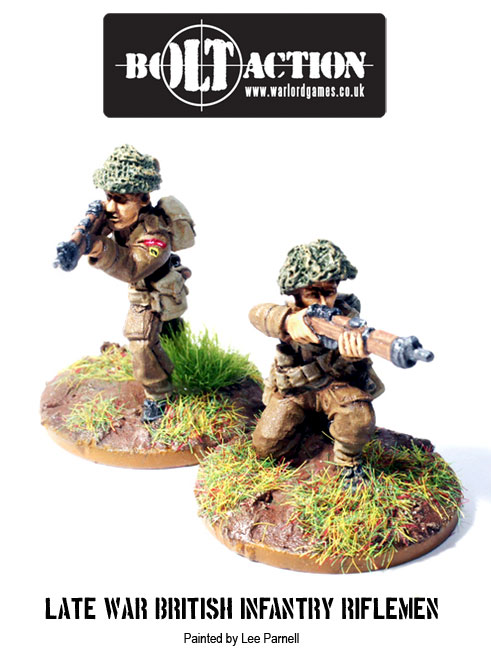
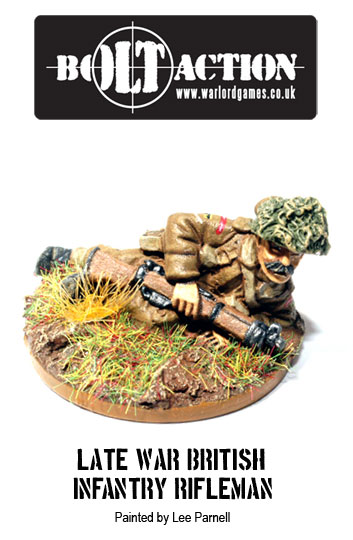
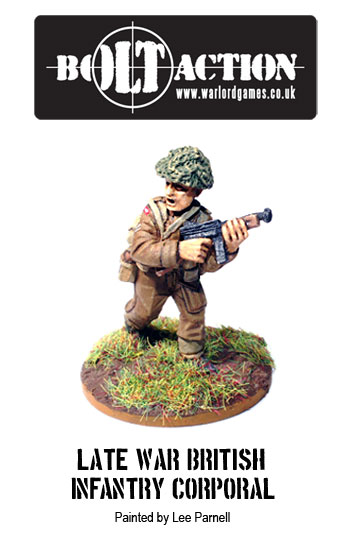
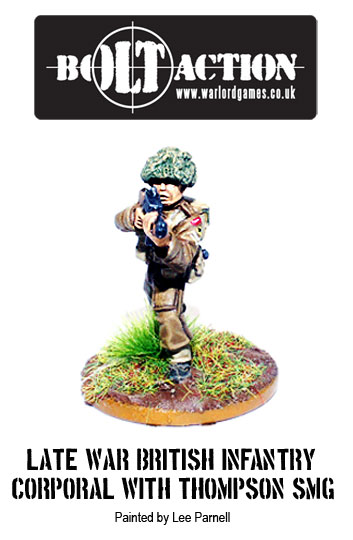
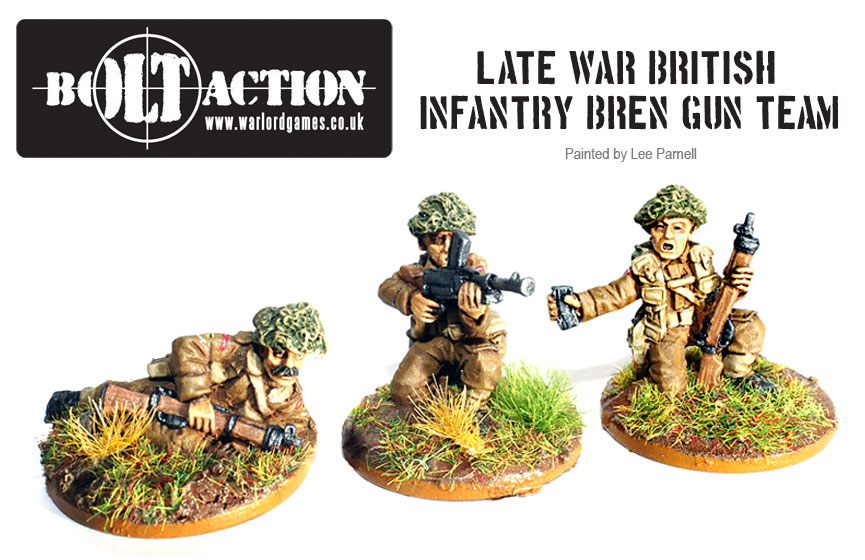
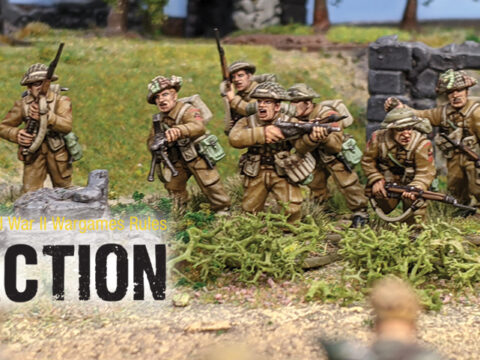
Forum member Lee (AKA Safetystick) recently sent us pics of his lovely Bolt Action British painting. Check them out here along with how he achieved these splendid results!
Lee has been beavering away to get his British infantry ready for the tabletop. His aim is to field a Northern Europe, 1944 British Rifle Platoon for use in Rules of Engagement and shown here is a selection of the two painted squads to date (the third and command squads are already underway).
As with Lee’s Flames of War army his inspiration is 3rd Royal Tank Regiment. So, delving into the order of battle for 11th Armoured Division in Patrick Delaforce’s ‘Taming the Panzers: 3 RTR at war, 1914-45’ he found the King’s Shropshire Light Infantry had worked closely with 3 RTR, espcially in Normandy. The main impact of this was the inclusion of red shoulder flashes and a simplified version of 11th Armoured’s ‘Black Bull’ insignia. The latter being purely speculation on my part as not all units wore the Divisional symbol into combat – looks great though!
Painting the Tommies
The painting technique Lee used is based on three and five stage layering techniques and are exclusively Vallejo paints.
Before he got as far as breaking out the paints Lee based the models on 25mm diameter metal washers and, using Polyfilla, blended the model’s integral base in and adding texture for what would end up looking like wet earth.
Basecoat: Lee loves the Army Painter sprays for their durability (no need for a separate undercoat!) and variety of colours. Giving the models a coat of Leather Brown colour primer spray as a basecoat and then touching up any areas the spraying missed with German Camo Medium Brown. This colour formed the basecoat for the uniforms and rifles and so it was wise to make sure it had a solid base.
Boots and metal areas were painted black and the base was given a coat of Chocolate Brown. Lee says he’s somewhat paranoid of ruining his carefully layered highlights with an errant stroke of the brush when applying these stronger colours. As a result he finds it a good idea to get the stronger colours onto the model first when it doesn’t matter about mistakes as much.
Uniform: Using a 50/50 mix of German Camo Medium Brown and English Uniform Brown and thinned with water Lee applied shadows into the deepest recesses and edges of the uniform. Once this was dry Lee applied English Uniform Brown, again leaving the last coat only visible in low areas (so we now have a three tone grade). Next is a 50/50 mix with Green Brown applied to the ridges (leaving a lot of English Uniform Brown still visible) then a final highlight of pure Green Brown applied only at the peak of ridges. Lee uses Green Brown as the basecoat for the Khaki-coloured webbing so he’s applying this onto the webbing of each model too, to save time later.
At this point, the model always looks too green and Lee got pretty despondent on the first squad at this point but then found that as the other parts of the model were painted it looked less green. It’s probably just that it’s the only real colour other than German Camo Medium Brown throwing the colour scale off. Don’t despair if this happens to you!
Wood: Next up was wooden areas – entrenching tool handles, canteens and rifles. It affords more chance to correct mistakes than doing the lighter-coloured webbing first followed then the darker wood areas. Lee uses a three-tone layer of German Camo Medium Brown, then Flat Earth, followed by a 50/50 mix of Flat Earth and Green Ochre.
Equipment: The Canteen was painted with Chocolate Brown, then German Camo Medium Brown and finally US Field Drab. On the second squad onwards, I then paint the tarp/bed rolls dark green by three-toning Olive Grey, US Dark Green and Russian Uniform Green. I missed the significance of these on the first squad and they just got painted Khaki like the webbing. The Dark Green is a bit more accurate and adds a bit of colour to the rear of the model.
Webbing: As noted earlier the basecoat for the webbing is Green Brown. Successive highlights of Khaki and German Camo Beige were then applied. Lee likes the look of Khaki-coloured webbing but the colour of British webbing is a subject in itself. Green Gray and Stone Grey-based schemes are also just as viable. Some people mix all three in squads but he thinks its actually takes away from the effect of a uniform looking squad.
Metal: Metal areas are painted Black, followed by 50/50 German Grey/Gunmetal and finally Gunmetal . Make sure you don’t forget the rifle butt plates!
Flesh: Faces and hands are painted using a three-tone process: Beige Brown, Medium Flesh, Flat Flesh. Open mouths and eyes are filled in with thinned black paint.
Helmets: The iconic tin hats were painted Reflective Green then heavily drybrushed in Russian Uniform Green followed by a light drybrushed of Green Ochre.
Finishing touches: To finish the models off nicely Lee then carefully apply Vallejo Black Wash along the joins where item meets item (i.e. webbing meets uniform) to increase apparent contrast and depth. Last but not least the insignia ere added followed by Static Grass and foliage on the bases.
Lee is really happy with the end result and is already planning out what to add to the force. We’ll show off his handy work when he’s done – great work, Lee!

