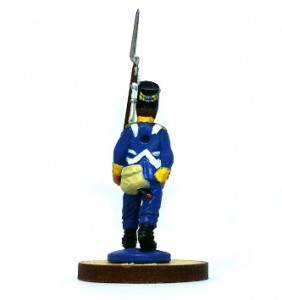
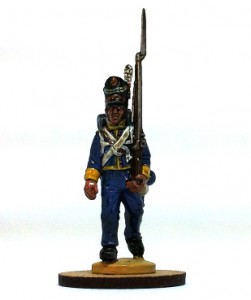
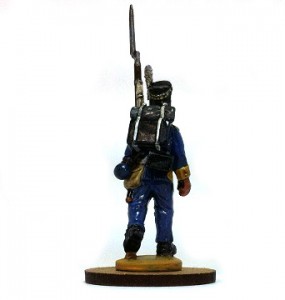
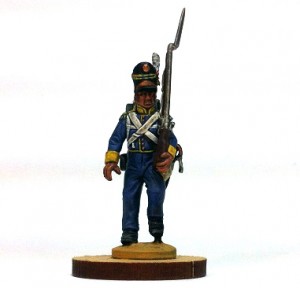
Warlord’s Dave ‘Boycie’ Lawrence continues his painting series (see Painting British) showing how he paints his Napoleonic Portuguese:
Dave: Continuing my force based on Picton’s Third Division, in the later part (1812-1813) of the Peninsular war, I can now start on the Portuguese 8th Brigade. The first regiment I will paint is the 21st Line.
Stage 1
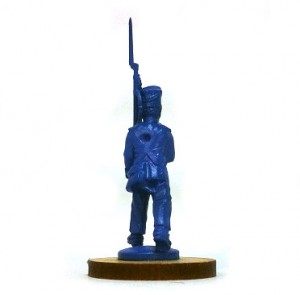
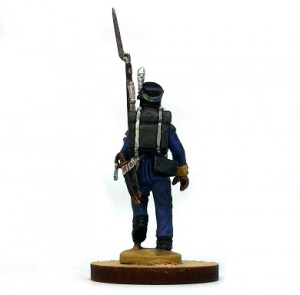
I undercoated the backpacks with the Army Painter Black primer spray.
I undercoated the rest of the model with the Army Painter Ultramarine Blue colour primer spray.
Stage 2
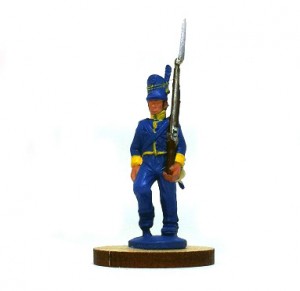
I then started painting the model in the following order:
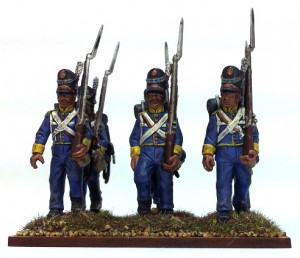
Collar – Warpaints Daemonic Yellow
Cuffs – Warpaints Daemonic Yellow
Piping, Turnbacks, Shako Cords, Grenadier Company Epaulettes – Warpaints Daemonic Yellow
The Shako cords are made from two sets of cords twisted together; one cord blue and the other in the piping colour. To get the effect I painted yellow stripes at regular intervals over the undercoated blue cords.
Light Company Epaulettes – Warpaints Greenskin
Breadbag – Vallejo Model Colour 976 Buff
Flesh – Warpaints Tanned Flesh
Musket wood, hair – Warpaints Oak brown
Bayonet and musket metalwork – Vallejo Model Colour 865 Oily Steel
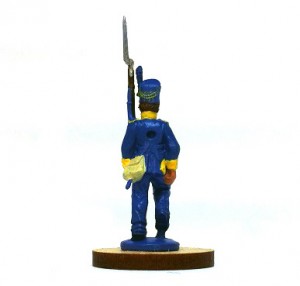
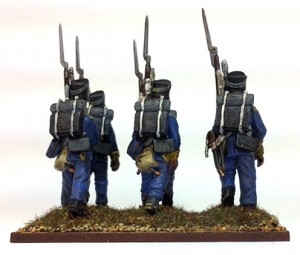
On the backpacks I painted the following
Greatcoat – Warpaints Uniform Grey
I left the trousers blue (representing winter issue), but you could also do them in grey (representing summer issue)
Stage 3
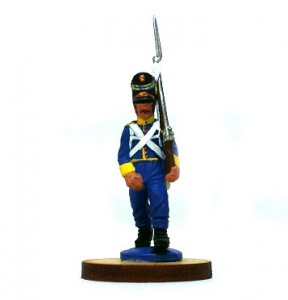
Shako, shoes and scabbard – Warpaints Black
Crossbelts, musket slings and backpack straps – I have painted mine with Vallejo Model Colour 820 Off White, but they could also be done in black.
Shako badge and plate, scabbard tips and short sword handles- Vallejo Model Colour 801 Brass
Plumes and shortsword cords – Vallejo Model Colour 820 Off White
On the backpacks I painted the following
Canteen – Vallejo Model Colour 900 French Mirage Blue
Canteen strap – Warpaints Oak brown

Stage 4
I then glued the backpacks to the models. The backpack with the shortsword is more likely to be used by the Grenadier/Light companies.
Next I applied Dark Tone – Quick Shade Dip I actually paint the Dip onto the model using a large brush. I use Dark Tone as I find that as well as shading the model, it also gives a bit of a black line definition around the lacing and crossbelts.
Stage 5
Because the Dark Tone also acts as a gloss varnish, I gave the models a quick coat of the Army Painter Anti-shine Matt Varnish spray.
Stage 6
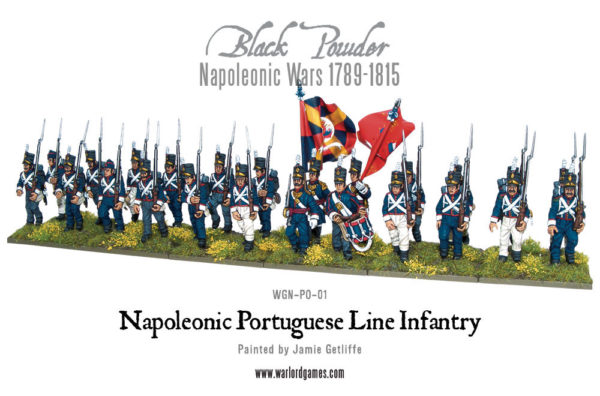
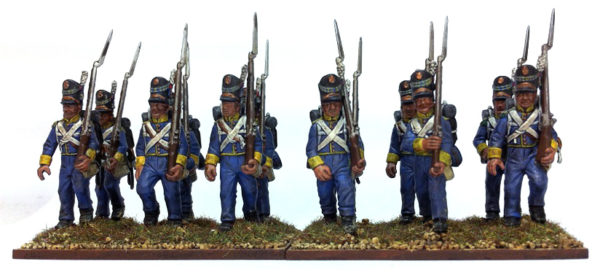
The last stage is to put our single figure into context within a unit. The first 12 models fully based, only 12 models more to go to complete the Battalion.
Want to have a go yourself? Try these fantastic starting points:
