By Dr Phil Hendry
The first job was to clean off the casting vents, mould-lines, and any other ‘messy bits’. Not a bad job on Warlord’s figures – they’re usually very nice castings. One thing to bear in mind is that ‘The Dip’ is not discerning in what it shades – if you leave a prominent mould-line showing, ‘The Dip’ will definitely emphasise your mistake – you can’t hide it by careful painting!
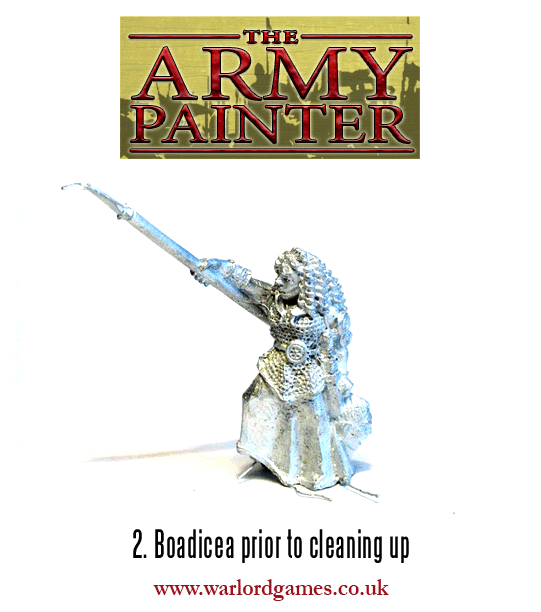
Here’s a shot of her ladyship before I cleaned up the casting.
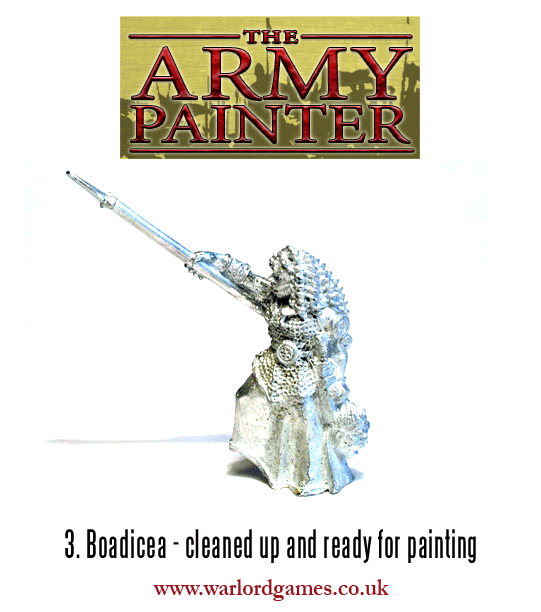
She wasn’t bad to clean up at all – just one slightly awkward mould line running from her spear onto her right under-arm, the rest needing only a light scrape with a scalpel.
And here’s another photo, taken after cleaning up.
After that, some consideration needed to be given to assembly (assembling as much as possible at this stage, consistent with the model still being easy to paint), and durability on the wargames table. Warlord’s chariot models seem to be durable enough if just glued together with superglue, but the figures do need to be pinned in place, because they’re a bit vulnerable. I usually just drill a 1.1mm diameter hole a few millimetres up into each figure’s heel, and super-glue a length of 1mm brass wire in place, and drill a corresponding hole in the chariot floor. The wire also serves (with figures like these, having no bases) to allow me to fasten them to small blocks of wood to serve as temporary bases while I paint them, only gluing them in the chariot right at the end.
Usually, while doing the clean-up, I start to think about which colours I’m going to use on the figures. Clean-up gives you a really detailed, close-up look at the figures – you have to take a good look at all the detail to see if there’s anything needing attention. I usually make notes on colours whilst I’m painting, and that process starts during clean-up. The chariot was to be painted the same way as the other seven I’ve painted – the main colour to be Vallejo ‘Ochre Brown’ (856/127). This is a very bright ‘yellowy’ brown, and looks like a mistake – until you apply ‘The Dip’, which mellows it a lot. This is true for most colours used with ‘The Dip’ – if you don’t want your figures to end up looking dull and ‘earthy’, you need to use colours which seem far too garish. It takes a degree of faith – you won’t really know if it’s worked out until almost the very end, when you apply the matt varnish.
Anyway, where was I? Oh yes, chariot colours. Metal bits get Citadel ‘Boltgun Metal’, leather parts ‘Bestial Brown’, and that’s about it for the chariot model itself. I hadn’t decided, at this stage, what colour to paint the horses. They were definitely to be a matched pair, befitting Boadicea’s status. I vacillated between a classic British ‘dun’ pony look, and going for greys. I paint dun with Wargames Foundry’s ‘Canvas’ shade 8A, with the mane, legs, etc, painted Foundry Black 34A, highlighted by dry-brushing with Foundry Charcoal Black 34C. Dun looks really good when dipped. Greys don’t do quite so well – though ‘Soft Tone’ looks okay on a very pale grey (essentially white) horse but in the end I thought white horses might tend to draw the eye away from Boadicea herself.
I decided to give Boadicea a green ‘dress’ and blue cloak (both with some patterning – checks or stripes). I thought her clothing ought to contrast strongly with her famous fiery red hair anyway! The red hair was to be painted with Vallejo Orange Brown (981/131). Spear, chainmail, severed head, and all the other bits got the colours I habitually use on such bits.
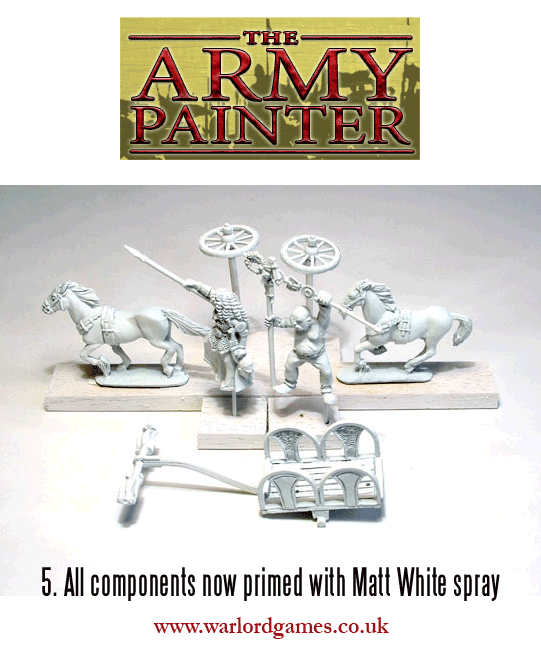
Here are all the sub-assemblies, ready for priming.
I usually use Halfords’ White Primer in a spray can, presumably meant for auto-body work. It’s relatively cheap, but seems to work fine for my purposes. Army Painter’s Matt White Base Primer spray is an ideal choice here too.
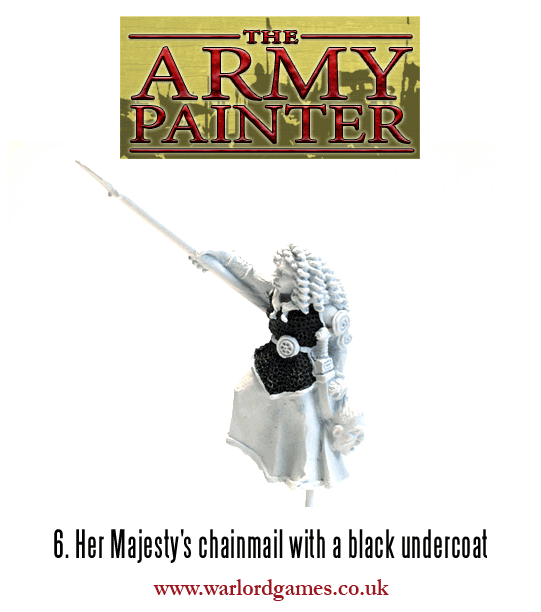
So that was everything primed white. Next I needed to re-prime Boadicea’s chainmail. I use Humbrol 33, Matt Black for that purpose. I find enamel paint seems to sink into the links much better than acrylics.

