Community member and brush-wizard, Steve Palffy has recently been wowing the Warlord staff with some of his latest Bolt Action armour…
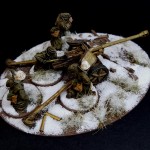
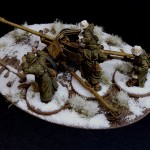
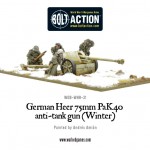
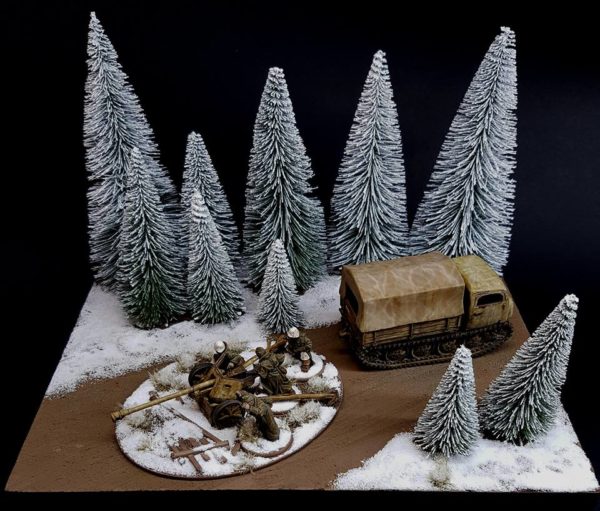
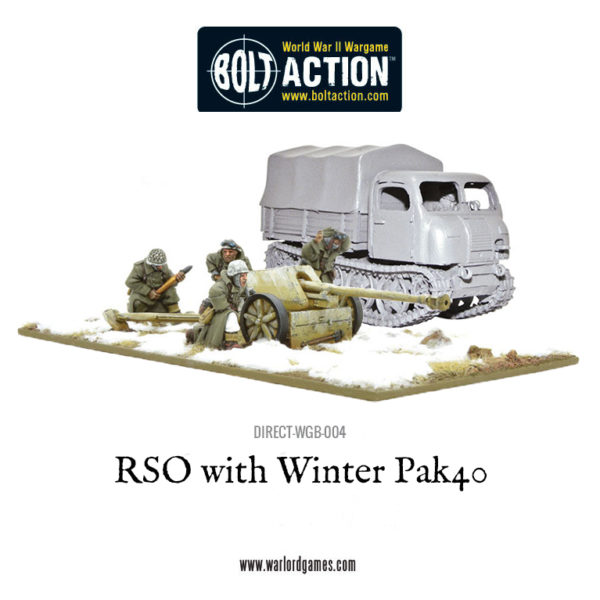
One piece which particularly captured our eye was his RSO & Winter Pak40, set on a scenic base – Steve was kind enough to give a step-by-step guide to show you every step of the process:
Assembly
The models were assembled with an oval base for the gun. The RSO’s doors were left unglued to make it easier to paint the inside of the cabin.
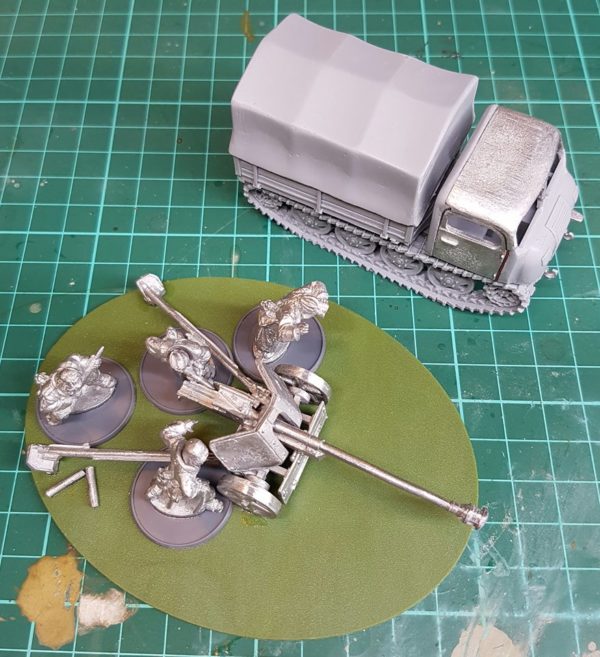
Step 1
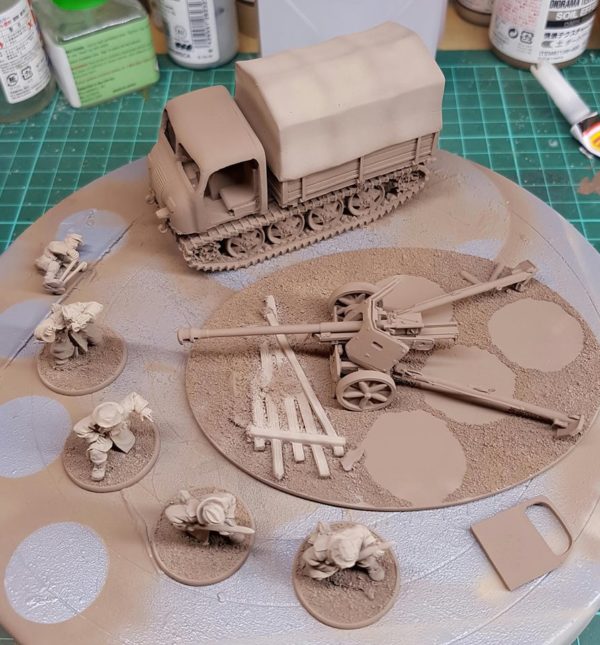
Base coat of Flat Earth followed by Wooden Deck Tan to figures and canvas.
Step 2
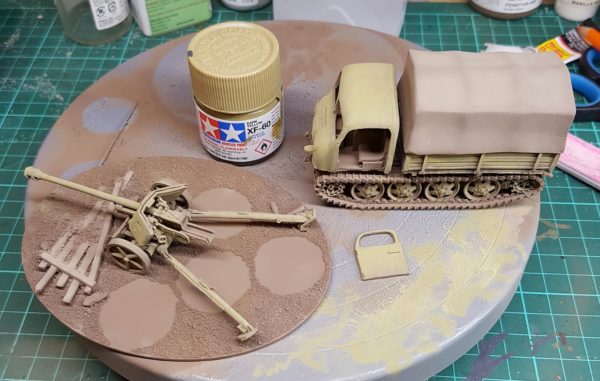
Dark Yellow applied.
Step 3
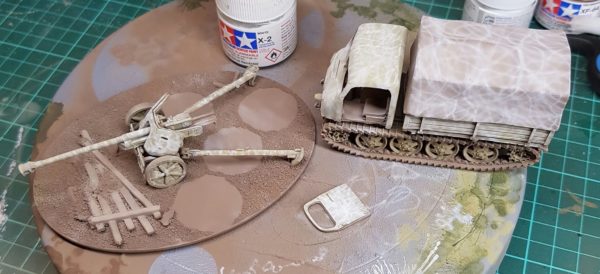
Heavilly thinned white is airbrushed in thin squiggly lines to represent snow camo.
Step 4
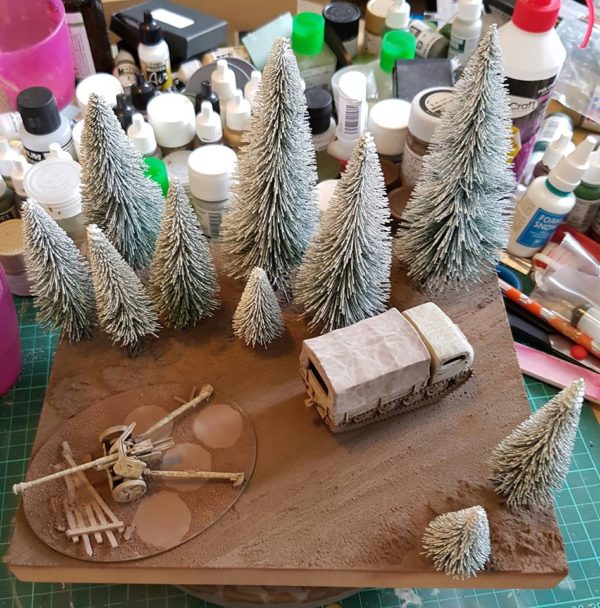
The display base is covered in texture paint before snow etc will be applied.
Step 5
Details are picked-out and all edges dry brushed in Dark Rust… the canvas edges are then dry brushed with Dark Stone.
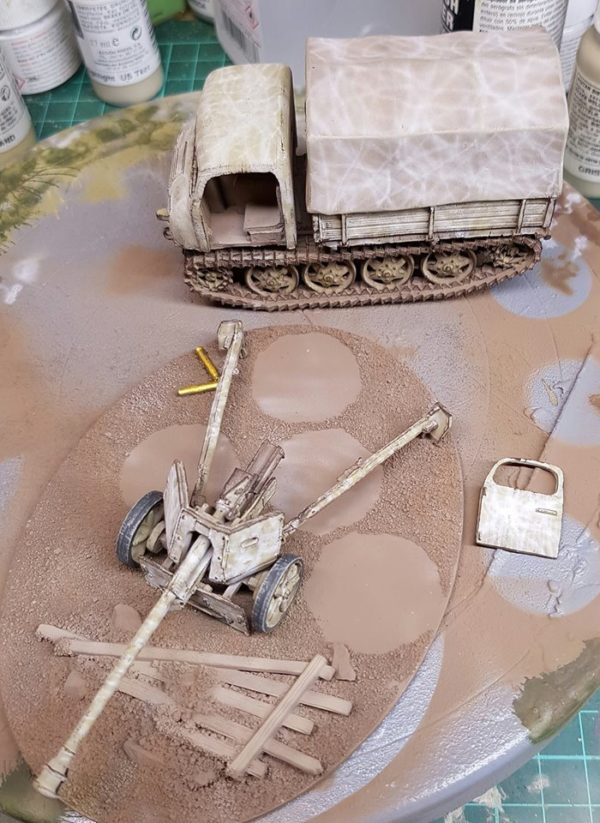
Step 6
The tracks and breach of the gun are drybrushed with Natural Steel before a coat of clear gloss … I then applied the decals – and gave another coat of clear gloss again to seal everything.
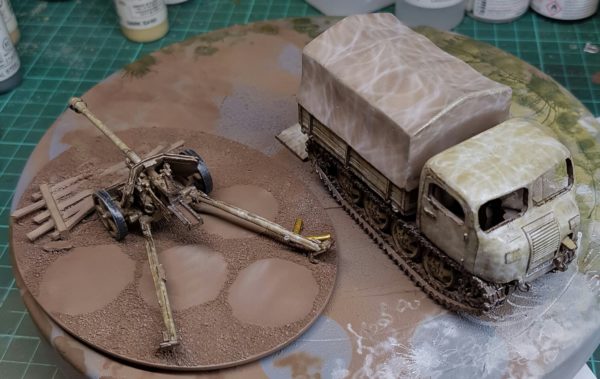
Step 7
A wash of Oiled Earth is applied to the wheels and tracks – and a Sepia shade wash applied to everything else.
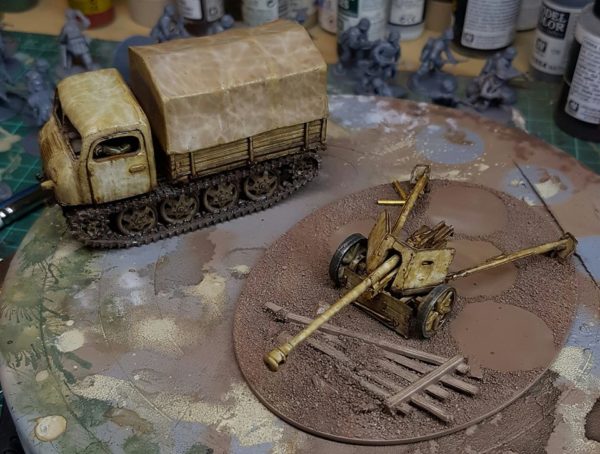
Step 8
A few streaks and stains applied with black shade wash.
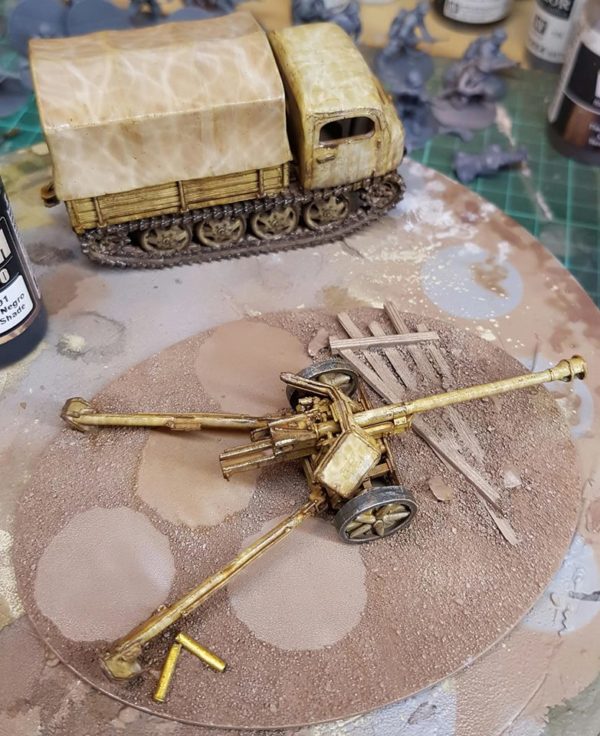
Step 9
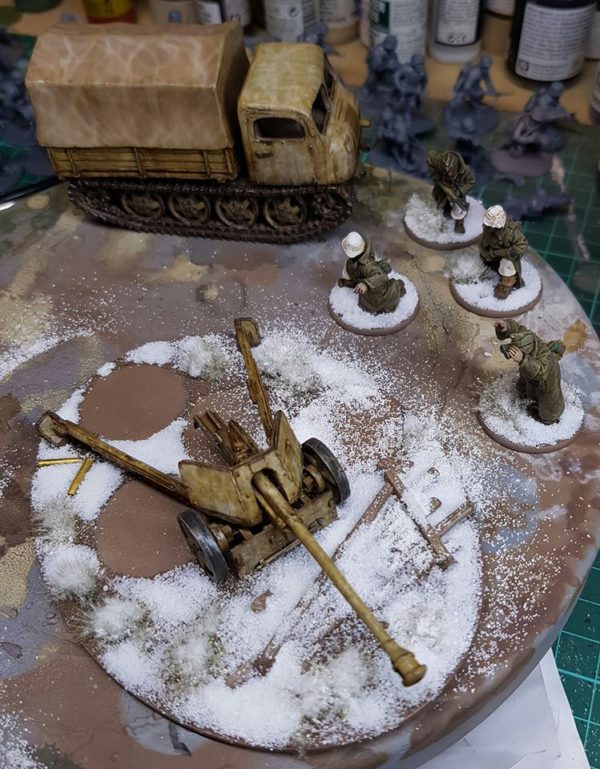
A little Army painter snow and grass tufts are added to bases.
Step 10
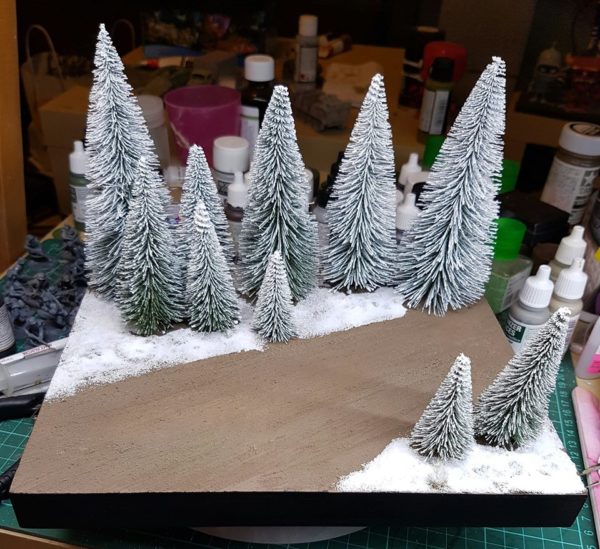
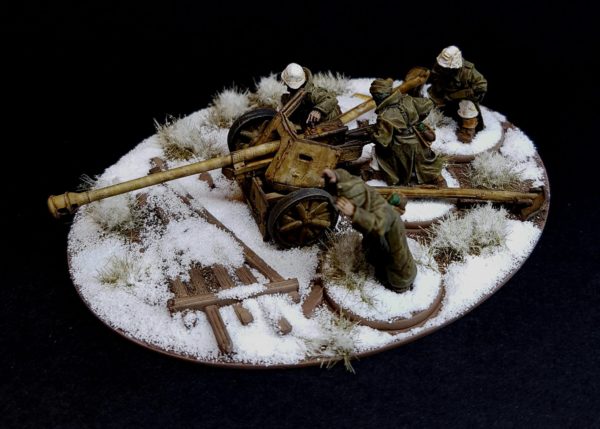
Display/Photography base complete… Army painter snow and tufts added, and the frame of the base is painted black.
Step 11
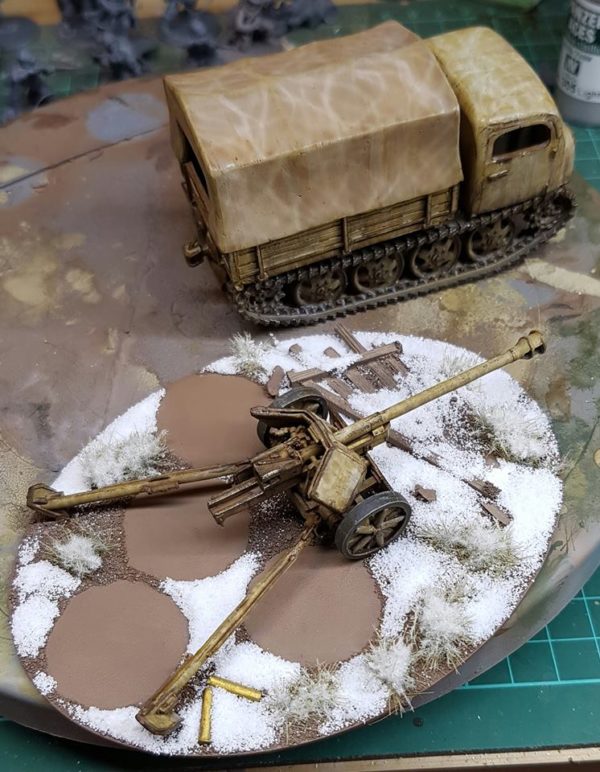
A small amount of Vallejo pigments mixed with clear flat and water are applied to the wheels and tracks.
Step 12
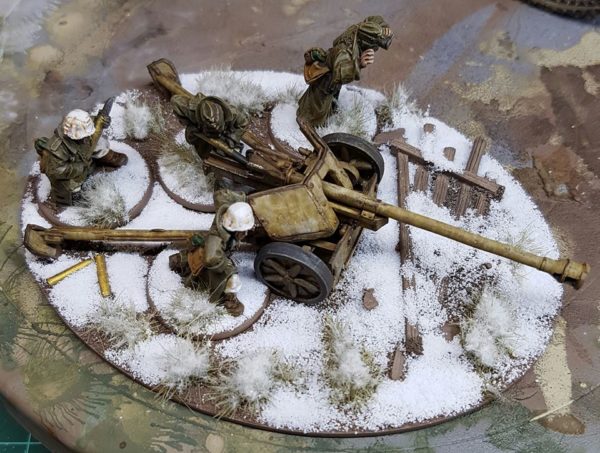
After a coat of clear flat, the figures are placed onto the Pak 40 base….and the project is complete!
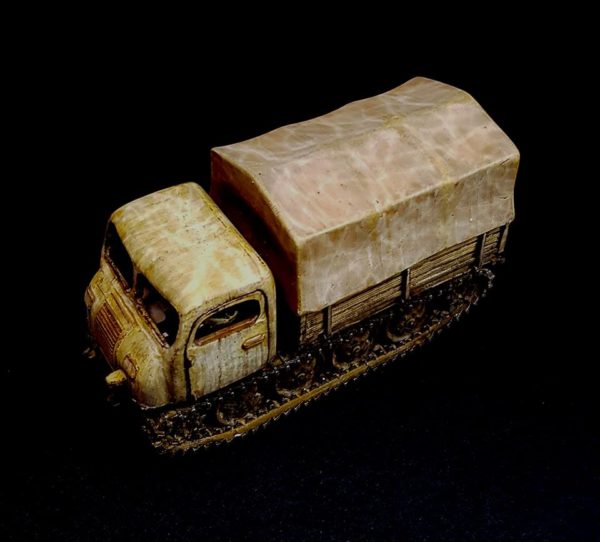
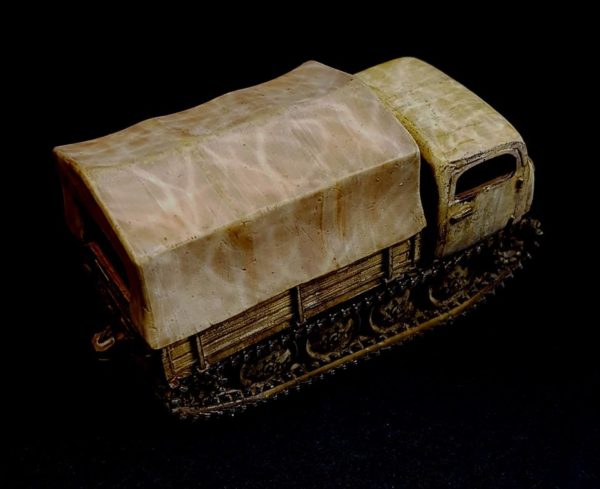
The Finished Article

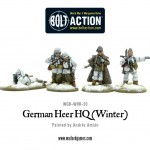
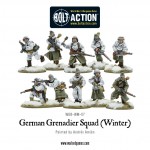
And if you want to get together a winter themed army then head this way:

